LG MU-50PZ90V Owners Manual - Page 22
Screen Menu Options continued
 |
View all LG MU-50PZ90V manuals
Add to My Manuals
Save this manual to your list of manuals |
Page 22 highlights
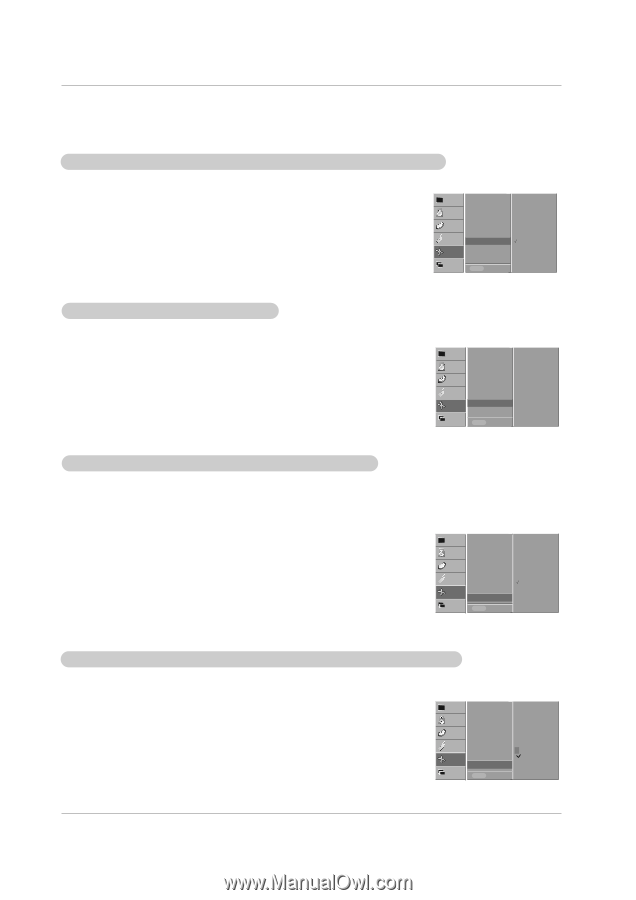
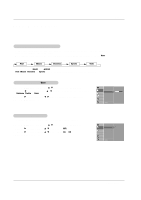
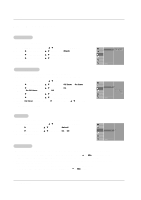
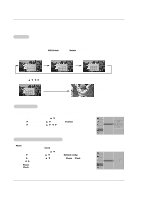
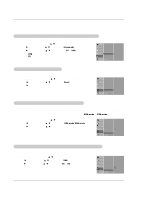
Operation Screen Menu Options continued Screen Adjustments (Video, S-Video and Component 480i mode only) - Use this function to correct jittering or picture instability while viewing a video tape. 1. Press the MENU button and then use D / E button to select the SCREEN menu. 2. Press the G button and then use D / E button to select Screen adj.. 3. Press the G button and then use D / E button to to select TV or VCR. • Select the VCR option if watching a VCR. • Select the TV option for other equipment.(Except VCR) 4. Press the OK button to save. VIDEO AUDIO Auto config. ARC TIME Zoom in/out Position Manual config. SPECIAL Screen adj. G Reset SCREEN YNR TWIN MENU Prev. TV VCR Initializing (Reset to original factory value) - This function operates in every mode. - To initialize the adjusted value 1. Press the MENU button and then use D / E button to select the SCREEN menu. 2. Press the G button and then use D / E button to select Reset. 3. Press the G button. • You can initialize Zoom In/Out, Manual config., Position, Split zoom, PIP size, PIP position and sub picture size for twin picture. VIDEO AUDIO TIME SPECIAL Auto config. ARC Zoom in/out Position Manual config. Screen adj. SCREEN Reset G XGA Mode TWIN MENU Prev. To set Selecting Wide VGA/XGA mode (RGB-PC, DVI-PC mode only) - To see a normal picture, match the resolution of RGB XGA mode (1024x768, 1360x768, 1366x768) with the selection for XGA mode and the resolution of RGB VGA mode (640x480, 848x480, 852x480) with the selection for VGA mode in the SCREEN menu. - If the input source is RGB VGA mode, the screen menu option is changed from XGA mode to VGA mode automatically. 1. Press the MENU button and then use D / E button to select the SCREEN menu. 2. Press the G button and then use D / E button to select VGA mode/XGA mode. 3. Press the G button and then use D / E button to select the desired VGA/XGA resolution. 4. Press the OK button to save. VIDEO AUDIO TIME SPECIAL SCREEN TWIN Auto config. ARC Zoom in/out Position Manual config. Screen adj. Reset XGA Mode G MENU Prev. 1024x768 1360x768 1366x768 Luminance Noise Reduction (Video, S-Video and Component 480i modes only) - Use YNR to reduce the picture noise which may appear on the screen. 1. Press the MENU button and then use D / E button to select the SCREEN menu. 2. Press the G button and then use D / E button to select YNR. 3. Press the G button and then use D / E button to select On or Off. 4. Press the OK button to save. VIDEO AUDIO Auto config. TIME ARC Zoom in/out Position SPECIAL Manual config. Screen adj. SCREEN Reset On YNR G Off TWIN MENU Prev. 22 Plasma Monitor
-
 1
1 -
2
-
3
-
4
-
5
-
6
-
7
-
8
-
9
-
10
-
11
-
12
-
13
-
14
-
15
-
16
-
 17
17 -
 18
18 -
 19
19 -
 20
20 -
 21
21 -
 22
22 -
 23
23 -
 24
24 -
 25
25 -
 26
26 -
 27
27 -
28
-
29
-
30
-
31
-
32
-
33
-
34
-
35
-
36
 |
 |