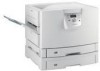
Lexmark 920dtn User's Guide - Page 30
Installing a hard disk, Be careful not to damage the connectors.
 |
UPC - 734646020848
View all Lexmark 920dtn manuals
Add to My Manuals
Save this manual to your list of manuals |
Page 30 highlights
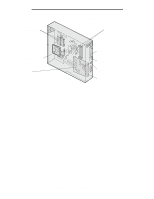
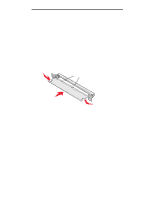
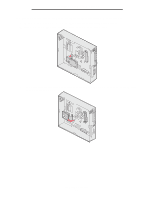
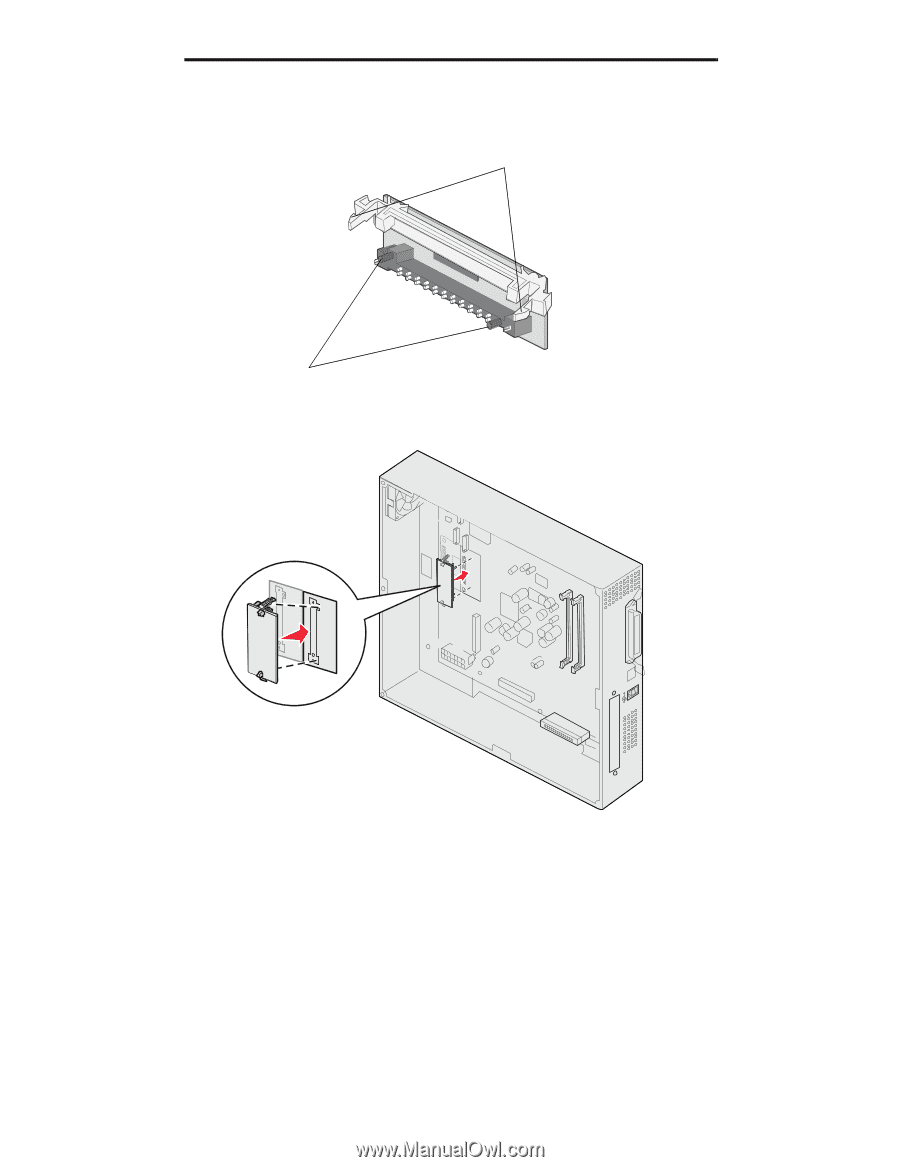
Installing and removing options 3 Holding the flash memory or firmware card by the locking clips, align the plastic pins on the card with the holes on the system board. Locking clips Pins 4 Push the flash memory or firmware card firmly into place, and release the locking clips. The entire length of the connector on the flash memory or firmware card must touch the system board and be locked into the connector. Be careful not to damage the connectors. Installing a hard disk Warning: Hard disks are easily damaged by static electricity and physical shock (such as dropping). Touch something metal, such as the printer frame, before you touch the hard disk. Installing a hard disk 30
-
 1
1 -
2
-
3
-
4
-
5
-
6
-
7
-
8
-
9
-
10
-
11
-
12
-
13
-
14
-
15
-
16
-
17
-
18
-
19
-
20
-
21
-
22
-
23
-
24
-
 25
25 -
 26
26 -
 27
27 -
 28
28 -
 29
29 -
 30
30 -
 31
31 -
 32
32 -
 33
33 -
 34
34 -
 35
35 -
36
-
37
-
38
-
39
-
40
-
41
-
42
-
43
-
44
-
45
-
46
-
47
-
48
-
49
-
50
-
51
-
52
-
53
-
54
-
55
-
56
-
57
-
58
-
59
-
60
-
61
-
62
-
63
-
64
-
65
-
66
-
67
-
68
-
69
-
70
-
71
-
72
-
73
-
74
-
75
-
76
-
77
-
78
-
79
-
80
-
81
-
82
-
83
-
84
-
85
-
86
-
87
-
88
-
89
-
90
-
91
-
92
-
93
-
94
-
95
-
96
-
97
-
98
-
99
-
100
-
101
-
102
-
103
-
104
-
105
-
106
-
107
-
108
-
109
-
110
-
111
-
112
-
113
-
114
-
115
-
116
-
117
-
118
-
119
-
120
-
121
-
122
-
123
-
124
-
125
-
126
-
127
-
128
-
129
-
130
-
131
-
132
-
133
-
134
-
135
-
136
-
137
-
138
-
139
-
140
-
141
-
142
-
143
-
144
-
145
-
146
-
147
-
148
-
149
-
150
-
151
-
152
-
153
-
154
-
155
-
156
-
157
-
158
-
159
-
160
-
161
-
162
-
163
 |
 |
Installing a hard disk
30
Installing and removing options
3
Holding the flash memory or firmware card by the locking clips, align the plastic pins on the card with the holes on
the system board.
4
Push the flash memory or firmware card firmly into place, and release the locking clips.
The entire length of the connector on the flash memory or firmware card must touch the system board and be
locked into the connector.
Be careful not to damage the connectors.
Installing a hard disk
Warning:
Hard disks are easily damaged by static electricity and physical shock (such as dropping). Touch
something metal, such as the printer frame, before you touch the hard disk.
Locking clips
Pins