Lexmark C748 Connection Guide - Page 3
Installing the printer on a wired network, Sharing the printer on a network
 |
View all Lexmark C748 manuals
Add to My Manuals
Save this manual to your list of manuals |
Page 3 highlights
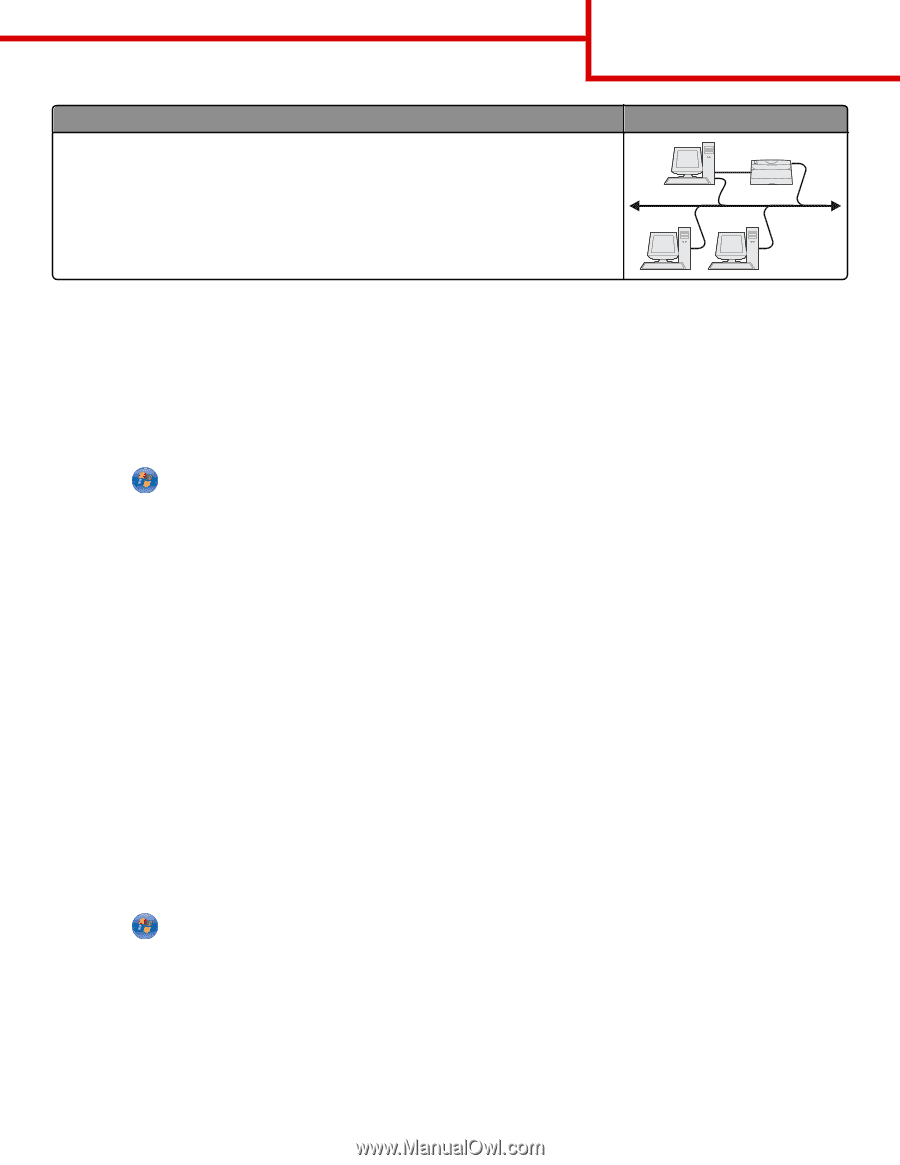
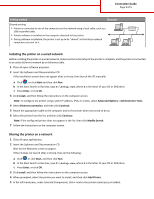
Connection Guide Page 3 of 5 Printing method Example Shared printing • Printer is connected to one of the computers on the network using a local cable, such as a USB or parallel cable. • Printer software is installed on the computer attached to the printer. • During software installation, the printer is set up to be "shared" so that other network computers can print to it. Installing the printer on a wired network Before installing the printer on a wired network, make sure the initial setup of the printer is complete, and the printer is connected to an active Ethernet network by an Ethernet cable. 1 Close all open software programs. 2 Insert the Software and Documentation CD. If the installation screen does not appear after a minute, then launch the CD manually: a Click , or click Start and then click Run. b In the Start Search or Run box, type D:\setup.exe, where D is the letter of your CD or DVD drive. c Press Enter, or click OK. 3 Click Install, and then follow the instructions on the computer screen. Note: To configure the printer using a static IP address, IPv6, or scripts, select Advanced Options > Administrator Tools. 4 Select Ethernet connection, and then click Continue. 5 Attach the appropriate cable to the computer and to the printer when instructed to do so. 6 Select the printer from the list, and then click Continue. Note: If the configured printer does not appear in the list, then click Modify Search. 7 Follow the instructions on the computer screen. Sharing the printer on a network 1 Close all open applications. 2 Insert the Software and Documentation CD. Wait for the Welcome screen to appear. If the CD does not launch after a minute, then do the following: a Click or click Start, and then click Run. b In the Start Search or Run box, type D:\setup.exe, where D is the letter of your CD or DVD drive. c Press Enter, or click OK. 3 Click Install, and then follow the instructions on the computer screen. 4 When prompted, select the printer you want to install, and then click Add Printer. 5 In the left‑hand pane, under Selected Components, click + next to the printer model you just added.
-
 1
1 -
 2
2 -
 3
3 -
 4
4 -
 5
5
 |
 |