Lexmark E250DN User's Guide - Page 66
Printing on letterhead, Printing using an overlay or a watermark - driver download
 |
UPC - 734646062992
View all Lexmark E250DN manuals
Add to My Manuals
Save this manual to your list of manuals |
Page 66 highlights
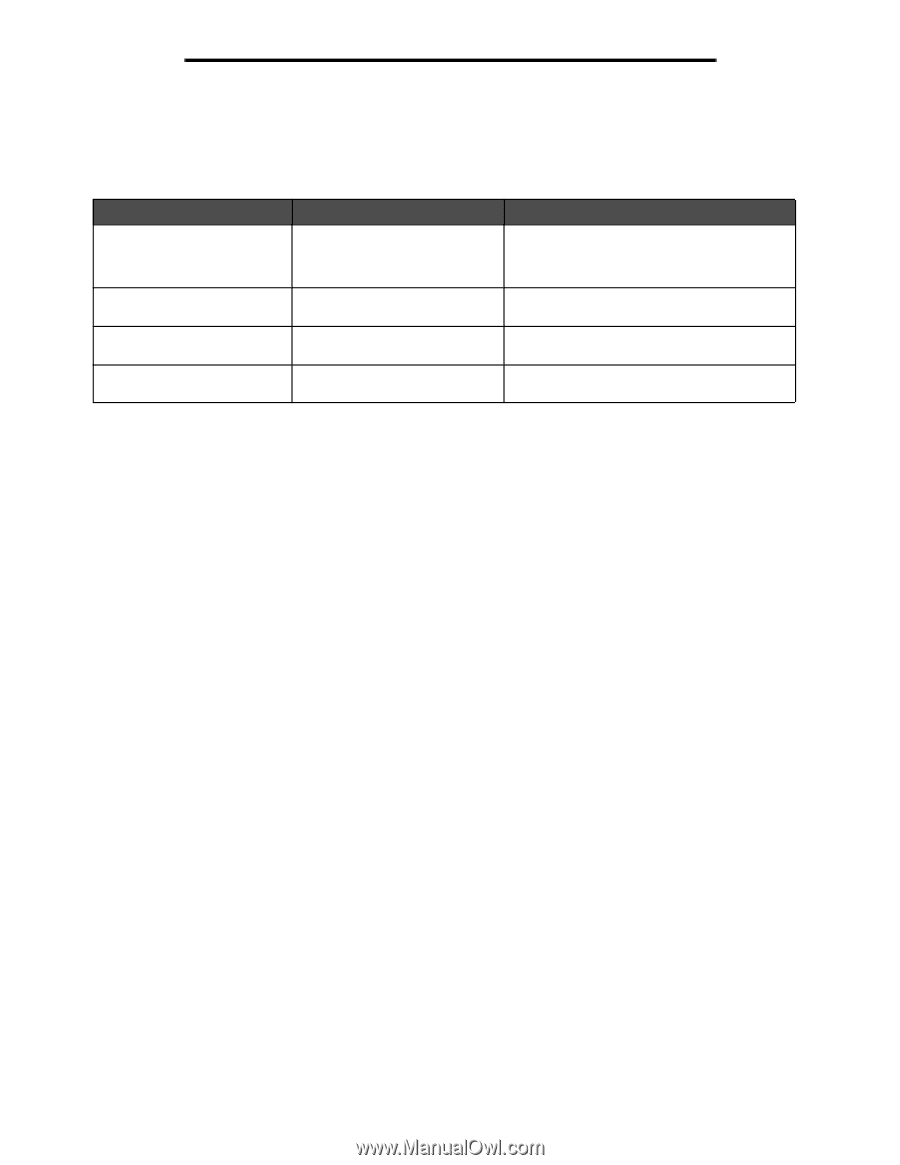
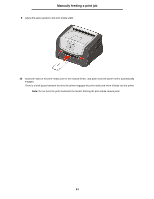
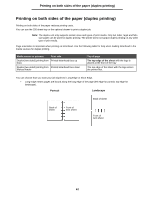
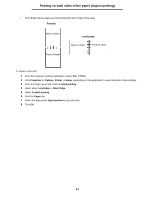
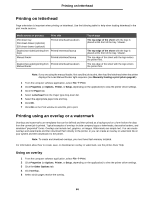
Printing on letterhead Printing on letterhead Page orientation is important when printing on letterhead. Use the following table for help when loading letterhead in the print media sources. Media source or process Print side 250-sheet tray 250-sheet drawer (optional) 550-sheet drawer (optional) Printed letterhead facedown Duplex (two-sided) printing from Printed letterhead faceup trays Manual feeder Printed letterhead faceup Duplex (two-sided) printing from Printed letterhead facedown Manual feeder Top of page The top edge of the sheet with the logo is placed at the front of the tray / drawer. The top edge of the sheet with the logo is placed at the front of the tray / drawer. The top edge of the sheet with the logo enters the printer first. The top edge of the sheet with the logo enters the printer first. Note: If you are using the manual feeder, first send the job to print, then load the letterhead when the printer displays the Load Manual Feeder light sequence (see Manually feeding a print jobon page60 ). 1 From the computer software application, select File à Print. 2 Click Properties (or Options, Printer, or Setup, depending on the application) to view the printer driver settings. 3 Click the Paper tab. 4 Select Letterhead from the Paper type drop-down list. 5 Select the appropriate paper size and tray. 6 Click OK. 7 Click OK on the Print window to send the job to print. Printing using an overlay or a watermark Overlays and watermarks are templates that can be defined and then printed as a background on a form before the data from the current job is printed. Typical examples of overlays include company logos or letterheads, decorative borders, and simulated "preprinted" forms. Overlays can include text, graphics, or images. Watermarks are simple text. You can create overlays and watermarks and then download them directly to the printer, or you can create an overlay or watermark file on your system and then download it to the printer. Note: To create and download overlays, you must have flash memory installed. For information about how to create, save, or download an overlay or watermark, see the printer driver Help. Using an overlay 1 From the computer software application, select File à Print. 2 Click Properties (or Options, Printer, or Setup, depending on the application) to view the printer driver settings. 3 Click the Other Options tab. 4 Click Overlay. 5 Select which pages receive the overlay. 66
-
 1
1 -
2
-
3
-
4
-
5
-
6
-
7
-
8
-
9
-
10
-
11
-
12
-
13
-
14
-
15
-
16
-
17
-
18
-
19
-
20
-
21
-
22
-
23
-
24
-
25
-
26
-
27
-
28
-
29
-
30
-
31
-
32
-
33
-
34
-
35
-
36
-
37
-
38
-
39
-
40
-
41
-
42
-
43
-
44
-
45
-
46
-
47
-
48
-
49
-
50
-
51
-
52
-
53
-
54
-
55
-
56
-
57
-
58
-
59
-
60
-
 61
61 -
 62
62 -
 63
63 -
 64
64 -
 65
65 -
 66
66 -
 67
67 -
 68
68 -
 69
69 -
 70
70 -
 71
71 -
72
-
73
-
74
-
75
-
76
-
77
-
78
-
79
-
80
-
81
-
82
-
83
-
84
-
85
-
86
-
87
-
88
-
89
-
90
-
91
-
92
-
93
-
94
-
95
-
96
-
97
-
98
-
99
-
100
-
101
 |
 |