Lexmark E360DN Troubleshooting Guide
Lexmark E360DN - Hv Taa/gov Compliant Manual
 |
UPC - 734646084475
View all Lexmark E360DN manuals
Add to My Manuals
Save this manual to your list of manuals |
Lexmark E360DN manual content summary:
- Lexmark E360DN | Troubleshooting Guide - Page 1
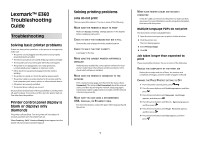
Lexmark™ E360 Troubleshooting Guide Troubleshooting Solving basic printer problems If there are basic printer problems, or the printer is unresponsive, make sure: • The power cord is plugged into the printer and a properly grounded electrical outlet. • The electrical outlet is not turned off by any - Lexmark E360DN | Troubleshooting Guide - Page 2
option. Mac OS 9 users should make sure the printer is set up in the Chooser. Drawers These are possible solutions. Try one or more of the following: MAKE SURE THE PAPER IS LOADED CORRECTLY 1 Pull the tray completely out. 2 Check for paper jams or misfeeds. 3 Make sure the guides are aligned against - Lexmark E360DN | Troubleshooting Guide - Page 3
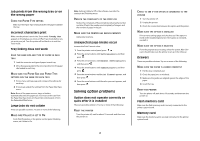
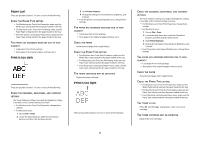
Solving paper feed problems Paper frequently jams These are possible solutions. Try one or more of the following: CHECK THE PAPER Use recommended paper. For more information, see the User's Guide. MAKE SURE THERE IS NOT TOO MUCH PAPER IN THE TRAY OR FEEDER Make sure the stack of paper you load - Lexmark E360DN | Troubleshooting Guide - Page 4
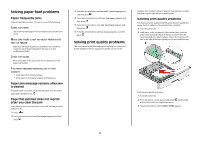
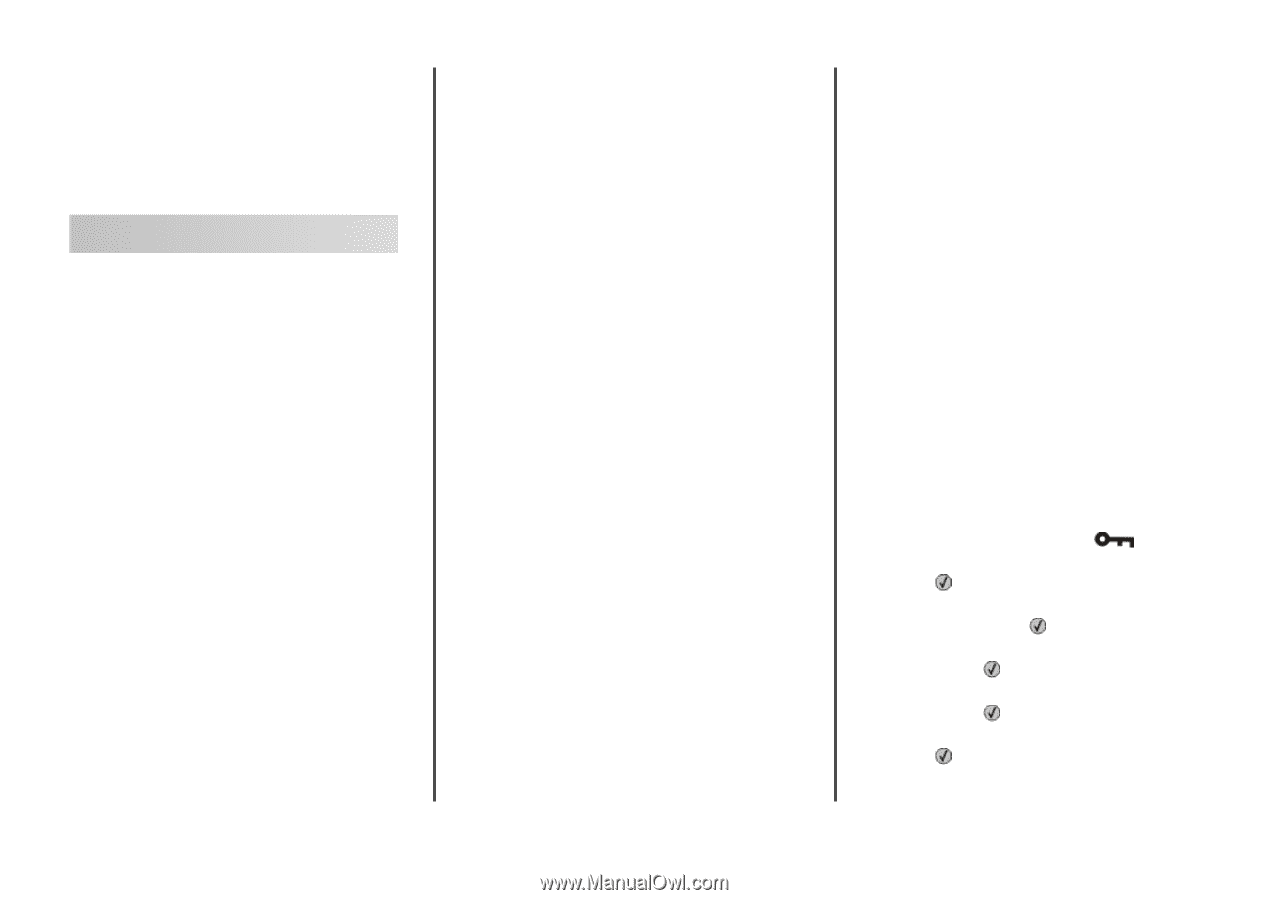
positions for the paper size loaded. CHECK THE PAPER SIZE SETTING Make sure the Paper Size setting matches the paper loaded in the tray. Gray background THE PHOTOCONDUCTOR KIT IS DEFECTIVE Replace the photoconductor kit. CHECK THE MEDIA TYPE SETTING • For Windows users: From Print Properties - Lexmark E360DN | Troubleshooting Guide - Page 5
is too high. • For Windows users: From Print Properties, change these settings. • For Macintosh users: 1 Choose File > Print. 2 Locate the drop-down box under the Orientation pictures, and then click the down button. 3 Click Printer Features. 4 Change the settings for Toner Darkness, Brightness - Lexmark E360DN | Troubleshooting Guide - Page 6
the printer control panel, select another tray or feeder to feed the paper for the job. THE TONER CARTRIDGE MAY BE DEFECTIVE Replace the toner cartridge. MAKE SURE THE PAPER PATH IS CLEAR Paper could be caught between the photoconductor kit and the fuser. Check the paper path around the fuser area - Lexmark E360DN | Troubleshooting Guide - Page 7
TONER CARTRIDGE IS DEFECTIVE Replace the toner cartridge. MAKE SURE THE PAPER PATH IS CLEAR Paper could be caught between the photoconductor kit and the fuser. Check the paper path around the fuser area. Warning-Potential Damage: Do not touch the photoconductor on the underside of the photoconductor
-
 1
1 -
 2
2 -
 3
3 -
 4
4 -
 5
5 -
 6
6 -
 7
7
 |
 |
Lexmark™ E360
Troubleshooting
Guide
Troubleshooting
Solving basic printer problems
If there are basic printer problems, or the printer is unresponsive,
make sure:
•
The power cord is plugged into the printer and a properly
grounded electrical outlet.
•
The electrical outlet is not turned off by any switch or breaker.
•
The
Ground Fault Circuit Interrupter
(GFCI) has not tripped.
•
The printer is not plugged into any surge protectors,
uninterrupted power supplies, or extension cords.
•
Other electronic equipment plugged into the outlet is
working.
•
The printer is turned on. Check the printer power switch.
•
The printer cable is securely attached to the printer and the
host computer, print server, option, or other network device.
•
All options are properly installed.
•
The printer driver settings are correct.
Once you have checked each of these possibilities, turn the printer
off, wait for about 10 seconds, and then turn the printer back on.
This often fixes the problem.
Printer control panel display is
blank or displays only
diamonds
The printer self test failed. Turn the printer off, wait about 10
seconds, and then turn the printer back on.
If
Performing Self Test
and
Ready
do not appear, turn the
printer off and contact Customer Support.
Solving printing problems
Jobs do not print
These are possible solutions. Try one or more of the following:
M
AKE
SURE
THE
PRINTER
IS
READY
TO
PRINT
Make sure
Ready
or
Power Saver
appears on the display
before sending a job to print.
C
HECK
TO
SEE
IF
THE
STANDARD
EXIT
BIN
IS
FULL
Remove the stack of paper from the standard exit bin.
C
HECK
TO
SEE
IF
THE
TRAY
IS
EMPTY
Load paper in the tray.
M
AKE
SURE
THE
CORRECT
PRINTER
SOFTWARE
IS
INSTALLED
Verify that you installed the correct printer software for your
printer model. Open the
Software and Documentation
CD to
check which software is installed.
M
AKE
SURE
THE
PRINTER
IS
CONNECTED
TO
THE
NETWORK
Print a network setup page and check that the status shows
Connected
. If the status is
Not Connected
, check the network
cables, and then try printing the network setup page again.
Contact your system support person to make sure the network
is functioning correctly.
M
AKE
SURE
YOU
ARE
USING
A
RECOMMENDED
USB,
PARALLEL
,
OR
E
THERNET
CABLE
For more information, contact the place where you purchased
the printer.
M
AKE
SURE
PRINTER
CABLES
ARE
SECURELY
CONNECTED
Check the cable connections to the printer to make sure they
are secure. For more information, see the setup documentation
that came with the printer.
Multiple-language PDFs do not print
The documents contain unavailable fonts.
1
Open the document you want to print in Adobe Acrobat.
2
Click the printer icon.
The Print dialog appears.
3
Select
Print as image
.
4
Click
OK
.
Job takes longer than expected to
print
These are possible solutions. Try one or more of the following:
R
EDUCE
THE
COMPLEXITY
OF
THE
PRINT
JOB
Reduce the number and size of fonts, the number and
complexity of images, and the number of pages in the job.
C
HANGE
THE
P
AGE
P
ROTECT
SETTING
TO
O
FF
1
From the printer control panel, press
.
2
Press the arrow buttons until
Settings
appears, and then
press
.
3
Press the arrow buttons until
General Settings
appears, and then press
.
4
Press the arrow buttons until
Print Recovery
appears,
and then press
.
5
Press the arrow buttons until
Page Protect
appears,
and then press
.
6
Press the arrow buttons until
Off
appears, and then
press
.
1