Lexmark Forms Printer 2581 User Guide - Page 28
Front loading continuous forms using the pull tractor, Start/Stop, FormFeed
 |
View all Lexmark Forms Printer 2581 manuals
Add to My Manuals
Save this manual to your list of manuals |
Page 28 highlights
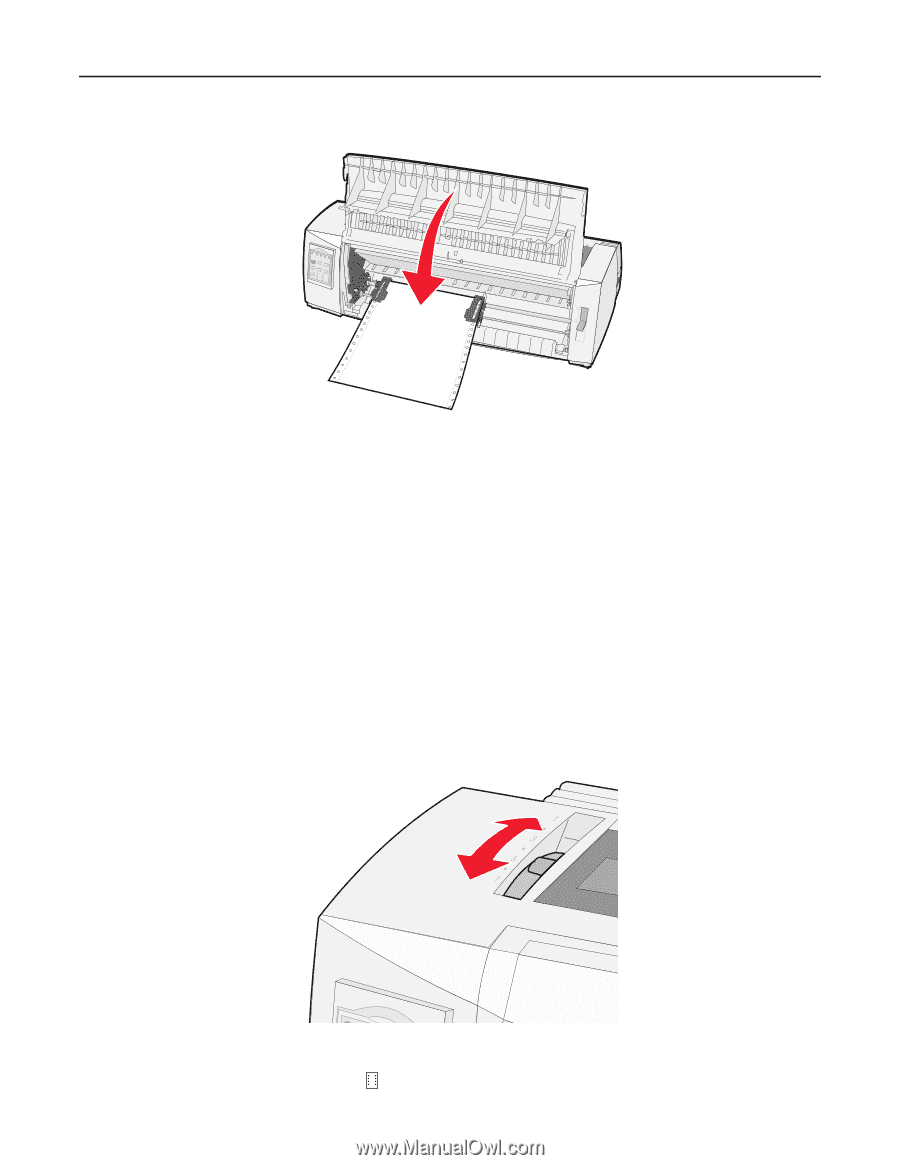
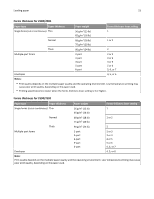
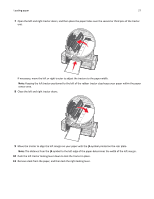
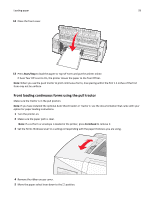
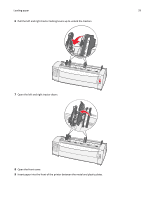
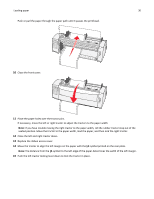
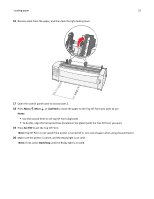
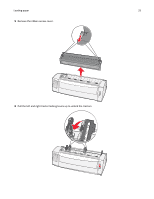
Loading paper 28 12 Close the front cover. 13 Press Start/Stop to load the paper to Top‑Of‑Form and put the printer online. If Auto Tear Off is set to On, the printer moves the paper to the Tear Off bar. Note: When you use the push tractor to print continuous forms, line spacing within the first 1.5 inches of the first form may not be uniform. Front loading continuous forms using the pull tractor Make sure the tractor is in the pull position. Note: If you have installed the optional Auto Sheet Feeder or Tractor 2, see the documentation that came with your option for paper loading instructions. 1 Turn the printer on. 2 Make sure the paper path is clear. Note: If a cut form or envelope is loaded in the printer, press FormFeed to remove it. 3 Set the forms thickness lever to a setting corresponding with the paper thickness you are using. 4 Remove the ribbon access cover. 5 Move the paper select lever down to the position.
-
 1
1 -
2
-
3
-
4
-
5
-
6
-
7
-
8
-
9
-
10
-
11
-
12
-
13
-
14
-
15
-
16
-
17
-
18
-
19
-
20
-
21
-
22
-
 23
23 -
 24
24 -
 25
25 -
 26
26 -
 27
27 -
 28
28 -
 29
29 -
 30
30 -
 31
31 -
 32
32 -
 33
33 -
34
-
35
-
36
-
37
-
38
-
39
-
40
-
41
-
42
-
43
-
44
-
45
-
46
-
47
-
48
-
49
-
50
-
51
-
52
-
53
-
54
-
55
-
56
-
57
-
58
-
59
-
60
-
61
-
62
-
63
-
64
-
65
-
66
-
67
-
68
-
69
-
70
-
71
-
72
-
73
-
74
-
75
-
76
-
77
-
78
-
79
-
80
-
81
-
82
-
83
-
84
 |
 |