Lexmark X748 Email Guide - Page 2
Understanding the e-mail options, Recipients, Subject, Message, File Name, Original Size, Resolution
 |
View all Lexmark X748 manuals
Add to My Manuals
Save this manual to your list of manuals |
Page 2 highlights
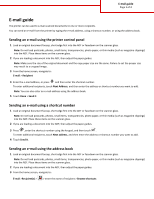
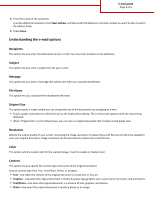
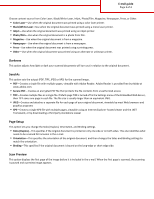
E-mail guide Page 2 of 4 4 Touch the name of the recipients. To enter additional recipients, touch Next address, and then enter the address or shortcut number you want to add, or search the address book. 5 Touch Done. Understanding the e-mail options Recipients This option lets you enter the destination of your e-mail. You may enter multiple e‑mail addresses. Subject This option lets you enter a subject line for your e-mail. Message This option lets you enter a message that will be sent with your scanned attachment. File Name This option lets you customize the attachment file name. Original Size This option opens a screen where you can choose the size of the documents you are going to e-mail. • Touch a paper size button to select that size as the Original Size setting. The e‑mail screen appears with the new setting displayed. • When "Original Size" is set to Mixed Sizes, you can scan an original document that contains mixed paper sizes. Resolution Adjusts the output quality of your e-mail. Increasing the image resolution increases the e-mail file size and the time needed to scan your original document. Image resolution can be decreased to reduce the e-mail file size. Color This option sets the output color for the scanned image. Touch to enable or disable color. Content This option lets you specify the content type and source of the original document. Choose content type from Text, Text/Photo, Photo, or Graphics. • Text-Use when the content of the original document is mostly text or line art. • Graphics-Use when the original document is mostly business‑type graphics such as pie charts, bar charts, and animations. • Text/Photo-Use when the original document is a mixture of text, graphics, and photos. • Photo-Use when the original document is mostly a photo or an image.
-
 1
1 -
 2
2 -
 3
3 -
 4
4
 |
 |