Motorola DROID PRO User Guide - Page 33
Create messages, Send & receive attachments, Set up messaging, Edit Universal Inbox
 |
UPC - 723755811430
View all Motorola DROID PRO manuals
Add to My Manuals
Save this manual to your list of manuals |
Page 33 highlights
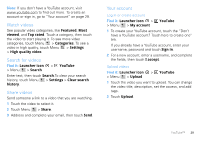
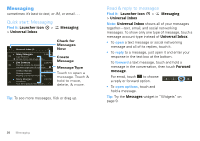
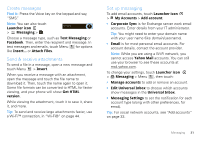
Create messages Find it: Press the Voice key on the keypad and say, "SMS." Note: You can also touch Launcher icon > Messaging > . Messaging Choose a message type, such as Text Messaging or Facebook. Then, enter the recipient and message. In text messages and emails, touch Menu for options like Insert... or Attach Files. Send & receive attachments To send a file in a message, open a new message and touch Menu > Insert. When you receive a message with an attachment, open the message and touch the file name to download it. Then, touch the name again to open it. Some file formats can be converted to HTML for faster viewing, and your phone will show Get HTML version. While viewing the attachment, touch it to save it, share it, and more. Tip: To send and receive large attachments faster, use a Wi-Fi™ connection, in "Wi-Fi®" on page 44. Set up messaging To add email accounts, touch Launcher icon > My Accounts > Add account. • Corporate Sync is for Exchange server work email accounts. Enter details from your IT administrator. Tip: You might need to enter your domain name with your user name (like domain/username). • Email is for most personal email accounts. For account details, contact the account provider. Note: While you are using a Wi-Fi network, you cannot access Yahoo Mail accounts. You can still use your browser to see these accounts at mail.yahoo.com. To change your settings, touch Launcher icon > Messaging > Menu , then touch: • Manage accounts to add or remove an account. • Edit Universal Inbox to choose which accounts show messages in the Universal Inbox. • Messaging Settings to set the notification for each account type (along with other preferences, for email). Tip: For social network accounts, see "Add accounts" on page 33. Messaging 31
-
 1
1 -
2
-
3
-
4
-
5
-
6
-
7
-
8
-
9
-
10
-
11
-
12
-
13
-
14
-
15
-
16
-
17
-
18
-
19
-
20
-
21
-
22
-
23
-
24
-
25
-
26
-
27
-
 28
28 -
 29
29 -
 30
30 -
 31
31 -
 32
32 -
 33
33 -
 34
34 -
 35
35 -
 36
36 -
 37
37 -
 38
38 -
39
-
40
-
41
-
42
-
43
-
44
-
45
-
46
-
47
-
48
-
49
-
50
-
51
-
52
-
53
-
54
-
55
-
56
-
57
-
58
-
59
-
60
-
61
-
62
-
63
-
64
-
65
-
66
-
67
-
68
-
69
-
70
 |
 |
