NEC PX-61XM2A 42VP4/42XM2/50XM3/61XM2 - Page 22
Controls
 |
View all NEC PX-61XM2A manuals
Add to My Manuals
Save this manual to your list of manuals |
Page 22 highlights
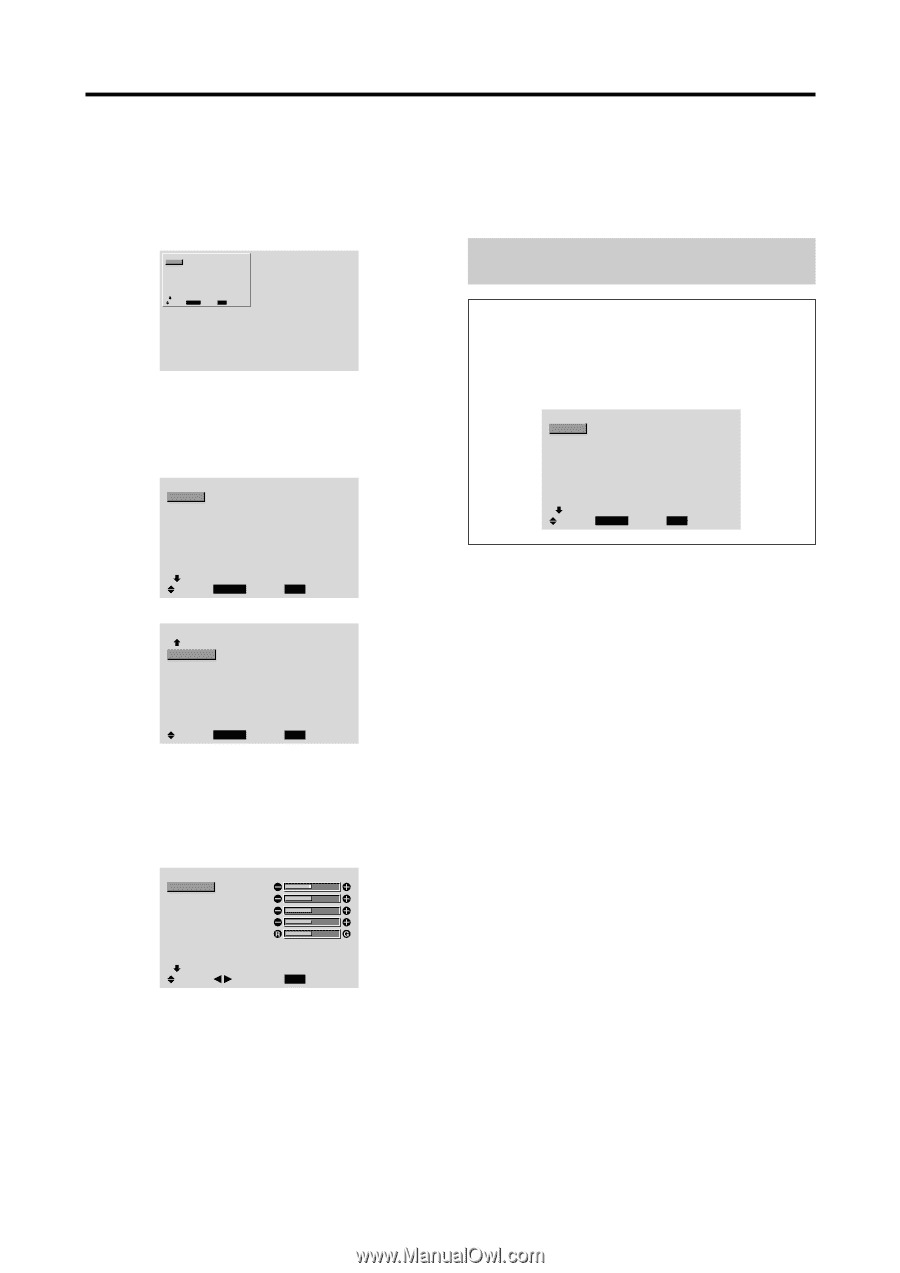
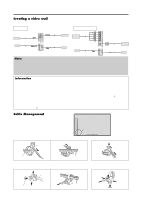
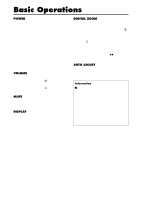
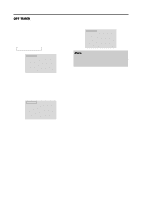
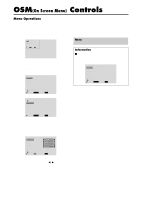
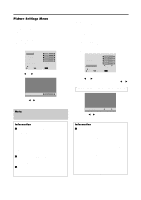
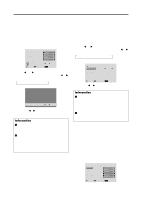
OSM(On Screen Menu) Controls Menu Operations The OSM window is displayed with respect to the screen as shown on the diagram. * Depending on the screen's mode, the OSM may be displayed differently. In the explanation, the OSM section is shown close up. MAIN MENU 1 / 2 PICTURE AUDIO IMAGE ADJUST OPTION1 ADVANCED OSM NEXT PAGE SEL. MENU/ENTER OK : OFF EXIT EXIT The following describes how to use the menus and the selected items. 1. Press the MENU/ENTER button on the remote control to display the MAIN MENU. MAIN MENU 1 / 2 PICTURE AUDIO IMAGE ADJUST OPTION1 ADVANCED OSM NEXT PAGE SEL. MENU/ENTER OK : OFF EXIT EXIT 5. The adjustments or the settings that are stored in memory. The change is stored until you change it again. 6. Repeat steps 2 - 5 to adjust an additional item, or press the EXIT button on the remote control to return to the main menu. Note: The main menu disappears by pressing the EXIT button. Information Ⅵ Advanced menu mode When "ADVANCED OSM" is set to "ON" in the main menu (1/2), full menu items will be shown. MAIN MENU 1 / 2 PICTURE AUDIO IMAGE ADJUST OPTION1 OPTION2 OPTION3 ADVANCED OSM : ON NEXT PAGE SEL. MENU/ENTER OK EXIT EXIT MAIN MENU 2 / 2 PREVIOUS PAGE LANGUAGE COLOR SYSTEM SOURCE INFORMATION SEL. MENU/ENTER OK EXIT EXIT 2. Press the cursor buttons v w on the remote control to highlight the menu you wish to enter. 3. Press the MENU/ENTER button on the remote control to select a sub menu or item. PICTURE 1 / 2 CONTRAST BRIGHTNESS SHARPNESS COLOR TINT PICTURE MODE : NORMAL NR : OFF NEXT PAGE SEL. ADJ. EXIT RETURN 4. Adjust the level or change the setting of the selected item by using the cursor buttons ᮤ ᮣ on the remote control. 15
-
 1
1 -
2
-
3
-
4
-
5
-
6
-
7
-
8
-
9
-
10
-
11
-
12
-
13
-
14
-
15
-
16
-
 17
17 -
 18
18 -
 19
19 -
 20
20 -
 21
21 -
 22
22 -
 23
23 -
 24
24 -
 25
25 -
 26
26 -
 27
27 -
28
-
29
-
30
-
31
-
32
-
33
-
34
-
35
-
36
-
37
-
38
-
39
-
40
-
41
-
42
-
43
-
44
-
45
-
46
-
47
-
48
-
49
-
50
-
51
-
52
 |
 |