Netgear WN2000RPT [English] WN2000RPT Installation Guide (PDF) - Page 7
Option 1: Connecting with WPS Wi-Fi Protected Setup, Wi-Fi network, and the Link Rate LED - same ssid
 |
UPC - 606449068887
View all Netgear WN2000RPT manuals
Add to My Manuals
Save this manual to your list of manuals |
Page 7 highlights
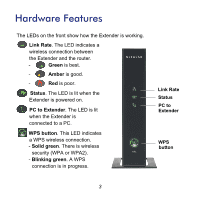
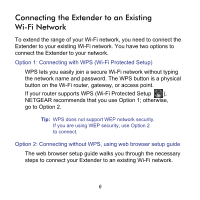
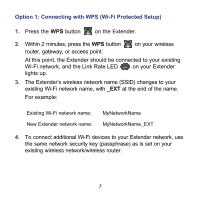
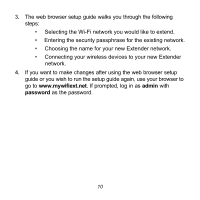
Option 1: Connecting with WPS (Wi-Fi Protected Setup) 1. Press the WPS button on the Extender. 2. Within 2 minutes, press the WPS button router, gateway, or access point. on your wireless At this point, the Extender should be connected to your existing Wi-Fi network, and the Link Rate LED on your Extender lights up. 3. The Extender's wireless network name (SSID) changes to your existing Wi-Fi network name, with _EXT at the end of the name. For example: Existing Wi-Fi network name: New Extender network name: MyNetworkName MyNetworkName_EXT 4. To connect additional Wi-Fi devices to your Extender network, use the same network security key (passphrase) as is set on your existing wireless network/wireless router. 7
-
 1
1 -
 2
2 -
 3
3 -
 4
4 -
 5
5 -
 6
6 -
 7
7 -
 8
8 -
 9
9 -
 10
10 -
 11
11 -
 12
12 -
13
-
14
-
15
-
16
 |
 |

7
Option 1: Connecting with WPS (Wi-Fi Protected Setup)
1.
Press the
WPS
button
on the Extender.
2.
Within 2 minutes, press the
WPS
button
on your wireless
router, gateway, or access point.
At this point, the Extender should be connected to your existing
Wi-Fi network, and the Link Rate LED
on your Extender
lights up.
3.
The Extender’s wireless network name (SSID) changes to your
existing Wi-Fi network name, with
_EXT
at the end of the name.
For example:
Existing Wi-Fi network name:
MyNetworkName
New Extender network name:
MyNetworkName_EXT
4.
To connect additional Wi-Fi devices to your Extender network, use
the same network security key (passphrase) as is set on your
existing wireless network/wireless router.