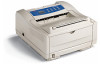
Oki B4350n Guide: Software Installation B4350, B4350n (American English) - Page 3
Local Printer Installation: Windows
 |
View all Oki B4350n manuals
Add to My Manuals
Save this manual to your list of manuals |
Page 3 highlights
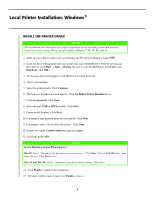
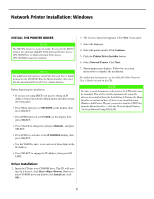
Local Printer Installation: Windows® INSTALL THE PRINTER DRIVER NOTE The installation procedure may vary slightly depending on the operating system and interface connection you are using. Drivers are provided for Windows® XP, 2K, Me, and 98 1. Make sure the cable is connected to your printer and PC and your printer is turned OFF. 2. Insert the driver CD supplied with your printer into your CD-ROM drive. The CD will autorun. (If it doesn't, click Start → Run → Browse. Browse to your CD-ROM drive and double-click Install.exe, click OK.) 3. The License Agreement appears. Click Next if you accept the terms. 4. Select your language. 5. Select the printer model. Click Continue. 6. The Software Installation screen appears. Click the Printer Driver Installer button. 7. Click Local printer. Click Next. 8. Select the port (USB or LPT1 parallel). Click Next. 9. Printer model displays. Click Next. 10. If prompted, type a printer name for your printer. Click Next. 11. If prompted, select "do not share this printer" Click Next. 12. Drivers are copied. Connect cable message may appear. 13. Switch the printer ON. NOTE If New Hardware Found Wizard displays: Win 98: Select "Search for the best driver for your device". Click Next. Select CD-ROM drive, clear other choices. Click Next twice. Win XP and Win Me: Select "Automatic Search for a better driver." Click Next. 14. Click Finish to complete the installation. 15. If Connect cable screen is open, click Finish to close it. 3
-
 1
1 -
 2
2 -
 3
3 -
 4
4 -
 5
5 -
 6
6 -
 7
7 -
 8
8
 |
 |