Oki ML591 ML500 Series Quick Start - Page 1
Oki ML591 Manual
 |
View all Oki ML591 manuals
Add to My Manuals
Save this manual to your list of manuals |
Page 1 highlights
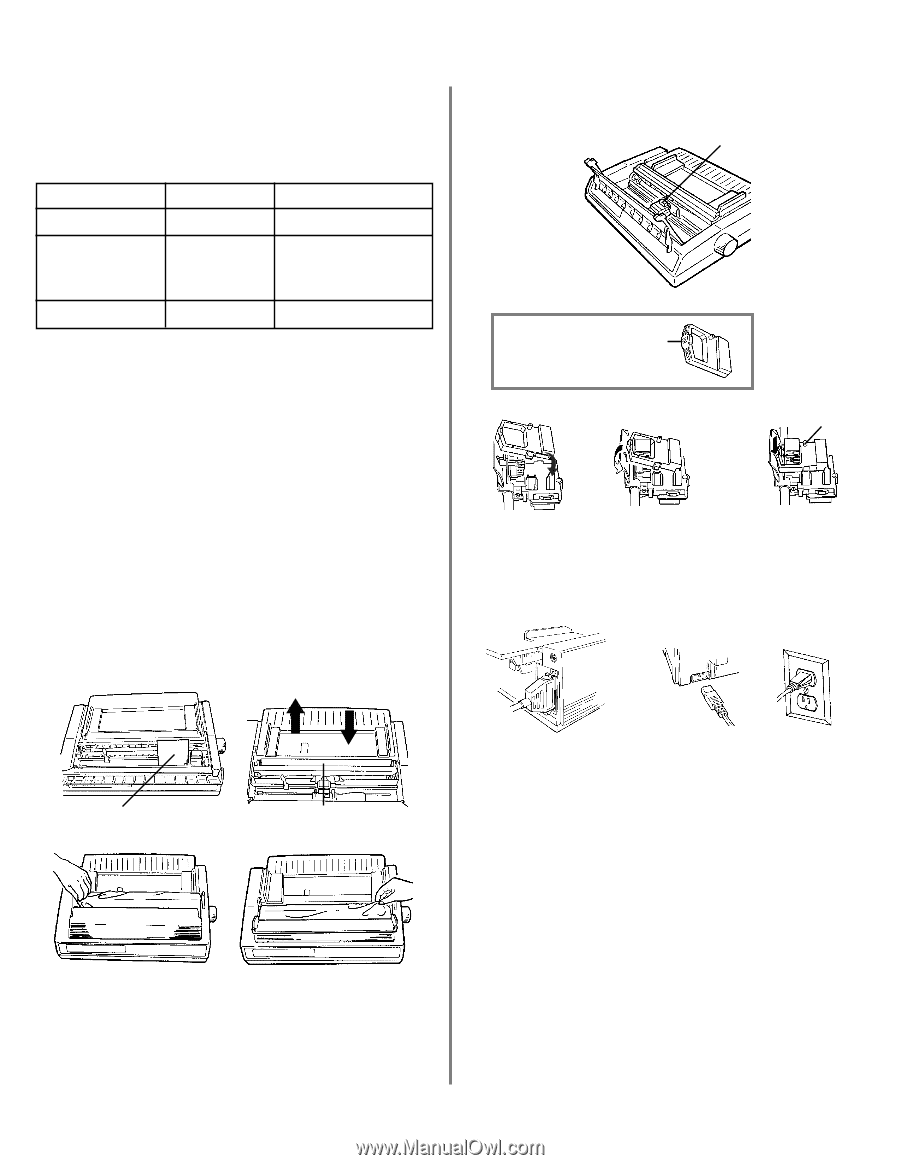
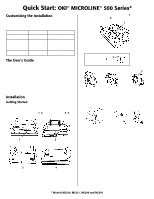
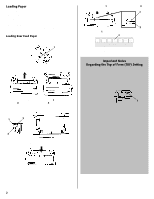
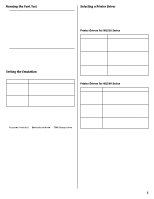
Quick Start: OKI® MICROLINE® 500 Series* Customizing the Installation This document tells you how to perform a typical installation, using the factory settings of the printer. You may need to adjust settings to fit your requirements, such as: 3 Open the access cover, center the printhead (1), and install the ribbon, rotating the knob (3) to take up any slack. 1 Item Factory Setting To Change, see Top of Form (TOF) 1" from top Page 2 of this document Form Tear-Off OFF On-Line User's Guide: ML520 Series: page 32 ML590 Series: page 21 Printhead Gap Automatic Head_Gap.pdf on the CD The User's Guide The User's Guide is provided as an Adobe® Acrobat® PDF file on the CD shipped with your printer. It requires Adobe Acrobat Reader for viewing. To view the User's Guide, browse to it in your product line folder on the CD and double click the file name. If you do not have Adobe Acrobat Reader, it is provided on the CD or you may download it from the Adobe web site, www.adobe.com. ! Documentation is also available via Oki Data's web site, www.okidata.com. Installation Getting Started 1 Unpack your machine. Keep the packing materials and carton in case you ever need to ship or transport your printer. 2 Remove shipping restraints (1, 2) and protective film (3, 4). ! Leave the 2 ribbon shield (2) on the cartridge! 3 4 Install any accessories you purchased. Refer to the instructions provided with each accessory. 5 Connect to the computer and the power outlet (computer and printer both OFF). 6 Turn the computer and printer on. 1 2 3 4 * Models ML520, ML521, ML590 and ML591
-
 1
1 -
 2
2 -
 3
3 -
 4
4
 |
 |