Panasonic AW-HS50 How-To Output Picture in Picture with the HS50 - Page 1
Panasonic AW-HS50 Manual
 |
View all Panasonic AW-HS50 manuals
Add to My Manuals
Save this manual to your list of manuals |
Page 1 highlights
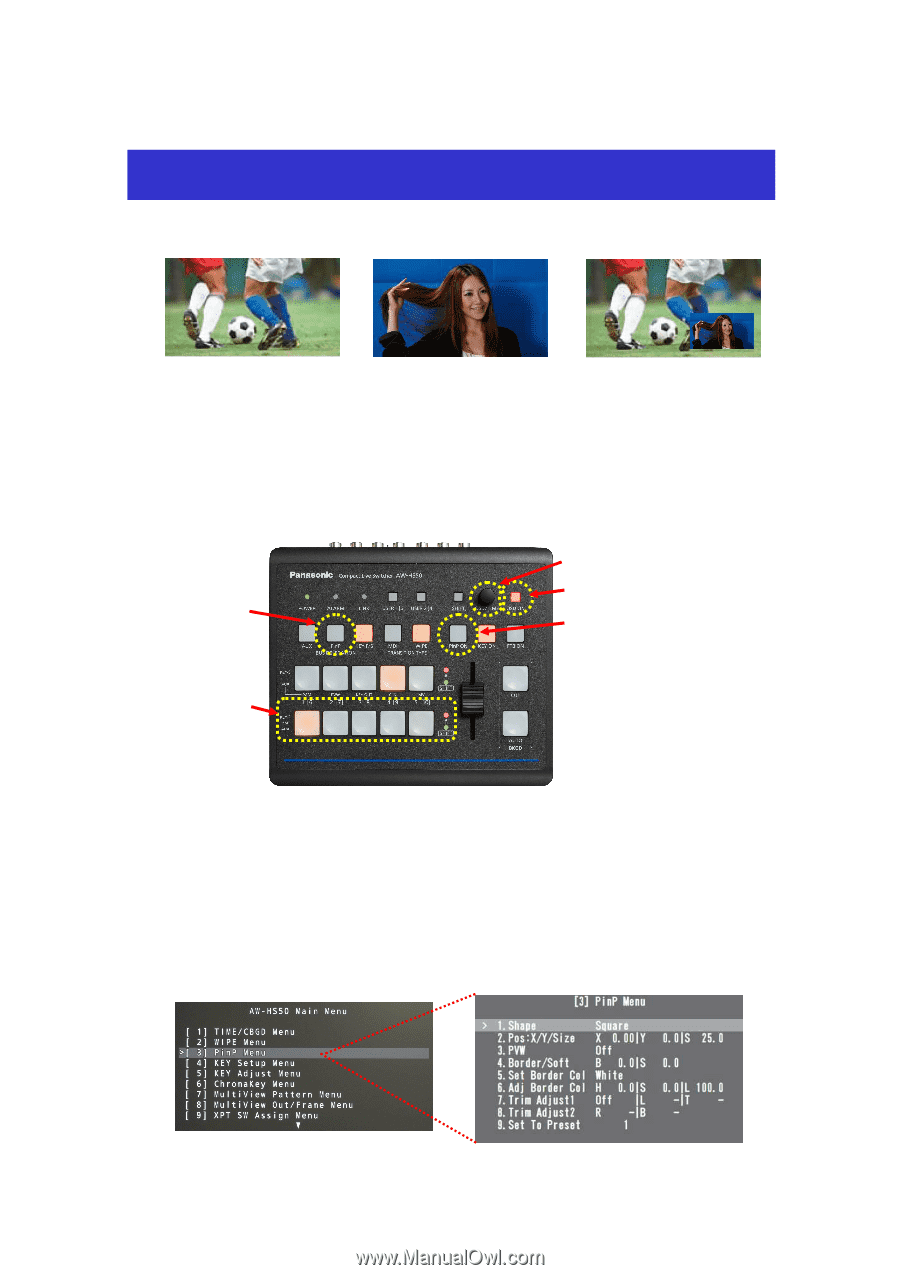
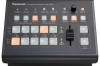
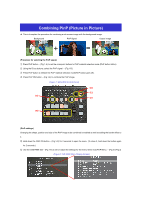
Combining PinP (Picture in Picture) ★ This is to explain the procedure for combining a sub screen image with the background image. Background PinP Signal Output Image + = (Procedure for selecting the PinP signal) ① Press PinP button - (Fig.1-A) to set the crosspoint buttons to PinP material selection mode (PinP button blinks). ② Using the B bus buttons, select the PinP signal. - (Fig.1-B) ③ Press PinP button to release the PinP material selection mode(PinP button goes off). ④ Press PinP ON button - (Fig.1-E) to combine the PinP image. (Figure 1: AW-HS50 Control Panel) (D) (C) (A) (E) (B) (PinP settings) Changing the shape, position and size of the PinP image to be combined is enabled as well as adding the border effect to it. ⑤ Hold down the OSD ON button - (Fig.1-C) for 2 seconds to open the menu. (To close it, hold down the button again for 2 seconds.) ⑥ Use the OSD/TIME dial - (Fig.1-D) to set or adjust the settings for the menu items in [3] PinP Menu. - (Fig.2 & Fig.3) (Figure 2: AW-HS50 Menu Display Screen)
-
 1
1 -
 2
2
 |
 |