Panasonic AW-HS50 How-To Setup the HS50 Multi View Display - Page 1
Panasonic AW-HS50 Manual
 |
View all Panasonic AW-HS50 manuals
Add to My Manuals
Save this manual to your list of manuals |
Page 1 highlights
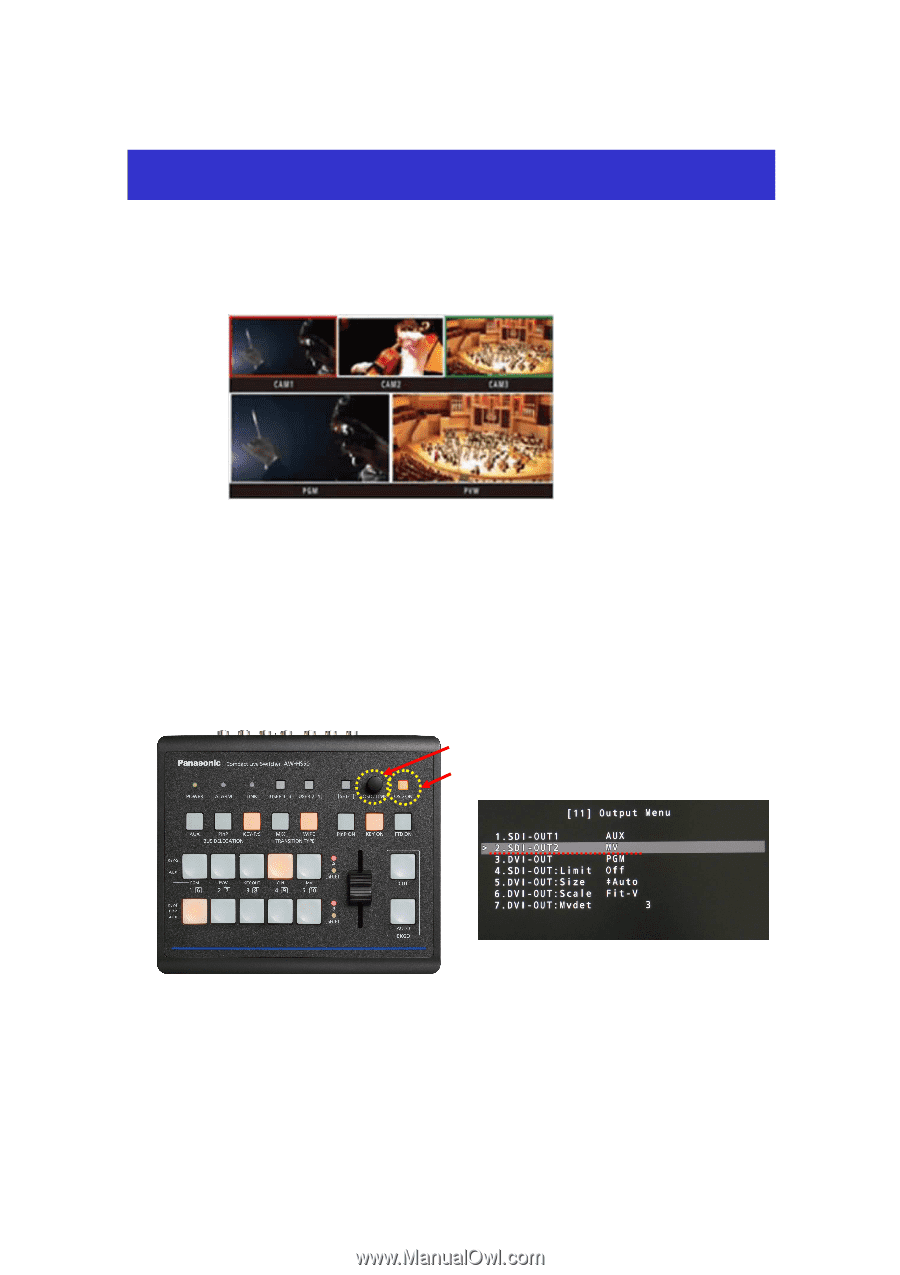
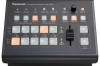
Setting for Multi View (MV) Display ★ This switcher has a single-channel Multi View (MV) output that can display PGM, PVW, input image, AUX image, etc. at the same time on an external monitor. You can select the screen from 8 patterns (4-split, 5-split A/B, 6-split A/B, 9-split, 10-split A/B). (Image of Multi View Display) (Setting for Display on the Screen) ★ This is to explain the operation for assigning the output signal [MV] to SDI OUT2. * It is also possible to assign [MV] to SDI OUT1 or DVI OUT. ① Hold down the OSD ON button - (Fig.1-A) for 2 seconds to open the menu. (To close it, hold down the button again for 2 seconds.) ② Use the OSD/TIME dial - (Fig.1-B) to change the following menu setting. Menu: [11] Output Menu > 2. SDI-OUT2 => [MV] - (Fig.2) * Default Setting: PVW (Figure 1: AW-HS50 Control Panel) (B) (A) (Figure 2: AW-HS50 Menu Display Screen)
-
 1
1 -
 2
2
 |
 |