Panasonic CT13R52DE CT13R52DE User Guide - Page 5
FM Radio Operation
 |
View all Panasonic CT13R52DE manuals
Add to My Manuals
Save this manual to your list of manuals |
Page 5 highlights
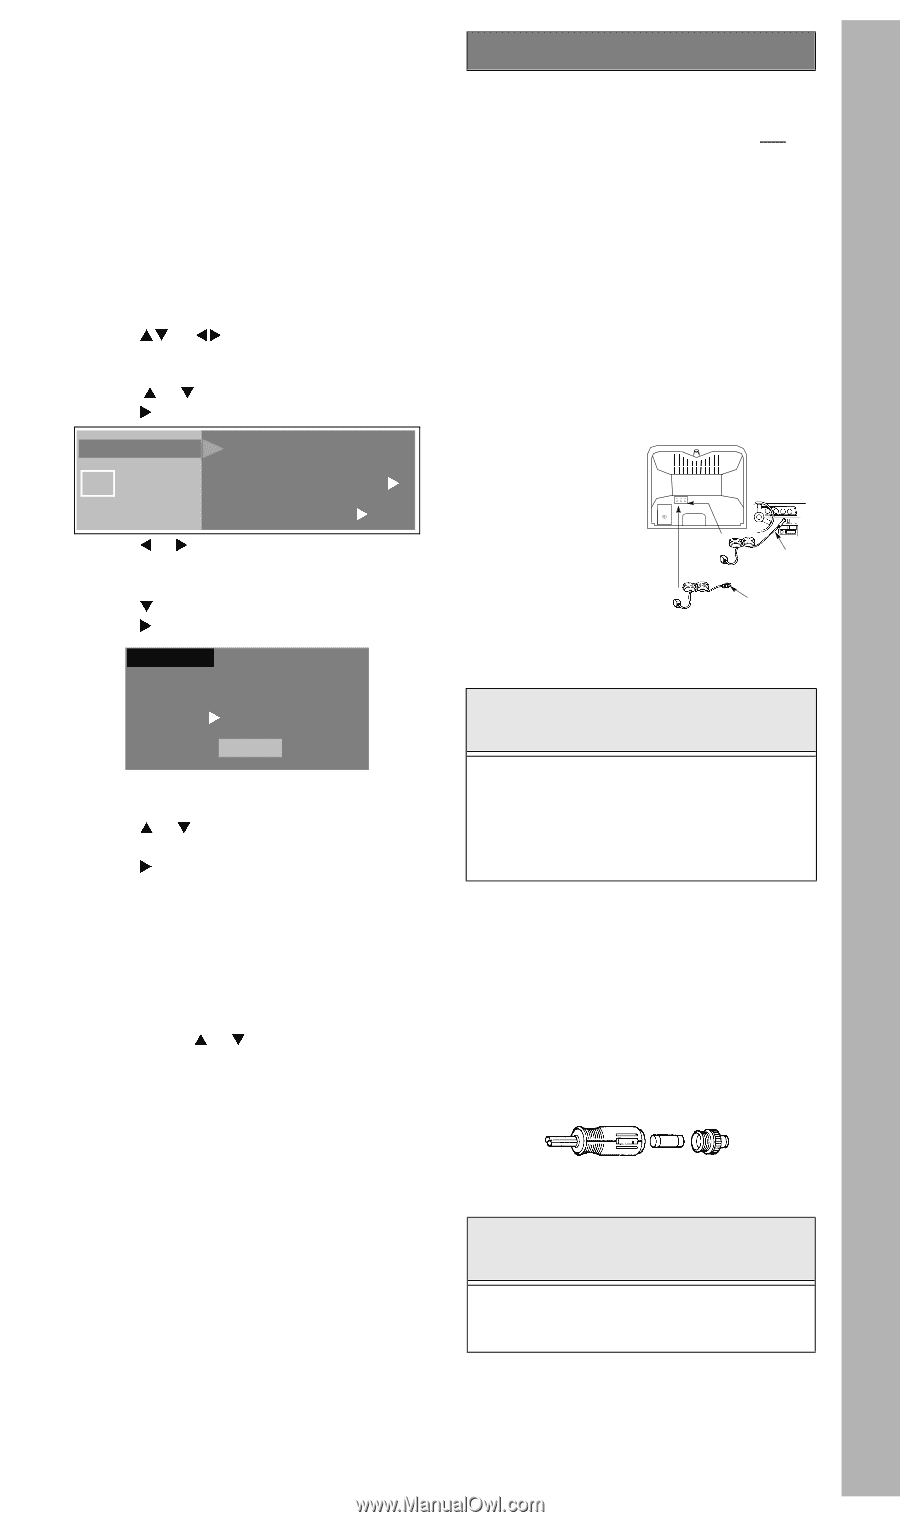
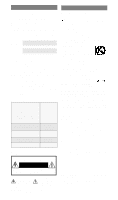
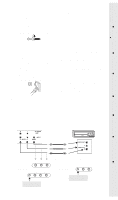
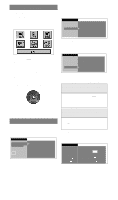
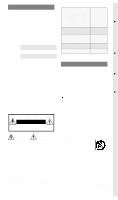
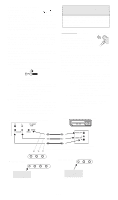
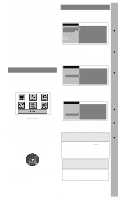
MAIN MENU l REMOTE CONTROL l SPECIAL FEATURES l LANGUAGES l TIMER l CHANNEL CAPTION l LOCK l FM RADIO OPERATION l AC/DC POWER SOURCES l LOCK Refer to your V-CHIP manual for the operation of LOCK menu. FM Radio Operation (Models CT-13R32C, CT-13R42C, CT-13R52D, CT-20D11D, CT-20G6D, CT-25G6C) Some televisions have built-in FM tuner. You can preprogram up to 9 different FM stations. Use the following procedure to program the FM stations. Procedure 1. Press TV/VIDEO button on the remote control twice to get into FM mode. pq tu 2. Press ACTION button to display MENU Icons. 3. Press or to highlight the SET UP icon. 4. Press ACTION button to display the SET UP 5. 6. menu. p q Press or button to highlight PROG CHAN. u Press button to highlight FM ANTENNA. PROG CHANNEL CC FM ANTENNA u INT OTHER ADJ. FM PROGRAM u t u 7. Press or button to select INT or EXT. • INT - For Cable TV users. 8. 9. • EXT - For antenna users. q Press button to highlight FM Program. u Press button to display FM PROGRAM screen. SET UP FM PROGRAM u FM POSITION 1 87.5 MHZ TO ADD PRESS ACTION TO EXIT 10. Press numeric keys 1 through 9 on the remote p q control to select the appropriate FM position. 11. Press or button to select the desired FM u frequency. 12. Press button to add the station to memory. 13. Repeat steps 10 through 12 until all 9 positions have been programmed into memory. 14. Press ACTION button to exit the programming menu. You can select any of the 9 stations by pressing the appropriate number button on the remote control. p q Tuning FM station manually In FM mode, press or button to change the station frequency. Note: In FM mode, press R-TUNE button to toggle between TV and FM radio. AC/DC POWER SOURCES DC Models ONLY This TV model operates on both standard household current (120 volt, 60 Hz AC) and car battery (12 volt negative ground DC) through the cigarette lighter. An AC power cord and a car cigarette lighter adapter cord are supplied. Household Installation Insert the AC power cord into the connection on the rear of the TV. Connect the two pronged plug to an AC outlet (120 volt, 60Hz). If you are unable to insert the plug fully into the wall outlet, try reversing it. If the plug does not fit, contact an electrician. Do not force the plug or defeat the safety purpose of the polarized plug. Car Installation Insert the power cord into the connection on the rear of the TV. Remove the cigarette lighter from your car and insert the car cigarette lighter adapter plug. Note: The supplied car cord is designed for use with a negative ground battery only. AC/DC Power Cord Connections (12V/DC) (120V/AC) Helpful Hints: Do Not Overload the Engine Keep the engine idling while operating the TV, especially when the temperature is low and when viewing the TV for over an hour. Do not operate the TV while starting the engine. Disconnect the power cord from cigarette lighter when not in use. Fuse Replacement If the TV does not turn on, the cigarette lighter adapter fuse may have blown. Procedure • Turn TV OFF and unplug the power cord from the cigarette lighter. • Remove the cap and replace the fuse, as shown in illustration. • Insert the supplied spare fuse and replace cap. Car Cord Plug with Fuse and Cap Note: Use only a 7A-125V fuse for replacement. Helpful Hints: Keeping Lighter Socket Clean Always keep the cigarette lighter socket clean for better contact. A bad contact can overheat the car cord plug. - 5 -
-
 1
1 -
 2
2 -
 3
3 -
 4
4 -
 5
5 -
 6
6 -
 7
7 -
 8
8 -
 9
9 -
 10
10 -
 11
11 -
12
 |
 |