Panasonic SAXR58 SAXR58 User Guide - Page 21
Using Hdavi Control
 |
View all Panasonic SAXR58 manuals
Add to My Manuals
Save this manual to your list of manuals |
Page 21 highlights
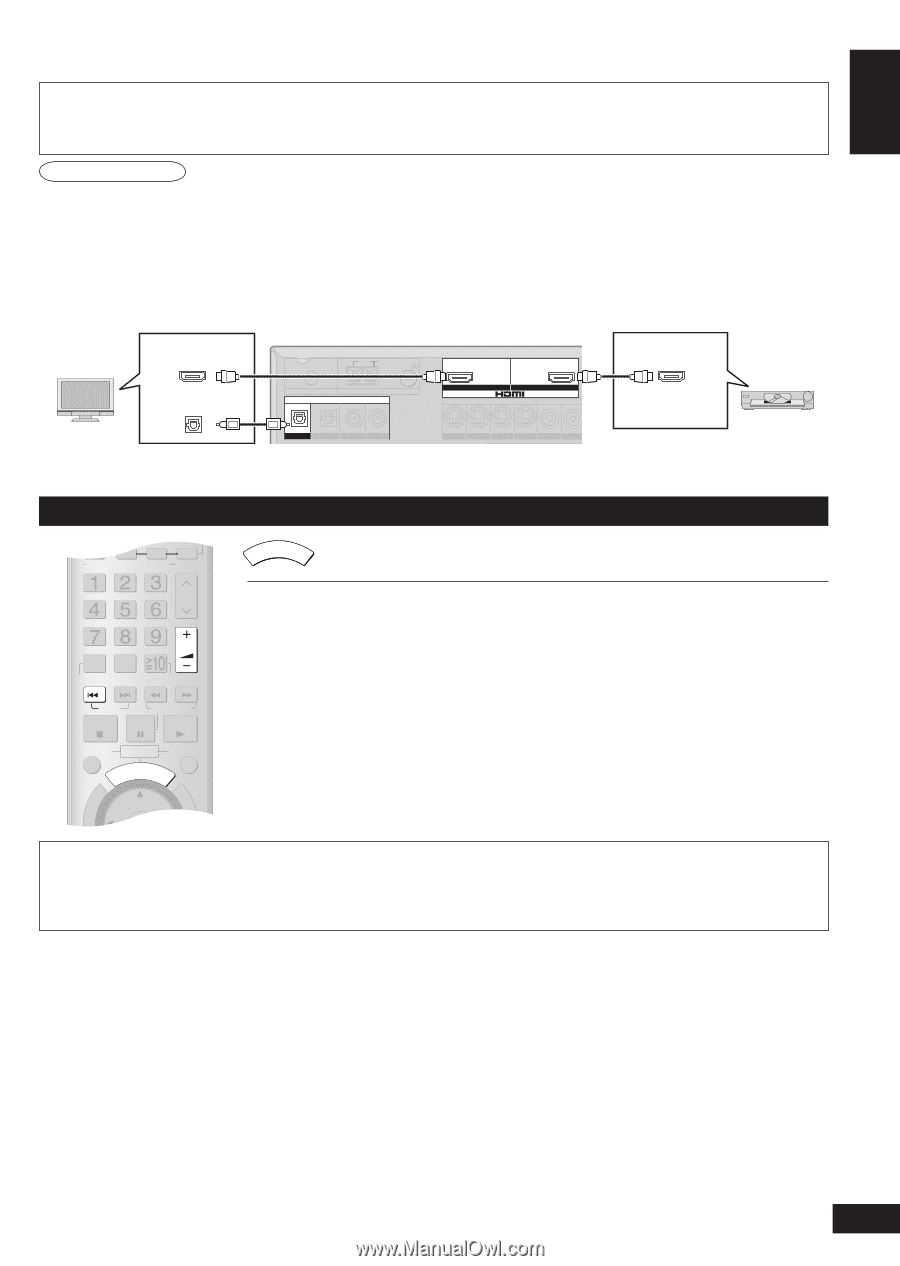
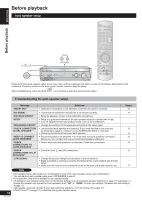
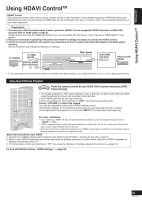
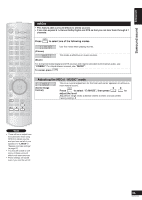
�DIRECT NAVITGOAPTOMRENU Using HDAVI ControlTM ENGLISH Using HDAVI ControlTM HDAVI Control This convenient feature links control of your receiver and your other Panasonic home theater equipment. VIERA televisions and DIGA DVD recorders connected with an HDMI cable can be controlled in this way. For details, refer to the operating instructions of your other equipment. Preparation 1. Connect your other Panasonic home theater equipment (HDAVI Control compatible VIERA television or DIGA DVD recorder) with an HDMI cable (➡ page 5). (Cables that do not meet the HDMI specifications are not compatible with this feature. Use a Panasonic HDMI cable for best results.) 2. Read your television's operating instructions and make the settings necessary to activate the HDAVI Control. 3. Switch on all your equipment, then switch your television off then on again and check that images from DIGA appear correctly. (Do this whenever you change connections or settings.) TV (VIERA) TV HDMI (AV IN) DIGITAL AUDIO OUT (OPTICAL) Rear panel LOOP EXT LOOP ANT GND FM ANT DIGITAL IN AM ANT OUT S VIDEO (DVD RECORDER) IN (TV/STB) (DVD RECORDER) (DVD PLAYER) (CD) OPTICAL1 OPTICAL2 COAXIAL1 COAXIAL2 OUT IN IN IN OUT IN TV MONITOR DVD PLAYER DVD RECORDER TV/STB TV MONITOR DVD PLAYER DVD HDMI (AV OUT) DVD recorder (DIGA) • To take advantage of the multi-channel sounds now available with digital television, use a digital connection if your TV has a digital output terminal. RECEIVER AV One-toSYuSTcEMh HoREmCORDeER Theater TV DVD TUNER CD BAND PLAYER VCR DVD ANALOG 6CH ONE TOUCH PLAY Point the remote control at your DIGA DVD recorder and press [ONE TOUCH PLAY]. CH 0 DISC DIRECT TUNING VOLUME -/-- SKIP SLOW/SEARCH 1. Your DIGA switches on. Play starts if there is a disc in the tray. If a disc is not in the tray, DIGA plays the television program last recorded to the hard disk. 2. Your VIERA switches on and input switches. 3. This unit switches on, input switches to "DVR", and multi-channel play starts. Press [+ VOLUME -] to adjust the volume. You can also adjust the volume with VIERA's remote control. (An indicator appears on the television showing that you are adjusting this unit's volume.) If the beginning of the program is cut off, press [u SKIP] to skip back to the beginning. STOP PAUSE PLAY DRIVE SELECT DVD RECORDER MANUAL SKIP ONE TOUCH PLAY ENTER �FUNCTIONS For your reference • If you switch your VIERA off, this unit also switches off (unless you have changed the input source to "TUNER" or "CD"). • VIERA's speakers start to output the audio instead if you switch this unit off. If you then switch this unit on again, audio output switches back to this unit. • If this unit is off and you switch the setting on your VIERA so that audio is output from a connected receiver, this unit switches on and starts to output the audio. MultiS-UcBhMEaNUnnel audio fRoETrURyNour VIERA • Connect your VIERA's digital output terminal to the DIGITAL IN OPTICAL 1 terminal on this unit (➡ page 9). • Refer to your VIERA's operating instructions and make the settings necessary to switch audio output from VIERA's speakers to speakOeFFrsSUcBWoOOnFEnR eDIcMMtEeR d tToV this unit. • The input LsEoVEuL rcEeFFECoT nVOthL is unit switches to "TV" if you select a channel or otherwise operate the television (➡ page 34). To turnNEOo:6ff HDAVI CToV/AnVtrol, "HDMI settings", ➡ page 29. SFC AUTO MUSIC MOVIE TEST MUTING 21 RQTV0156
-
 1
1 -
2
-
3
-
4
-
5
-
6
-
7
-
8
-
9
-
10
-
11
-
12
-
13
-
14
-
15
-
 16
16 -
 17
17 -
 18
18 -
 19
19 -
 20
20 -
 21
21 -
 22
22 -
 23
23 -
 24
24 -
 25
25 -
 26
26 -
27
-
28
-
29
-
30
-
31
-
32
-
33
-
34
-
35
-
36
-
37
-
38
-
39
-
40
 |
 |