Pfaff 261 Owner's Manual - Page 9
Setting, Built-in, Automatic, Embroidery, Mechanism - type
 |
View all Pfaff 261 manuals
Add to My Manuals
Save this manual to your list of manuals |
Page 9 highlights
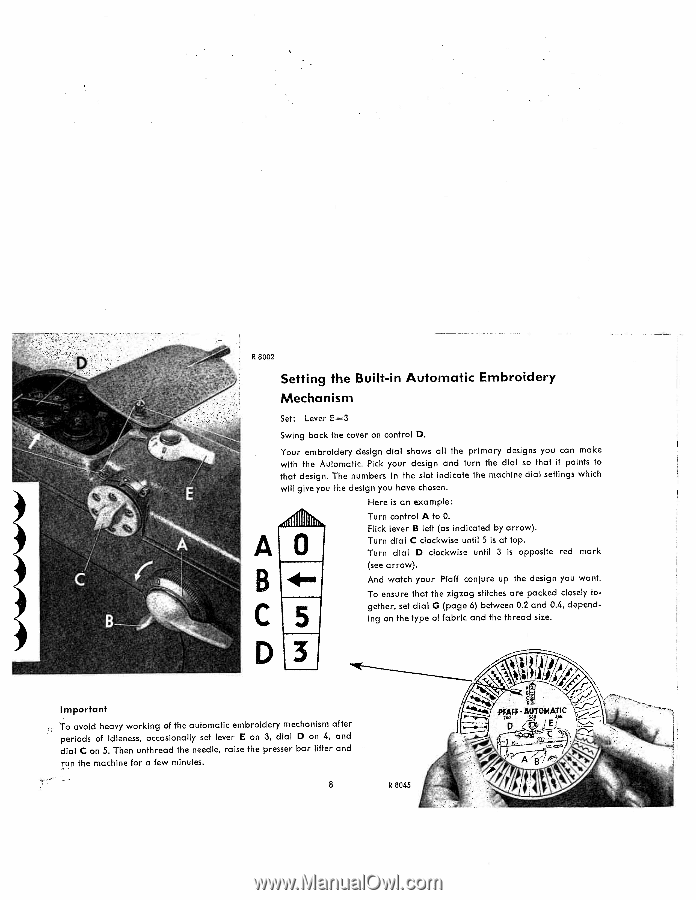
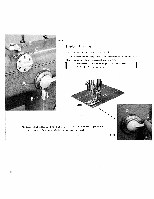
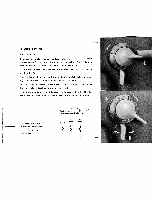
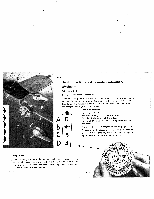
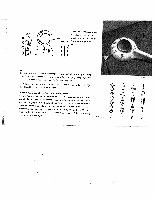
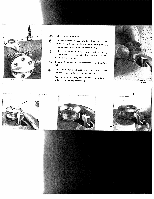
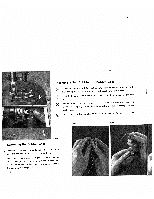
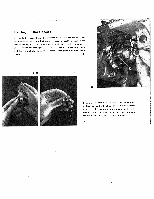
'p ) R 8002 Setting the Built-in Automatic Embroidery Mechanism Set: Lever E=3 Swing back the cover on control 0. Your embroidery design dial shows all the primary designs you can make with the Automatic. Pick your design and turn the dial so that it points to that design. The numbers in the slot indicate the machine dial settings which will give you the design you have chosen. Here is an example: Aj Bli C15 Turn control A to 0. Flick lever B left (as indicated by arrow). Turn dial C clockwise until 5 is at top. Turn dial D clockwise until 3 is opposite red mark (see arrow). And watch your Pfaff conjure up the design you want. To ensure that the zigzag stitches are packed closely to gether, set dial G (page 6) between 0.2 and 0.4, depend ing on the type of fabric and the thread size. DL3 Important To avoid heavy working of the automatic embroidery mechanism after periods of idleness, occasionally set lever E on 3, dial D on 4, and dial C on 5. Then unthread the needle, raise the presser bar lifter and run the machine for a few minutes. 8 R8045
-
 1
1 -
2
-
3
-
 4
4 -
 5
5 -
 6
6 -
 7
7 -
 8
8 -
 9
9 -
 10
10 -
 11
11 -
 12
12 -
 13
13 -
 14
14 -
15
-
16
-
17
-
18
-
19
-
20
-
21
-
22
-
23
-
24
-
25
-
26
-
27
-
28
-
29
-
30
-
31
-
32
-
33
-
34
-
35
-
36
-
37
-
38
-
39
-
40
-
41
-
42
-
43
-
44
-
45
-
46
-
47
-
48
-
49
-
50
-
51
-
52
-
53
-
54
-
55
-
56
-
57
 |
 |