Pfaff 72 Owner's Manual - Page 36
Pfaff 72 Manual
 |
View all Pfaff 72 manuals
Add to My Manuals
Save this manual to your list of manuals |
Page 36 highlights
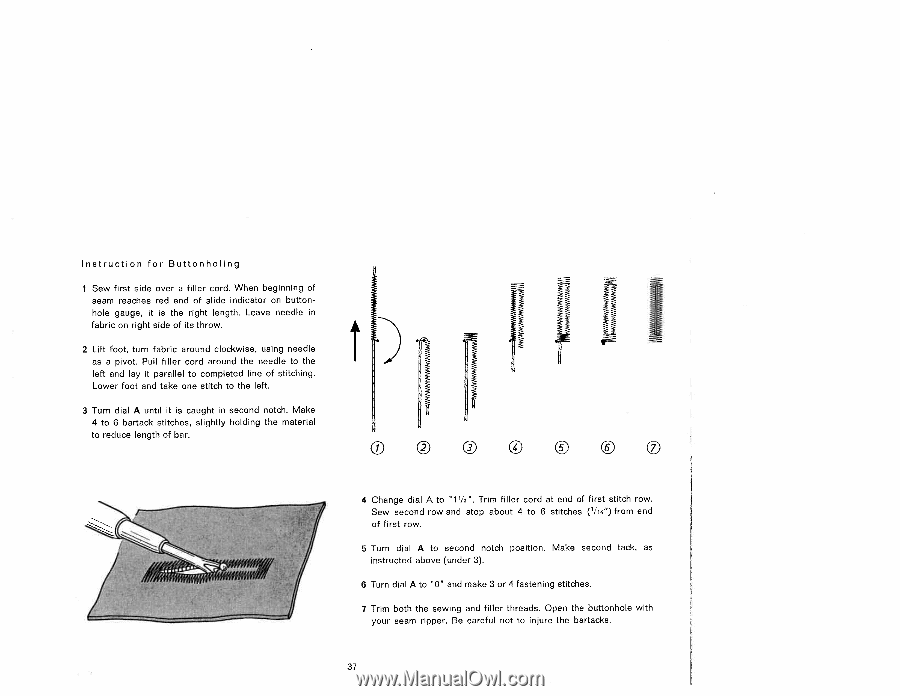
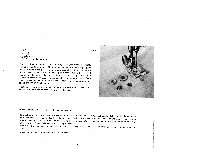
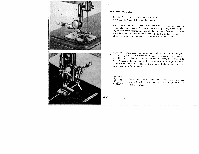
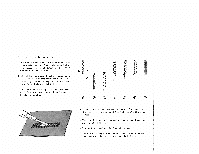
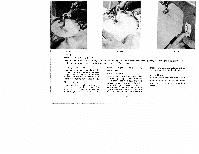
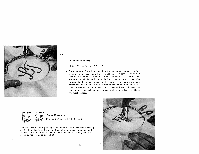
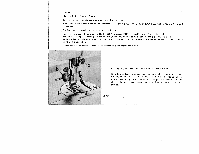
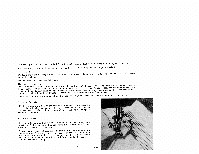
Instruction for Buttonholing 1 Sew first side over a filler cord. When beginning of seam reaches red end of slide indicator on button hole gauge, it is the right length. Leave needle in fabric on right side of its throw. 2 Lift foot, turn fabric around clockwise, using needle as a pivot. Pull filler cord around the needle to the left and lay it parallel to completed line of stitching. Lower foot and take one stitch to the left. 3 Turn dial A until it is caught in second notch. Make 4 to 6 bartack stitches, slightly holding the material to reduce length of bar. In p Np I 0 0©© 4 Change dial A to "1 ". Trim filler cord at end of first stitch row. Sew second row and stop about 4 to 6 stitches (h/io") from end of first row. 5 Turn dial A to second notch position. Make second tack, as instructed above (under 3). 6 Turn dial A to "0" and make 3 or 4 fastening stitches. 7 Trim both the sewing and filler threads. Open the buttonhole with your seam ripper. Be careful not to injure the bartacks. 37
-
 1
1 -
2
-
3
-
4
-
5
-
6
-
7
-
8
-
9
-
10
-
11
-
12
-
13
-
14
-
15
-
16
-
17
-
18
-
19
-
20
-
21
-
22
-
23
-
24
-
25
-
26
-
27
-
28
-
29
-
30
-
 31
31 -
 32
32 -
 33
33 -
 34
34 -
 35
35 -
 36
36 -
 37
37 -
 38
38 -
 39
39 -
 40
40 -
 41
41 -
42
-
43
-
44
-
45
 |
 |