Pfaff creative 4874 Owner's Manual - Page 90
needles L 0, 1 and 2 as far as they will go
 |
View all Pfaff creative 4874 manuals
Add to My Manuals
Save this manual to your list of manuals |
Page 90 highlights
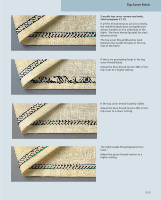
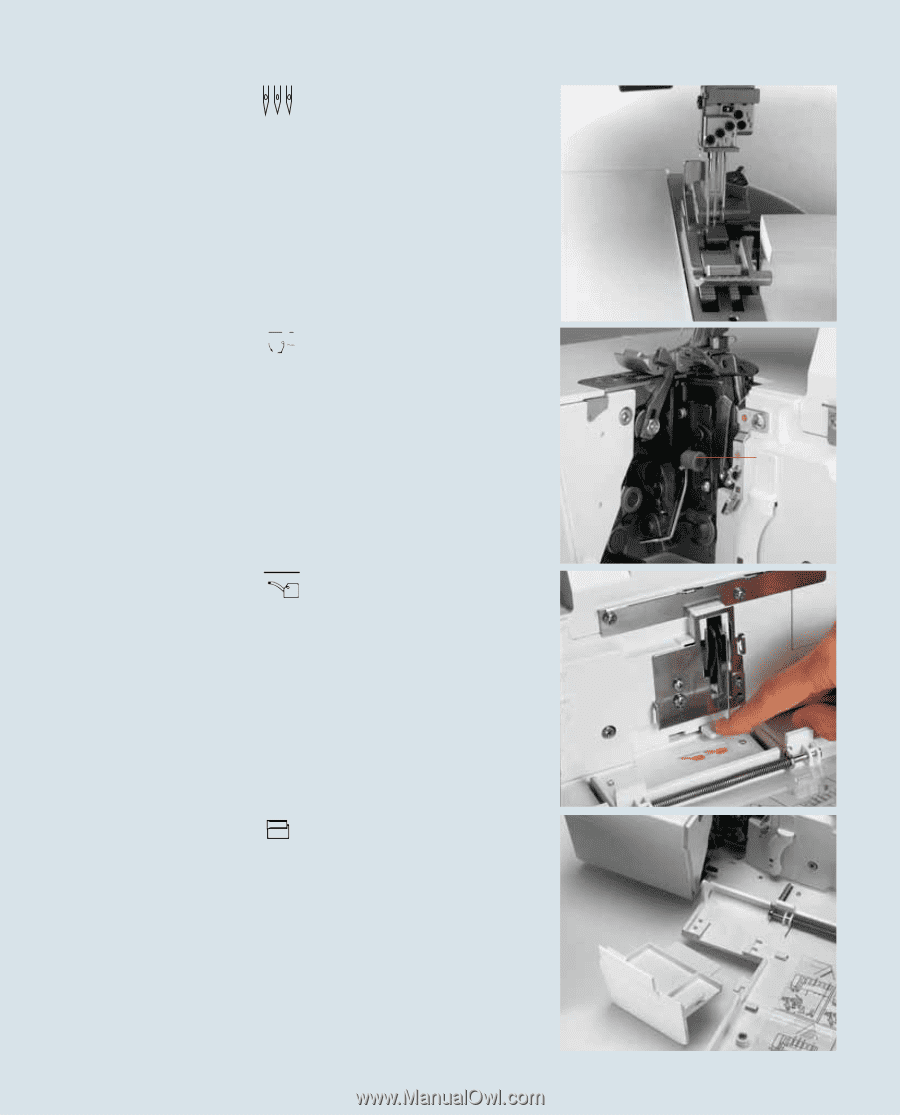
0 1L 2 1R 2 With the needle changing tool, insert needles L 0, 1 and 2 as far as they will go into the needle holder (make sure the needles are inserted all the way with your fingers). Tighten the associated retaining screw and remove the needle changing tool. Pull knob A of the stitch finger (32) to the right and swing it down into its disengaged position. A Turn the hand wheel to bring the upper looper to its lowest position. Press the lever (18) down and push it to the left. Turn the hand wheel to ensure that the upper looper is indeed disengaged. Remove the knife guard and push the sewing table (accessory) down between the two front cover guides. 6-4
-
 1
1 -
2
-
3
-
4
-
5
-
6
-
7
-
8
-
9
-
10
-
11
-
12
-
13
-
14
-
15
-
16
-
17
-
18
-
19
-
20
-
21
-
22
-
23
-
24
-
25
-
26
-
27
-
28
-
29
-
30
-
31
-
32
-
33
-
34
-
35
-
36
-
37
-
38
-
39
-
40
-
41
-
42
-
43
-
44
-
45
-
46
-
47
-
48
-
49
-
50
-
51
-
52
-
53
-
54
-
55
-
56
-
57
-
58
-
59
-
60
-
61
-
62
-
63
-
64
-
65
-
66
-
67
-
68
-
69
-
70
-
71
-
72
-
73
-
74
-
75
-
76
-
77
-
78
-
79
-
80
-
81
-
82
-
83
-
84
-
 85
85 -
 86
86 -
 87
87 -
 88
88 -
 89
89 -
 90
90 -
 91
91 -
 92
92 -
 93
93 -
 94
94 -
 95
95 -
96
-
97
-
98
-
99
-
100
-
101
-
102
-
103
-
104
-
105
-
106
-
107
-
108
-
109
-
110
-
111
-
112
-
113
-
114
-
115
-
116
-
117
-
118
-
119
-
120
-
121
-
122
-
123
-
124
-
125
-
126
-
127
-
128
-
129
-
130
-
131
-
132
-
133
-
134
-
135
-
136
-
137
-
138
-
139
-
140
-
141
-
142
-
143
-
144
 |
 |
6-4
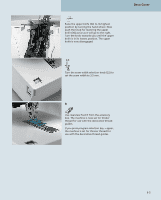
Remove the knife guard and push the
sewing table (accessory) down between
the two front cover guides.
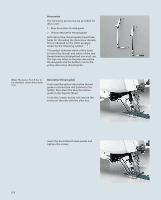
Turn the hand wheel to bring the upper
looper to its lowest position. Press the lever
(18) down and push it to the left. Turn
the hand wheel to ensure that the upper
looper is indeed disengaged.
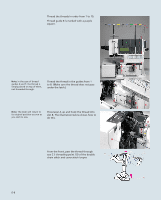
Pull knob A of the stitch finger (32) to
the right and swing it down into its
disengaged position.
0
1
L
21
R
2
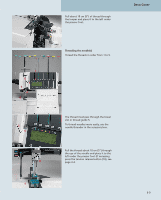
With the needle changing tool, insert
needles L 0, 1 and 2 as far as they will go
into the needle holder (make sure the
needles are inserted all the way with your
fingers). Tighten the associated retaining
screw and remove the needle changing
tool.
A