Pfaff creative 7560 Owner's Manual - Page 21
inwrn
 |
View all Pfaff creative 7560 manuals
Add to My Manuals
Save this manual to your list of manuals |
Page 21 highlights
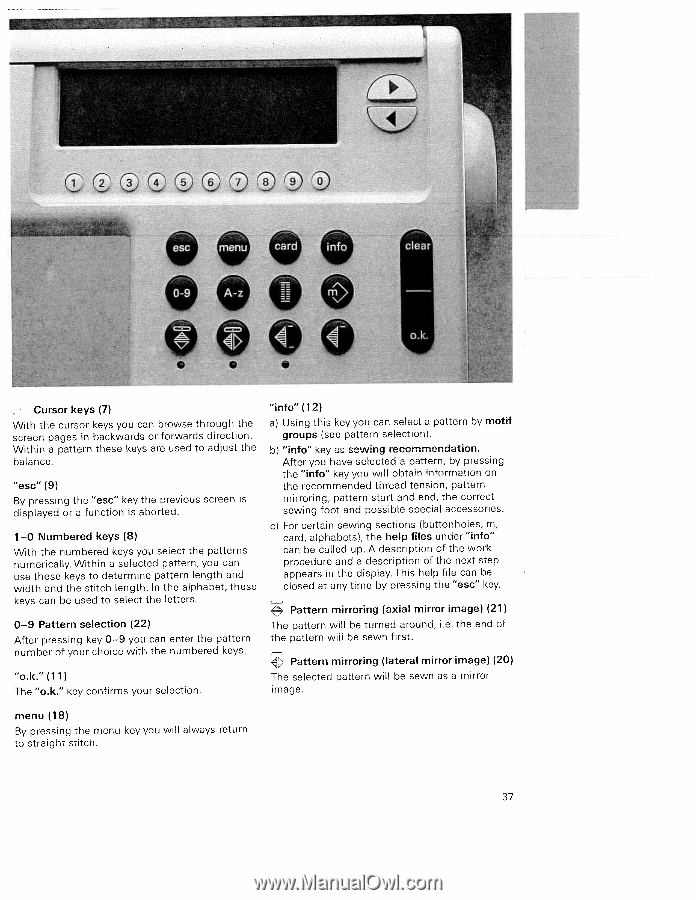
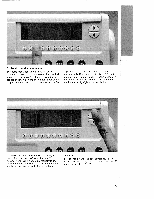
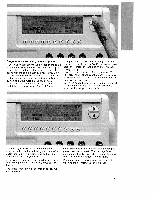
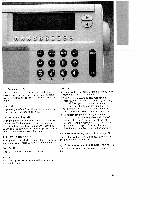
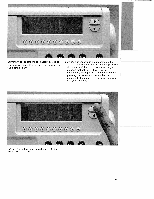
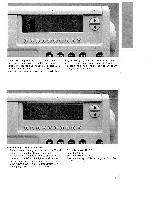
_____ [:!: - fI7h inwrn 0•Ii Cursor keys (7) With the cursor keys you can browse through the screen pages in backwards or forwards direction. Within a pattern these keys are used to adjust the balance. "esc"(9) By pressing the "esc" key the previous screen is displayed or a function is aborted. 1-0 Numbered keys (8) With the numbered keys you select the patterns numerically. Within a selected pattern, you can use these keys to determine pattern length and width and the stitch length. In the alphabet, these keys can be used to select the letters. 0-9 Pattern selection (22) After pressing key 0-9 you can enter the pattern number of your choice with the numbered keys. "o.k."(ll) The "o.k." key confirms your selection. "info" (12) a) Using this key you can select a pattern by motif groups (see pattern selection). b) "info" key as sewing recommendation. After you have selected a pattern, by pressing the "info" key you will obtain information on the recommended thread tension, pattern mirroring, pattern start and end, the correct sewing foot and possible special accessories. c) For certain sewing sections (buttonholes, m, card, alphabets), the help tiles under"info" can be called up. A description of the work procedure and a description of the next step appears in the display. This help file can be closed at any time by pressing the "esc" key. Pattern mirroring (axial mirror image) (21) The pattern will be turned around, i.e. the end of the pattern will be sewn first. 4 Pattern mirroring (lateral mirror image) (20) The selected pattern will be sewn as a mirror image. menu (18) By pressing the menu key you will always return to straight stitch. 37
-
 1
1 -
2
-
3
-
4
-
5
-
6
-
7
-
8
-
9
-
10
-
11
-
12
-
13
-
14
-
15
-
 16
16 -
 17
17 -
 18
18 -
 19
19 -
 20
20 -
 21
21 -
 22
22 -
 23
23 -
 24
24 -
 25
25 -
 26
26 -
27
-
28
-
29
-
30
-
31
-
32
-
33
-
34
-
35
-
36
-
37
-
38
-
39
-
40
-
41
-
42
-
43
-
44
-
45
-
46
-
47
-
48
-
49
-
50
-
51
-
52
-
53
-
54
-
55
-
56
-
57
-
58
-
59
-
60
-
61
-
62
-
63
-
64
-
65
-
66
-
67
-
68
-
69
-
70
-
71
-
72
-
73
-
74
-
75
-
76
-
77
-
78
-
79
-
80
-
81
-
82
-
83
-
84
-
85
-
86
-
87
-
88
-
89
-
90
-
91
-
92
-
93
-
94
-
95
-
96
-
97
-
98
-
99
-
100
-
101
-
102
-
103
-
104
-
105
-
106
-
107
-
108
-
109
-
110
-
111
-
112
-
113
-
114
-
115
-
116
-
117
-
118
-
119
-
120
-
121
-
122
-
123
-
124
-
125
-
126
-
127
-
128
-
129
-
130
-
131
-
132
-
133
-
134
-
135
-
136
-
137
-
138
-
139
-
140
-
141
-
142
-
143
-
144
-
145
-
146
-
147
-
148
-
149
-
150
-
151
-
152
-
153
-
154
-
155
 |
 |