Philips LC4746 User Manual - Page 38
Picture Format, Current projection source, Second source, Wireless data
 |
View all Philips LC4746 manuals
Add to My Manuals
Save this manual to your list of manuals |
Page 38 highlights
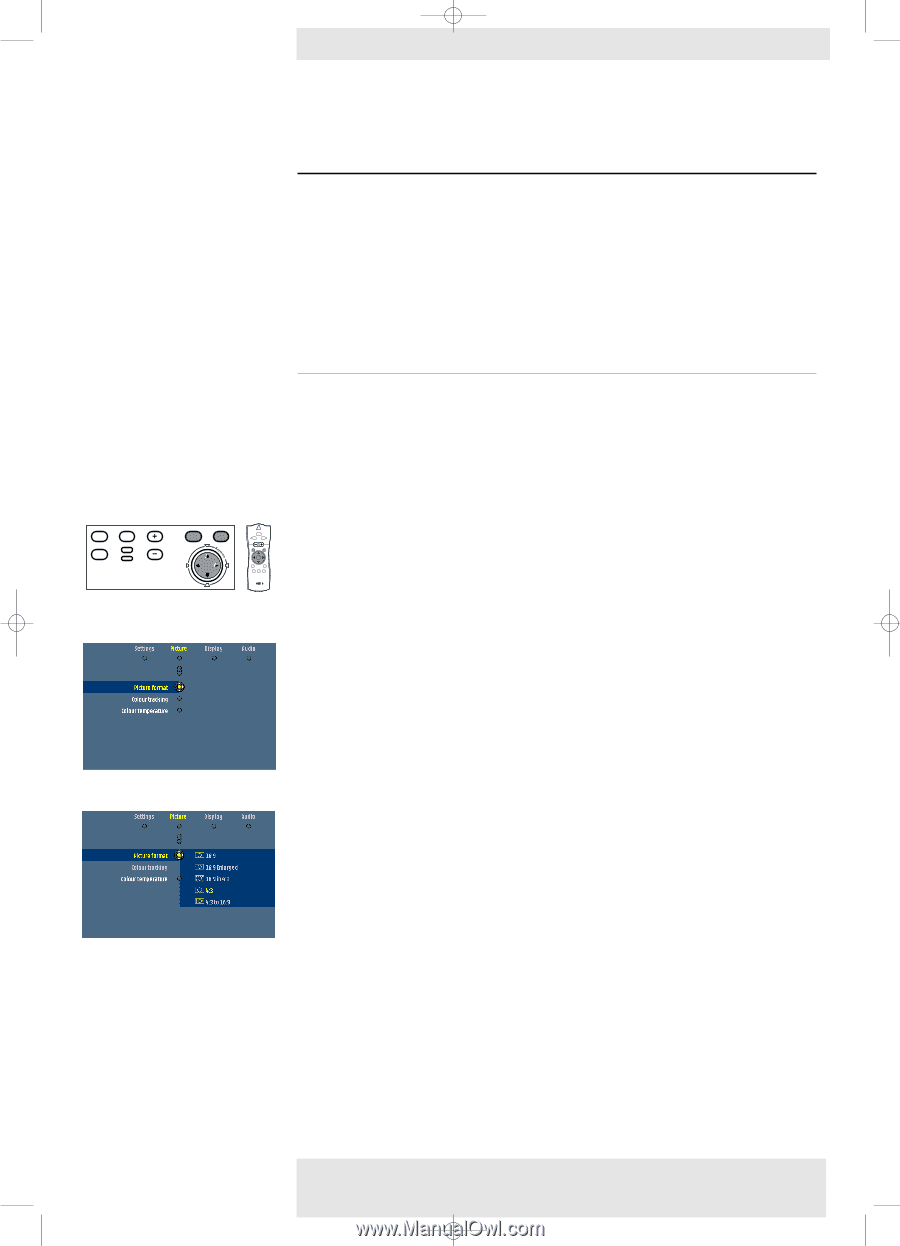
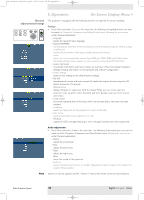
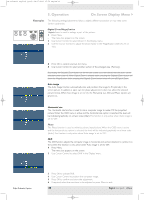
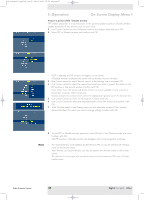
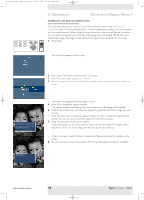
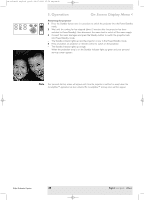
XP cClear10 English (good) 24-07-2003 15:52 Pagina 38 5. Operation Current projection source Wireless data (cClear Wireless version only) On Screen Display Menu > Second source + / - (in PIP window or second window) CVBS S-Video R, G, B/CVBS Y, Cb, Cr Y, Cb, Pr Data 2 Data 1 (analog) Data 1 (digital) - - - - + - + + AV Mute Stand by Source Lamp Temp Menu OK 6 LASER LLEeFftT Mouse RIGigHhTt VOolume Menu OK AV Mute Standby On Source Mode Select Window Picture Format 'Picture Format' is used to select one of six picture format options (wide screen, super zoom 4:3, 4:3, movie expand 14:9, movie expand 16:9, 16:9 subtitles). For both video signal and computer signal input the last selected picture format (beforethe projector was switched off) will be selected again. 1 Press Menu. - The menu bar appears on the screen. 2 Use Cursor Control to select 'Picture format' in the 'Picture' menu. 3 Use Cursor Control to select the required picture format (wide screen, super zoom 4:3, 4:3, movie expand 14:9, movie expand 16:9, 16:9 subtitles) and confirm by pressing OK. - The picture format has now been set. Note Due to the scaling of the image when the picture format is changed, it might be possible that a part of the actual image is missing at the top or the bottom of the screen. With Cursor Control you can adjust the position of the projected image upwards or downwards. Philips Multimedia Projector 38 English User guide cClear
-
 1
1 -
2
-
3
-
4
-
5
-
6
-
7
-
8
-
9
-
10
-
11
-
12
-
13
-
14
-
15
-
16
-
17
-
18
-
19
-
20
-
21
-
22
-
23
-
24
-
25
-
26
-
27
-
28
-
29
-
30
-
31
-
32
-
 33
33 -
 34
34 -
 35
35 -
 36
36 -
 37
37 -
 38
38 -
 39
39 -
 40
40 -
 41
41 -
 42
42 -
 43
43 -
44
-
45
-
46
-
47
 |
 |