Pioneer DEH P2900MP Owner's Manual - Page 6
Use and care of the remote, control, Protecting your unit from, theft, Before You Start
 |
UPC - 012562840062
View all Pioneer DEH P2900MP manuals
Add to My Manuals
Save this manual to your list of manuals |
Page 6 highlights
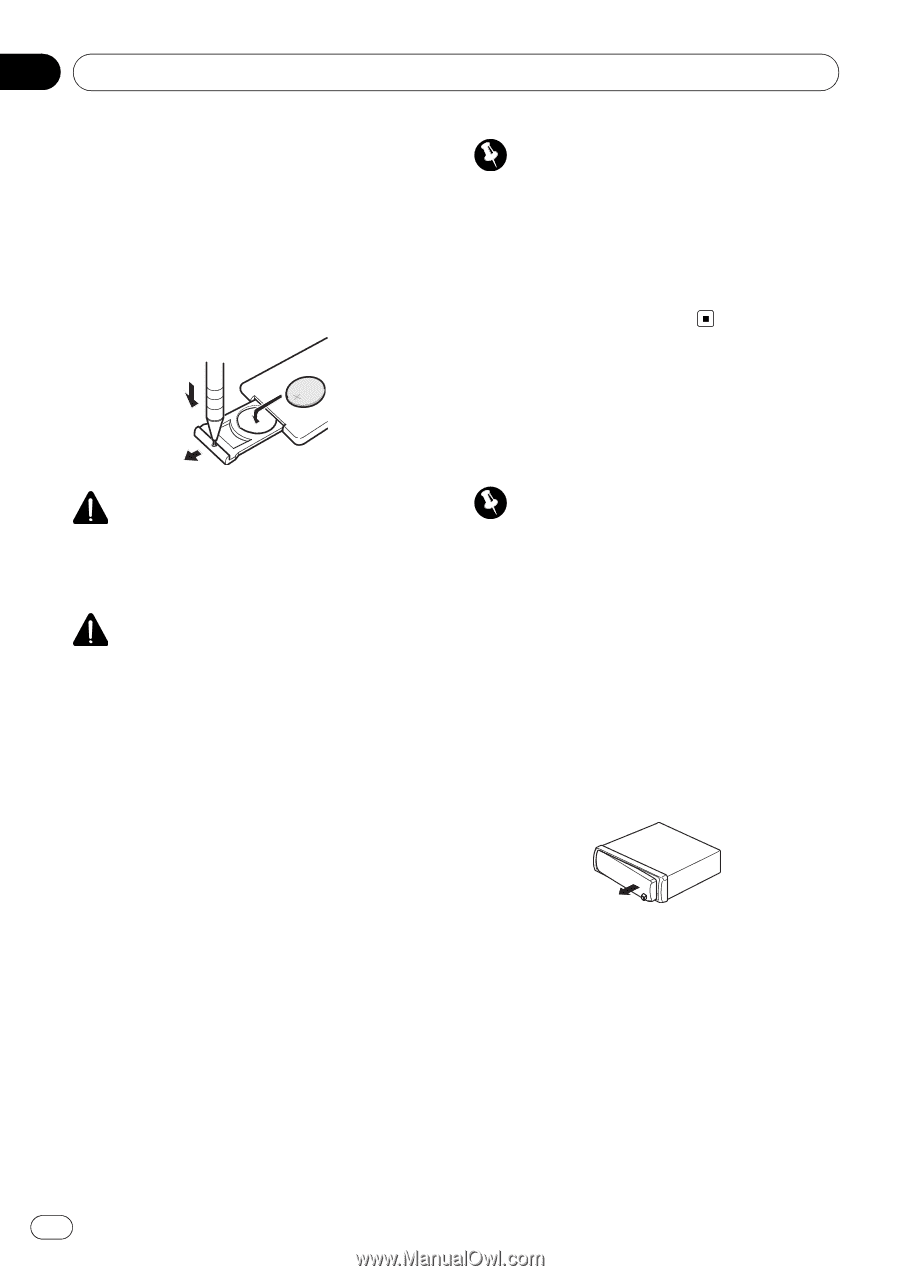
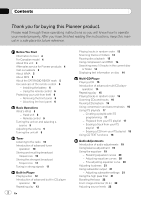
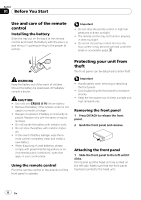
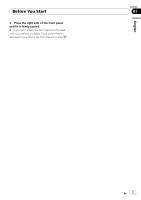
Section 01 Before You Start Use and care of the remote control Installing the battery Slide the tray out on the back of the remote control and insert the battery with the plus (+) and minus (-) poles pointing in the proper direction. Important ! Do not store the remote control in high temperatures or direct sunlight. ! The remote control may not function properly in direct sunlight. ! Do not let the remote control fall onto the floor, where it may become jammed under the brake or accelerator pedal. Protecting your unit from theft The front panel can be detached to deter theft. WARNING Keep the battery out of the reach of children. Should the battery be swallowed, immediately consult a doctor. CAUTION ! Use only one CR2025 (3 V) lithium battery. ! Remove the battery if the remote control is not used for a month or longer. ! Danger of explosion if battery is incorrectly re- placed. Replace only with the same or equivalent type. ! Do not handle the battery with metallic tools. ! Do not store the battery with metallic materials. ! In the event of battery leakage, wipe the remote control completely clean and install a new battery. ! When disposing of used batteries, please comply with governmental regulations or environmental public institutions' rules that apply in your country/area. Using the remote control Point the remote control in the direction of the front panel to operate. Important ! Handle gently when removing or attaching the front panel. ! Avoid subjecting the front panel to excessive shocks. ! Keep the front panel out of direct sunlight and high temperatures. Removing the front panel 1 Press DETACH to release the front panel. 2 Grab the front panel and remove. Attaching the front panel 1 Slide the front panel to the left until it clicks. Front panel and the head unit are jointed on the left side. Make sure that the front panel has been jointed to the head unit. 6 En
-
 1
1 -
 2
2 -
 3
3 -
 4
4 -
 5
5 -
 6
6 -
 7
7 -
 8
8 -
 9
9 -
 10
10 -
 11
11 -
 12
12 -
13
-
14
-
15
-
16
-
17
-
18
-
19
-
20
-
21
-
22
-
23
-
24
-
25
-
26
-
27
-
28
-
29
-
30
-
31
-
32
-
33
-
34
-
35
-
36
-
37
-
38
-
39
-
40
-
41
-
42
-
43
-
44
-
45
-
46
-
47
-
48
-
49
-
50
-
51
-
52
-
53
-
54
-
55
-
56
-
57
-
58
-
59
-
60
-
61
-
62
-
63
-
64
-
65
-
66
-
67
-
68
-
69
-
70
-
71
-
72
-
73
-
74
-
75
-
76
-
77
-
78
-
79
-
80
-
81
-
82
-
83
-
84
-
85
-
86
-
87
-
88
-
89
-
90
-
91
-
92
-
93
-
94
 |
 |