Radio Shack 26-236 Owners Manual
Radio Shack 26-236 - Serial Mouse Manual
 |
UPC - 040293151065
View all Radio Shack 26-236 manuals
Add to My Manuals
Save this manual to your list of manuals |
Radio Shack 26-236 manual content summary:
- Radio Shack 26-236 | Owners Manual - Page 1
2-Button Serial Mouse OWNER'S MANUAL - Please read before using this equipment. Your right button with 32 optional shortcut functions such as Easy-Jump, AutoPanning, and Zoom. SYSTEM REQUIREMENTS • IBM®PC, XT, AT, 386, 486, Pentium • 3½-inch floppy disk drive (if you install the supplied mouse - Radio Shack 26-236 | Owners Manual - Page 2
In Windows 95/98/NT 1. If New Hardware Found appears when your computer restarts, insert the Mouse Driver Version 1.1 disk into drive A or B. When prompted, specify to search for the driver on the floppy disk drive. Otherwise, simply insert the Mouse Driver Version 1.1 disk into drive A or B. 2. - Radio Shack 26-236 | Owners Manual - Page 3
Button Control Panel Click the Button tab to enter Button Assignments and display the Button Swap selection list. Setting Shortcut Button 1. Select the Right Button selection list and click v or w to choose the desired shortcut. There are 32 shortcuts listed. Notes: • The mouse's Left Button - Radio Shack 26-236 | Owners Manual - Page 4
Setting EasyJump Options for Internet 1. Click EasyJump Options to display these functions for the right button check list: Open Browser, Add to Favorites (IE), Organize Favorites (IE), Add Bookmark (Netscape), Edit Bookmark (Netscape), Go next (Forward), Go Previous (Back). Button Swap Functions - Radio Shack 26-236 | Owners Manual - Page 5
, the Button Find feature may not work with all applications. General Tab (Windows 95 Only) We do not anticipate that you will have any problems with your mouse; however, if the mouse or cursor stops operating properly, check the mouse driver name in Mouse Properties under the General tab. If - Radio Shack 26-236 | Owners Manual - Page 6
can try one or more of the following corrective measures: • increase the distance between the equipment and the radio or TV • use outlets on different electrical circuits for the equipment and the radio to TV This device complies with Part 15 of the FCC Rules. Operation is subject to the following - Radio Shack 26-236 | Owners Manual - Page 7
NOTES 7 - Radio Shack 26-236 | Owners Manual - Page 8
in the performance of warranty service. Repaired or replaced parts failure to follow instructions, improper installation or a RadioShack Authorized Service Facility; (c) installation, set-up service adjustment or reinstallation. This Service What We Sell 12/99 RadioShack A Division of
-
 1
1 -
 2
2 -
 3
3 -
 4
4 -
 5
5 -
 6
6 -
 7
7 -
8
 |
 |
OWNER’S MANUAL — Please read before using this equipment.
©
2000 Tandy Corporation. All Rights Reserved.
RadioShack and RadioShack.com are trademarks
used by Tandy Corporation.
2-Button Serial Mouse
Your RadioShack 2-Button Serial Mouse is
reliable and easy to use. Using your Win-
dows control panel, you can easily program
your mouse for left- or right-handed use and
adjust the cursor size, color, and double-click
speed.
Using
Mouse Driver Version 1.1
, under
Win-
dows 95/98/NT
operation systems, you can
program the right button with 32 optional
shortcut functions such as Easy-Jump, Auto-
Panning, and Zoom.
SYSTEM REQUIREMENTS
• IBM
®
PC, XT, AT, 386, 486, Pentium
•
3½-inch floppy disk drive (if you install
the supplied mouse driver).
•
MS-DOS
®
5.0
or later, or
Windows 3.1
or
later, or
Windows 95/98/NT
.
About Windows 3.1
In
Windows 3.1
, your mouse operates as a
standard serial mouse. The enhanced fea-
tures available when using
Windows 95/98/
NT
are not available in Windows 3.1 (See
“Windows 95/98/NT” on Page 2). If your
mouse does not operate after starting Win-
dows, run
Windows Setup
and select
Mi-
crosoft or IBM PS/2
for the mouse type.
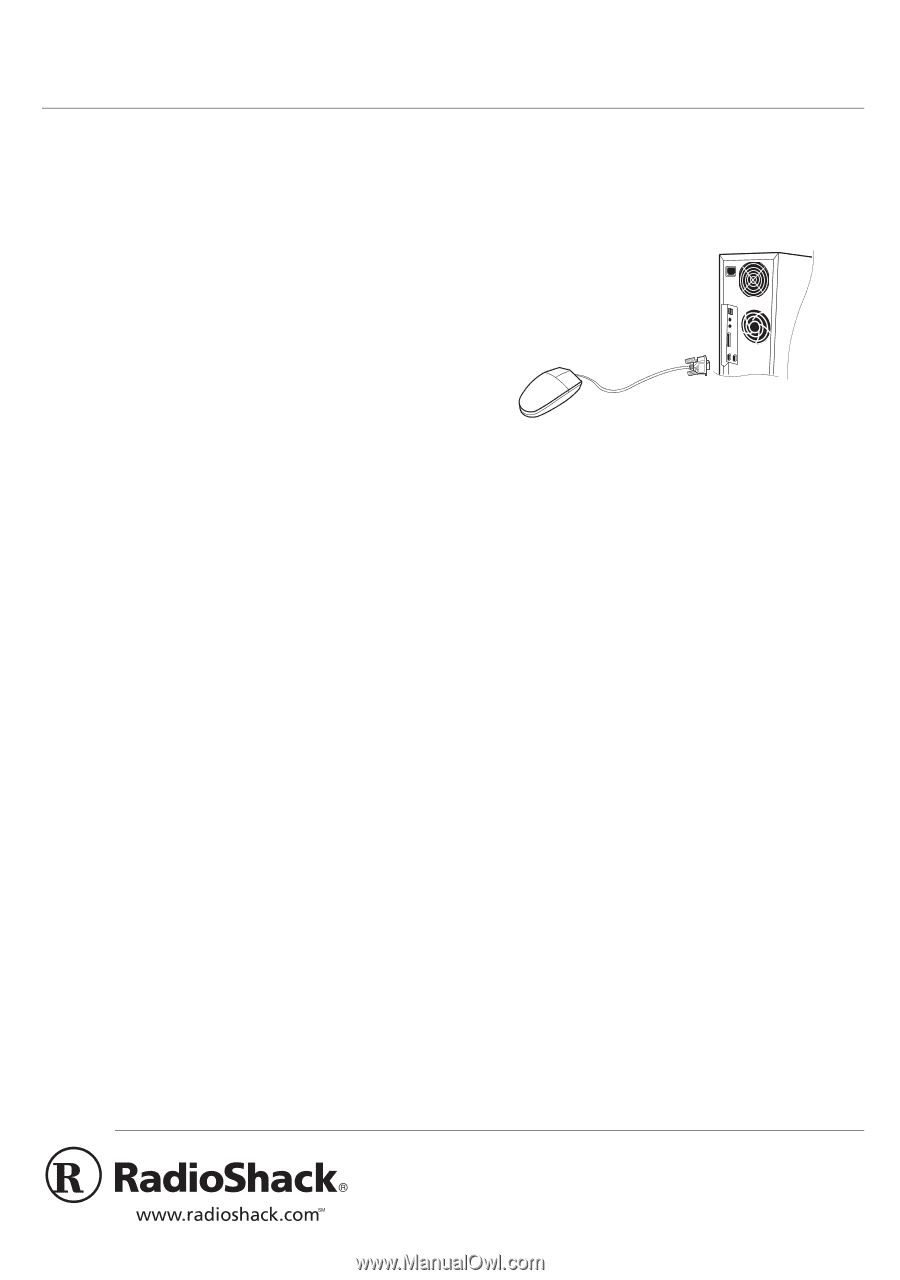
INSTALLATION
Connecting the Mouse
1.
Make sure your computer is turned off.
2. Locate your computer's available 9-pin
serial port.
3. Plug the mouse's serial connector into
the serial port, then tighten the screws.
Caution
: The serial connector fits into the
port only one way. Do not force it.
4.
Turn on your computer.
Installing the Mouse Driver Soft-
ware
Note:
Before installing the
Mouse Driver Ver-
sion 1.1
software, check to see if your
DOS
or
Windows
system has already been has al-
ready been configured for other mouse driv-
ers. If other mouse software is present,
remove it. In updating the system files, your
computer tries to identify and remove other
drivers to prevent conflicts with the AMOUSE
Driver. For example, the driver in AUTOEX-
EC.BAT is removed. This allows the mouse
uninstaller to recognize which statements
need to be left on the system. Do not edit the
REM (by-Mouse-Install) text or the uninstall
feature might not work properly. If you re-
move other mouse software, you must re-
start your computer for the new settings to
take effect.