Ryobi CSB133L English Manual
Ryobi CSB133L Manual
 |
View all Ryobi CSB133L manuals
Add to My Manuals
Save this manual to your list of manuals |
Ryobi CSB133L manual content summary:
- Ryobi CSB133L | English Manual - Page 1
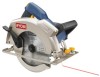
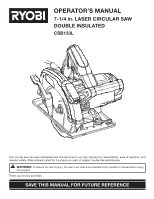
OPERATOR'S MANUAL 7-1/4 in. laser CIRCULAR SAW DOUBLE INSULATED CSB133L 51.5 30 15 Your circular saw has been engineered and manufactured to our high standard for dependability, ease of operation, and operator safety. When properly cared for, it will give you years of rugged, trouble-free - Ryobi CSB133L | English Manual - Page 2
-21 Adjustments...22 Maintenance...23 Accessories...23 Parts Ordering / Service...Back Page INTRODUCTION This product has many features after date of purchase, you may either request service under this warranty or you may exchange any RYOBI® power tool which does not work properly due - Ryobi CSB133L | English Manual - Page 3
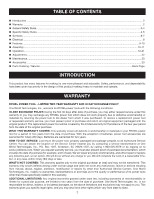
vents. Do not use on a ladder or unstable support. Stable footing on a solid surface enables better control for misalignment or binding of moving parts, breakage of parts and any other condition that may power tool, accessories and tool bits etc., in accordance with these instructions and in the - Ryobi CSB133L | English Manual - Page 4
the risk of injury, user must read instruction manual. When servicing a power tool, use only identical replacement parts. Follow instructions in the Maintenance section of this manual. Use of unauthorized parts or failure to follow Maintenance instructions may create a risk of shock or injury - Ryobi CSB133L | English Manual - Page 5
serviced before use. Lower guard may operate sluggishly due to damaged parts, gummy deposits, or a buildup of debris. Lower guard should be retracted manually by an authorized service center to avoid risk. Save these instructions. Refer to them frequently and use them to instruct others who may - Ryobi CSB133L | English Manual - Page 6
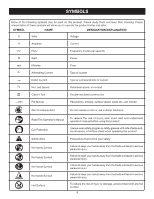
Revolutions, strokes, surface speed, orbits etc., per minute Wet Conditions Alert Do not expose to rain or use in damp locations. Read The Operator's Manual Eye Protection Safety Alert No Hands Symbol No Hands Symbol No Hands Symbol No Hands Symbol Hot Surface To reduce the risk of injury, user - Ryobi CSB133L | English Manual - Page 7
parts. WARNING: To avoid serious personal injury, do not attempt to use this product until you read thoroughly and understand completely the operator's manual. If you do not understand the warnings and instructions in the operator's manual, do not use this product. Call Ryobi customer service - Ryobi CSB133L | English Manual - Page 8
system and should be performed only by a qualified service technician. For service, we suggest you return the product to your nearest authorized service center for repair. Always use original factory replacement parts when servicing. ELECTRICAL CONNECTION This product has a precision-built electric - Ryobi CSB133L | English Manual - Page 9
Input 120 V, AC Only, 60 Hz, 13 Amps No Load Speed 5,000 r/min. (RPM) Net Weight 11 lbs. Laser Guide Class II, - Ryobi CSB133L | English Manual - Page 10
fully to activate the saw. ASSEMBLY UNPACKING This product requires assembly. n Carefully remove the product and any accessories from the box. Make Circular Saw 7-1/4 in. Blade Blade Wrench Operator's Manual WARNING: If any parts are damaged or missing do not operate this product until the parts - Ryobi CSB133L | English Manual - Page 11
use a blade that is too thick to allow the "D" washer to engage with the flat on the spindle. REMOVING BLADE See Figures 2 - 4. Unplug the saw. Depress and hold spindle lock button. Remove blade screw by turning it counterclockwise with the blade wrench, while keeping the spindle lock button - Ryobi CSB133L | English Manual - Page 12
dangerous practices such as the following: Setting blade depth incorrectly Sawing into knots or nails in workpiece Twisting the blade while making a a cut with a dull, gummed up, or improperly set blade Supporting the workpiece incorrectly Forcing a cut Cutting warped or wet lumber - Ryobi CSB133L | English Manual - Page 13
saw into a knot or nail. Make straight cuts. Always use a straight edge guide when rip cutting. This helps prevent twisting the blade. Use clean, sharp, and properly set blades. Never make cuts with dull blades. Support guard attached to the circular saw is there for your protection and safety. - Ryobi CSB133L | English Manual - Page 14
sluggish closing lower guard, do not use the saw. Take it to an authorized factory service center for repair. STARTING/STOPPING THE SAW See Figure 10. To start the saw: Depress the switch trigger. Always let the blade reach full speed, then guide the saw into the workpiece. WARNING: The blade coming - Ryobi CSB133L | English Manual - Page 15
serious personal injury. The laser guide will generate a red laser beam on the work surface in front of the saw when turned on. The laser becomes misaligned after time, refer to the Adjustments section later in this manual. Unplug the saw. Mark the line to be cut on the workpiece. Adjust - Ryobi CSB133L | English Manual - Page 16
workpiece so that the cut is always on your right. Support the workpiece near the cut. Clamp the workpiece securely so that the workpiece will 15 not move during the cut. Avoid placing the saw on the part of the workpiece that will fall off when the cut is made. Place the workpiece - Ryobi CSB133L | English Manual - Page 17
is the amount you should offset the guide. TO RIP CUT WITHOUT edge guide See Figure 18. Use a guide when making long or wide rip cuts with the saw. NOTE: You may also use a edge guide to make rip cuts. Refer to OPTIONAL Edge guide later in this manual. Secure the workpiece. Clamp a straight edge - Ryobi CSB133L | English Manual - Page 18
Release the switch trigger and allow the blade to come to a complete stop. Lift the saw from the workpiece. Bevel Adjustment Knob Bevel Scale 51.5 45 30 15 45° BLADE GUIDE NOTCH 90° BLADE GUIDE NOTCH 51.5° BEVEL NOTCH 0 1 2 3 GUIDELINE Fig. 19 51.5 45 30 15 Bevel Scale BEVEL ADJUSTMENT - Ryobi CSB133L | English Manual - Page 19
flat against the workpiece with the rear of the handle raised so the blade does not touch the workpiece. Start the saw and let the blade reach full speed. Guide the saw into the workpiece and make the cut. WARNING: Always cut in a forward direction when pocket cutting. Cutting in the reverse - Ryobi CSB133L | English Manual - Page 20
bevel adjustment knob. Loosen hex nut securing adjusting screw. Turn screw and adjust base until square with saw blade. Tighten hex nut and bevel adjustment knob securely. WARNING: Attempting a bevel cut without having the bevel adjustment knob securely tightened can result in serious - Ryobi CSB133L | English Manual - Page 21
24. Use the optional edge guide, part no. 969862009, when making long or wide rip cuts with the saw. To assemble edge guide: Unplug the saw. Place edge guide through holes in base as shown in the figure. Adjust edge guide to the width needed. Tighten edge guide lock knob securely. To use - Ryobi CSB133L | English Manual - Page 22
Draw a pencil line on a scrap workpiece parallel to the long edge of the base as a straight line guide to aid in the adjusting process. To adjust the laser laterally: Remove the blade. Plug in the saw. Turn laser on. Rest the front of the base on scrap workpiece. Adjust screw as necessary - Ryobi CSB133L | English Manual - Page 23
MAINTENANCE WARNING: When servicing, use only identical replacement parts. Use of any other parts may create a hazard to avoid a safety hazard. ACCESSORIES Look for these accessories where you purchased this product or call 1-800-525-2579: Edge Guide...969862009 Dust Nozzle Kit...200673001 - Ryobi CSB133L | English Manual - Page 24
out microscopic particles. • Parts and Service Prior to requesting service or purchasing replacement parts, please obtain your model and serial number from the product data plate. • MODEL NUMBER • SERIAL NUMBER CSB133L • How to obtain Replacement Parts: Replacement parts can be purchased online
-
 1
1 -
 2
2 -
 3
3 -
 4
4 -
 5
5 -
 6
6 -
 7
7 -
8
-
9
-
10
-
11
-
12
-
13
-
14
-
15
-
16
-
17
-
18
-
19
-
20
-
21
-
22
-
23
-
24
 |
 |
SAVE THIS MANUAL FOR FUTURE REFERENCE
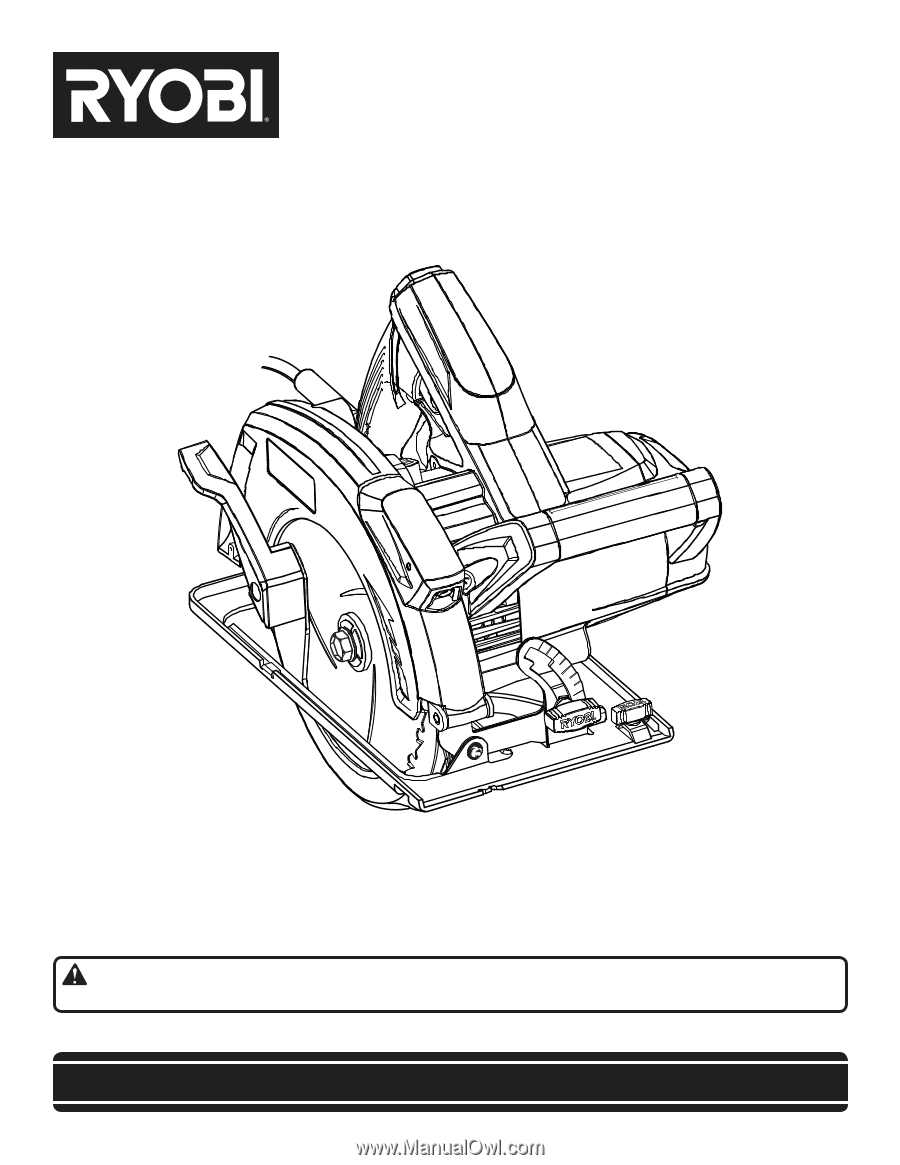
Your circular saw has been engineered and manufactured to our high standard for dependability, ease of operation, and
operator safety. When properly cared for, it will give you years of rugged, trouble-free performance.
WARNING:
To reduce the risk of injury, the user must read and understand the operator’s manual before using
this product.
Thank you for your purchase.
OPERATOR’S MANUAL
7-1/4 in. LASER CIRCULAR SAW
DOUBLE INSULATED
CSB133L
45
51.5
30
15