Ryobi JM82K English Manual
Ryobi JM82K Manual
 |
View all Ryobi JM82K manuals
Add to My Manuals
Save this manual to your list of manuals |
Ryobi JM82K manual content summary:
- Ryobi JM82K | English Manual - Page 1
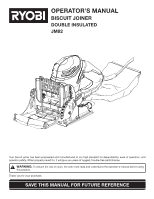
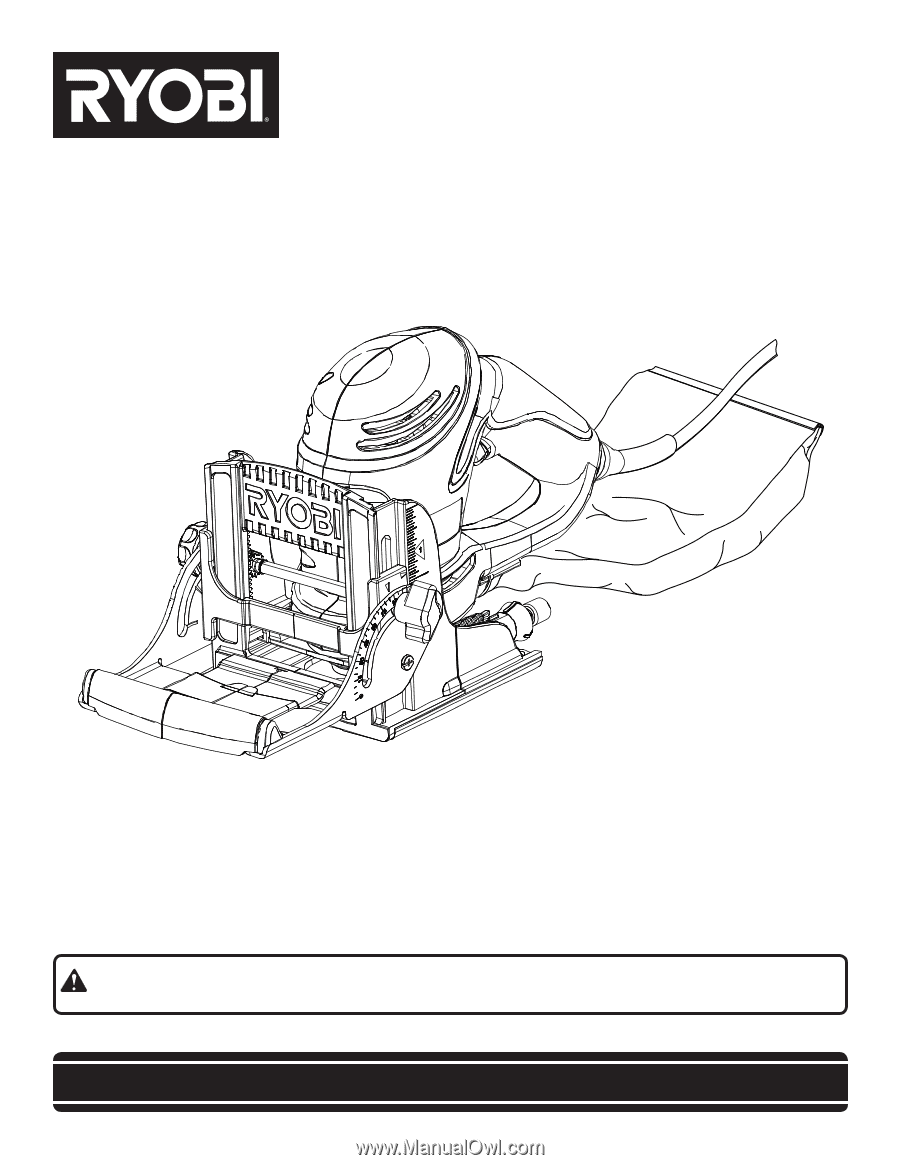
OPERATOR'S MANUAL BISCUIT JOINER DOUBLE INSULATED JM82 Your biscuit joiner has been engineered and manufactured to our high standard for dependability, ease of operation, and operator safety. When properly cared for, it will give you years of rugged, trouble-free performance. WARNING: To reduce the - Ryobi JM82K | English Manual - Page 2
�n Maintenance ...20-23 n Accessories ...24 n Troubleshooting ...24 �n Parts Ordering / Service ...26 INTRODUCTION This tool has many features for COVERS: This warranty covers all defects in workmanship or materials in your RYOBI® power tool for a period of two years from the date of purchase - Ryobi JM82K | English Manual - Page 3
INSTRUCTIONS (one blade is and support the parts, and any other condition that may affect the tool's operation. If damaged, have the tool serviced before using. Many accidents are caused by poorly maintained tools. n Use only accessories that are recommended by the manufacturer for your model - Ryobi JM82K | English Manual - Page 4
personnel may result in a risk of injury. n When servicing a tool, use only identical replacement parts. Follow instructions in the Maintenance section of this manual. Use of unauthorized parts or failure to follow Maintenance Instructions may create a risk of shock or injury. SPECIFIC SAFETY - Ryobi JM82K | English Manual - Page 5
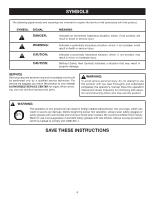
damp locations. Read The Operator's Manual To reduce the risk of injury, user must read and understand operator's manual before using this product. Eye your hands away from the blade will result in serious personal injury. Failure to keep your hands away from the blade will result in serious - Ryobi JM82K | English Manual - Page 6
servicing, use only identical replacement parts. WARNING: To avoid serious personal injury, do not attempt to use this product until you read thoroughly and understand completely the operator's manual. Save this operator's manual and review frequently for continuing safe operation and instructing - Ryobi JM82K | English Manual - Page 7
of the system and should be performed only by a qualified service technician. For service, we suggest you return the tool to your nearest authorized service center for repair. Always use original factory replacement parts when servicing. ELECTRICAL CONNECTION This tool has a precision-built electric - Ryobi JM82K | English Manual - Page 8
FEATURES PRODUCT SPECIFICATIONS Fence Angle Adjustments 0-135° Depth of Cut 0-9/16 in. Cord Length 10 ft. Blade 4 in. No Load Speed 10,000/min. Input 120 V, 60 Hz, AC only, 6.0 Amps Net Weight 8.4 lbs. HEIGHT ADJUSTMENT KNOB HEIGHT SETTING SCALE SWITCH TRIGGER - Ryobi JM82K | English Manual - Page 9
BLADE The biscuit joiner has an 8-tooth carbide-tipped blade for cutting biscuit slots. NON-SKID SURFACE The fence on the biscuit joiner has always be used to guide and balance the biscuit joiner, providing ease of operation and maintaining control. BISCUITS Biscuits swell rapidly upon contact - Ryobi JM82K | English Manual - Page 10
you have carefully inspected and satisfactorily operated the tool. n If any parts are damaged or missing, please call 1-800-525-2579 for assistance. PACKING LIST Biscuit Joiner #10 Biscuits (20) Carrying Case Operator's Manual INSTALLING/REMOVING THE DUST BAG See Figure 2. The dust bag located on - Ryobi JM82K | English Manual - Page 11
must then be cut to fit inside the slots and act as splines. Newer methods of spline joinery use a plate or biscuit joiner to cut precise mating oval slots in adjoining boards. This biscuit joiner is a fast, simple, and accurate plunge-cutting tool that can be used to cut slots in hardwood, softwood - Ryobi JM82K | English Manual - Page 12
adjustments to the depth setting can be made by loosening the knurled adjustment knob and making fine adjustments with the jam nut. n Unplug the biscuit joiner. n Loosen the knurled adjustment knob. This knob is used as a lock nut only. Loosen by twisting it in the opposite direction away from the - Ryobi JM82K | English Manual - Page 13
, the scale and indicator point can only be set up to 2 in. from the center of the blade. Scale marks are in increments of 1/16 in. SETTING THE FENCE HEIGHT See Figure 7. n Unplug the biscuit joiner. n Loosen the locking knob approximately one turn. n Move the fence up or down by rotating the height - Ryobi JM82K | English Manual - Page 14
the indicator marks on the fence with the centerline mark(s) on the board. n Depress the switch trigger to turn on the biscuit joiner, then push it forward to extend the blade into the wood. n When the base assembly bottoms out against the depth of cut adjustment knob setting, pull back, releasing - Ryobi JM82K | English Manual - Page 15
the indicator marks on the fence with the centerline mark(s) on the board. n Depress the switch trigger to turn on the biscuit joiner, then push it forward to extend the blade into the wood. n When the base assembly bottoms out against the depth of cut adjustment knob setting, pull back to release - Ryobi JM82K | English Manual - Page 16
board as shown in figure 12. Attaching shelves to bookcases and inner support braces to frames are typical applications. Actual cutting of a T-joint is slot correctly. MAKING T- JOINTS See Figures 14 - 15. n Unplug the biscuit joiner. n Place the two pieces of wood to be joined on a level workbench - Ryobi JM82K | English Manual - Page 17
guide. It must be square with the sides of the vertical board and parallel with the centerline. n Align the centerline on the bottom of the base assembly with marked intersection for biscuit slot. n Plug the biscuit joiner turn on the biscuit joiner, then push it down to extend the blade into the - Ryobi JM82K | English Manual - Page 18
into the power supply and prepare to cut the slot. n Depress the switch trigger to turn on the biscuit joiner, then push it forward to extend the blade into the wood. n When the base assembly bottoms out against the depth of cut adjustment knob setting, pull back, releasing pressure on the spring - Ryobi JM82K | English Manual - Page 19
into the power supply and prepare to cut the slot. n Depress the switch trigger to turn on the biscuit joiner, then push it forward to extend the blade into the wood. n When the base assembly bottoms out against the depth of cut adjustment knob setting, pull back, releasing pressure on the spring - Ryobi JM82K | English Manual - Page 20
MAINTENANCE WARNING: When servicing, use only identical Ryobi replacement parts. Use of any other parts may create a hazard the carbide tips, which will require replacing the blade. n Unplug the biscuit joiner. n Remove the dust bag. n Place the biscuit joiner upside down on a workbench. n With a - Ryobi JM82K | English Manual - Page 21
parts. n Place the inner blade washer on the gear spindle. n Place the new blade onto the shoulder of the blade washer and secure with the outer blade washer and the blade screw. NOTE: The blade marked on the joiner blade. An arrow plate and lock the blade to prevent it from rotating. n Turn the blade - Ryobi JM82K | English Manual - Page 22
the shoe. Remove the shoe. n Remove the blade. See "Replacing the Blade." n With the blade removed, place the biscuit joiner right side up. Using a pair of needle nose pliers, stretch and release the springs from the tabs on the bearing plate. SHOWN WITHOUT DUST BAG SCREW(S) SHOE DUST BAG - Ryobi JM82K | English Manual - Page 23
thin coat of general purpose grease in slots or tracks on the bearing plate where the base slides. n Replace the rear base assembly. n Replace replace the blade. n Secure the shoe with the washers and screws. n Replace the dust bag. CLEANING THE DUST BAG See Figure 28. n Unplug the biscuit joiner. n - Ryobi JM82K | English Manual - Page 24
can result in serious personal injury. TROUBLESHOOTING PROBLEM 1. Biscuits do not fit the slots. Biscuits not fitting slots may also cause the dust bag. Remove the front and rear base assemblies and clean blade, bearing plate, base assembly slots, and surrounding areas. See "CLEANING THE BASE - Ryobi JM82K | English Manual - Page 25
NOTES 25 - Ryobi JM82K | English Manual - Page 26
OPERATOR'S MANUAL BISCUIT JOINER DOUBLE INSULATED JM82 • SERVICE Now that you have purchased your tool, should a need ever exist for repair parts or service, simply contact your nearest Authorized Service Center. Be sure to provide all pertinent facts when you call or visit. Please call 1-800-525-
-
 1
1 -
 2
2 -
 3
3 -
 4
4 -
 5
5 -
 6
6 -
 7
7 -
8
-
9
-
10
-
11
-
12
-
13
-
14
-
15
-
16
-
17
-
18
-
19
-
20
-
21
-
22
-
23
-
24
-
25
-
26
 |
 |
SAVE THIS MANUAL FOR FUTURE REFERENCE
Your biscuit joiner has been engineered and manufactured to our high standard for dependability, ease of operation, and
operator safety. When properly cared for, it will give you years of rugged, trouble-free performance.
WARNING:
To reduce the risk of injury, the user must read and understand the operator's manual before using
this product.
Thank you for your purchase.
OPERATOR’S MANUAL
BISCUIT JOINER
DOUBLE INSULATED
JM82