Ryobi RTS21G User Manual
Ryobi RTS21G Manual
 |
View all Ryobi RTS21G manuals
Add to My Manuals
Save this manual to your list of manuals |
Ryobi RTS21G manual content summary:
- Ryobi RTS21G | User Manual - Page 1
, Faucet Adaptor, Operator's Manual TABLE OF CONTENTS General Power Tool Safety Warnings 2-3 Tile Saw Safety Warnings 3-5 Symbols 6 Electrical 7-8 Features 8 Assembly 9-10 Operation 10-12 Maintenance 13 Illustrations 15-17 Parts Ordering / Service...... Back Page INCLUT - Ryobi RTS21G | User Manual - Page 2
parts. If devices are provided for the connection of dust extraction and collection facilities, ensure these are connected and properly used. Use of dust collection can reduce dust allow persons unfamiliar with the power tool or these instructions to operate the power tool. Power tools are - Ryobi RTS21G | User Manual - Page 3
servicing a power tool, use only identical replacement parts. Follow instructions in the Maintenance section of this manual. Use of unauthorized parts or failure to follow Maintenance instructions selected wheel. Proper wheel flanges support the wheel thus reducing the operations. The dust mask or - Ryobi RTS21G | User Manual - Page 4
INSTRUCTIONS FOR ABRASIVE CUTTING-OFF OPERATIONS Regularly clean the power tool's air vents. The motor's fan will draw the dust saw chain, woodcarving blade, segmented diamond wheel or toothed saw blade. Such blades Support panels or any 's manual carefully nearest authorized service center. - Ryobi RTS21G | User Manual - Page 5
part that is damaged should be properly repaired or replaced by an authorized service center in doubt, use the next heavier gauge. The smaller the gauge number, the heavier the cord. An instructions also. CALIFORNIA PROPOSITION 65 WARNING: This product and some dust created by power sanding, sawing - Ryobi RTS21G | User Manual - Page 6
. SYMBOL NAME DESIGNATION/EXPLANATION Safety Alert Indicates a potential personal injury hazard. Read Operator's Manual To reduce the risk of injury, user must read and understand operator's manual before using this product. Eye Protection Always wear eye protection with side shields marked - Ryobi RTS21G | User Manual - Page 7
parts are isolated from the internal metal motor Servicing service center for repair. Always use original factory replacement parts when servicing. ELECTRICAL CONNECTION This product has a precision-built electric motor and the motor will overheat cords listed by plate an authorized service center for - Ryobi RTS21G | User Manual - Page 8
arrange a "drip loop" in the cord connecting the saw to the outlet. The "drip loop" is that part of the cord below the level of the outlet, or requires an understanding of the information on the product and in this operator's manual as well as a knowledge of the project you are attempting. Before use - Ryobi RTS21G | User Manual - Page 9
list are included. WARNING: Items in this Assembly section are not assembled to the product by the manufacturer and require customer installation. Use of a product that may have been improperly assembled could result in serious personal injury. n If any parts is installed, the tile saw is ready to be - Ryobi RTS21G | User Manual - Page 10
not operate this product until all missing or damaged parts are replaced. Please call 1-800-525-2579 or contact an authorized service center for assistance. APPLICATIONS You may use this product for the purpose listed below: Wet or dry cross cutting, rip cutting, and bevel cutting of man-made tile - Ryobi RTS21G | User Manual - Page 11
Support the workpiece near the cut. Clamp the workpiece securely so that the workpiece will not move during the cut. Avoid placing the saw on the part back on track. To avoid this problem, use a straight edge guide whenever possible for making cross cuts and miter cuts. If wet cutting is desired, - Ryobi RTS21G | User Manual - Page 12
saw from the material. Stop the water flow. TO MAKE A MITER CUT See Figure 13, page 17. Miter Miter cuts tend to "creep" during cutting. This can be controlled by holding the workpiece securely against a straight edge guide made by adjusting the position of the motor head. Using a marker or grease - Ryobi RTS21G | User Manual - Page 13
WARNING: When servicing, use only identical replacement parts. Use of any other parts can create a hazard or cause product damage. WARNING: Always wear eye protection with side shields marked to comply with ANSI Z87.1 during product operation. If operation is dusty, also wear a dust mask. GENERAL - Ryobi RTS21G | User Manual - Page 14
NOTES 14 - English - Ryobi RTS21G | User Manual - Page 15
les règles et toutes les instructions de sécurité.Ne pas suivre l'ensemble des avertissements et des instructions peut entraîner une électrocution, ouïes d'aération. Ne pas utiliser l'outil sur une échelle ou un support instable. Une bonne tenue et un bon équilibre permettent de mieux contrôler l' - Ryobi RTS21G | User Manual - Page 16
risquent moins de se bloquer et sont plus faciles à contrôler. Utiliser l'outil électrique, les accessoires, les grains etc. conformément à ces instructions en tenant compte des conditions de travail et de la tâche à effectuer. L'utilisation de cet outil électrique pour effectuer une opération - Ryobi RTS21G | User Manual - Page 17
SAFETY INSTRUCTIONS FOR ABRASIVE CUTTING-OFF OPERATIONS S'assurer qu'aucun spectateur à travailler de grandes dimensions ont tendance à fléchir sous leur propre poids. Il importe donc de disposer des supports sous la pièce à travailler, près du trait de coupe et au bord de la pièce à travailler - Ryobi RTS21G | User Manual - Page 18
cordon prolongateur est utilisé, s'assurer que sa capacité est suffisante pour supporter le courant de fonctionnement de l'outil. Un calibre de fil (A.W.G) de réparation agréé pour éviter tout risque. Conserver ces instructions. Les consulter fréquemment et les utiliser pour instruire les autres - Ryobi RTS21G | User Manual - Page 19
SYMBOLES Les termes de mise en garde suivants et leur signification ont pour but d'expliquer le degré de risques associé à l'utilisation de ce produit. SYMBOLE SIGNAL SIGNIFICATION DANGER : Indique une situation extrêmement dangereuse qui, si elle n'est pas évitée, aura pour conséquences des - Ryobi RTS21G | User Manual - Page 20
doit être confié qu'à un technicien de service qualifié. En ce qui concerne les réparations, prolongateur d'une capacité suffisante pour supporter le prélèvement de courant du 16 16 14 12 10 - **Utilisé sur circuit de calibre 12 - 20 A NOTE : AWG = American Wire Gauge AVERTISSEMENT : Maintenir le - Ryobi RTS21G | User Manual - Page 21
pour tenter de contourner le disjoncteur de fuite à la terre. Si le cordon est endommagé, ne pas utiliser le produit et l'apporter à un centre de service autorisé pour réparation. Ne pas prendre cette précaution peut causer des blessures graves. PLACER DE LA SCIE À CARREAUX Voir la figure 2, page 15 - Ryobi RTS21G | User Manual - Page 22
un assemblage. Avec précaution, sortir le produit et les accessoires de la boîte. S'assurer que toutes les pièces figurant sur la liste de contrôle sont incluses. AVERTISSEMENT : Items in this Assembly section are not assembled to the product by the manufacturer and require customer installation - Ryobi RTS21G | User Manual - Page 23
n'ont pas été remplacées. Veuillez appeler au 1 800-525-2579 ou communiquez avec un centre de service autorisé pour obtenir de l'assistance. AVERTISSEMENT : De ce fait, il est impératif de garder les mains Maintenir le bouton de verrouillage, situé sur le côté de la poignée, enfoncé. 10 - Français - Ryobi RTS21G | User Manual - Page 24
tournant vers la droite. UTILISATION DE LA SCIE Voir les figures 9 et 10, page 16. Il est essentiel de comprendre la méthode correcte d'utilisation piste. Pour éviter ce problème, utiliser le guide de chant déchirure quand possible. Utiliser le guide de chant en faiant les coupes transversale et les - Ryobi RTS21G | User Manual - Page 25
que 90°. Les coupes d'onglet ont tendance à « ramper » pendant la coupe. Cela peut être contrôlé en maintenant solidement la pièce à travailler contre un guide de bords droit. L'utilisation d'un crayon de borne ou graisse, marquer le secteur être coupé sur le matériel. Immobiliser la pièce - Ryobi RTS21G | User Manual - Page 26
ENTRETIEN AVERTISSEMENT : Utiliser exclusivement des pièces identiques à celles d'origine pour les réparations. L'usage de toute autre pièce pourrait créer une situation dangereuse ou endommager l'outil. AVERTISSEMENT : Toujours porter une protection oculaire avec écrans latéraux certifiée conforme - Ryobi RTS21G | User Manual - Page 27
NOTES 14 - Français - Ryobi RTS21G | User Manual - Page 28
ADVERTENCIAS DE SEGURIDAD GENERALES PARA EL USO DE HERRAMIENTAS ELÉCTRICAS ADVERTENCIA: Lea todas las advertencias de seguridad y todas las instrucciones. La inobservancia de las advertencias e instrucciones puede causar descargas eléctricas, incendios o lesiones graves. Guarde todas las - Ryobi RTS21G | User Manual - Page 29
. Siga las instrucciones señaladas en la sección Mantenimiento de este manual. El empleo de piezas no autorizadas o el incumplimiento de las instrucciones operaciones. La máscara antipolvo o el respirador deben filtrar las partículas que se generen durante la operación. La exposición prolongada - Ryobi RTS21G | User Manual - Page 30
INSTRUCTIONS de ventilación de la herramienta eléctrica. El ventilador del motor atraerá el polvo dentro del alojamiento y la acumulación especial cuidado al efectuar cortes en cavidad en paredes existentes o en otras partes ciegas (sin vista por ambos lados). El disco que sobresale podría cortar - Ryobi RTS21G | User Manual - Page 31
INSTRUCTIONS FOR ABRASIVE CUTTING-OFF OPERATIONS REGLAS DE SEGURIDAD ADICIONALES Familiarícese con su herramienta eléctrica. Lea cuidadosamente el manual que está destinada. Verifique la alineación de las partes móviles, que no haya atoramiento de partes móviles, que no haya piezas rotas, el - Ryobi RTS21G | User Manual - Page 32
ÓN/EXPLICACIÓN Alerta de seguridad Indica un peligro posible de lesiones personales. Lea el manual del operador Para reducir el riesgo de lesiones, el usuario debe leer y comprender el manual del operador antes de usar este producto. Protección ocular Siempre póngase protección ocular - Ryobi RTS21G | User Manual - Page 33
ón a tierra. Todas las partes metálicas expuestas están aisladas de los componentes metálicos internos del motor por medio de aislamiento de 14 12 100´ 16 16 14 12 10 - **Se usa en los circuitos de calibre 12, 20 amp. NOTA: AWG = American Wire Gauge ADVERTENCIA: Mantenga el cordón de extensi - Ryobi RTS21G | User Manual - Page 34
cable que conecta la sierra al tomacorriente. La "vuelta de goteo" es la parte del cable por debajo del nivel del tomacorriente, o el conector si se utiliza comprender la información indicada en la herramienta misma y en este manual, y se debe comprender también el trabajo que intenta realizar. - Ryobi RTS21G | User Manual - Page 35
cortar es 111 mm (4-3/8 pulg). También, nunca utilice una meula tan gruesa que no pueda acoplarse la arandela exterior disco de cortar en la parte plana del husillo. Las meulas más grandes tocan las protecciones de la meula, y las más gruesas impiden asegurarlas con el tornillo correspondiente en el - Ryobi RTS21G | User Manual - Page 36
permita que pueda acoplarse la arandela exterior disco de cortar en la parte plana del husillo. FUNCIONAMIENTO PELIGRO: Mantenga las manos alejadas del área hábil sobre la manija auxiliar, o sobre el alojamiento del motor. Si sostiene la sierra con ambas manos, no existe posibilidad 10 - Español - Ryobi RTS21G | User Manual - Page 37
hacia la derecha. UTILIZACIÓN DE LA SIERRA Vea las figuras 9 y 10, página 16. Es importante comprender la forma correcta de utilizar la levantar la sierra de la pieza de trabajo, la meula queda expuesta en la parte inferior de la sierra. Los cortes transversal son directamente 90° los cortes. La - Ryobi RTS21G | User Manual - Page 38
la figura 15, página 17. Si se ajusta la posición del cabezal del motor se pueden realizar cortes biselados de 45º. Utilizar un lápiz de marcador o la pieza de trabajo. Afloje la perilla de fijación de bisel en la parte delantera de la sierra. Rote la base hasta que alcance el ángulo deseado - Ryobi RTS21G | User Manual - Page 39
están sujetas a desgaste acelerado y posible fallo prematuro porque las partículas y limaduras de fibra de vidrio son altamente abrasivas para nuevos. Asegúrese de que la curvatura de la escobillas corresponda a la del motor y de que las escobillas se muevan libremente en los tubos de las mismas. - Ryobi RTS21G | User Manual - Page 40
NOTAS 14 - Español - Ryobi RTS21G | User Manual - Page 41
Fig. 1 A Fig. 3 C RESET D RESET TEST B B TEST RESET TEST 30 30 A - Reset button (bouton de réinitialisation, botón de reajuste) 30 45 B - Test button (bouton de test, botón de prueba) E A Fig. 2 A F 45 RESET B TEST A - Power cord (cordon d'alimentation, cordón de corriente) - Ryobi RTS21G | User Manual - Page 42
Fig. 5 Fig. 7 B A Fig. 10 CORRECT METHOD OF SUPPORT (MÉTHODE DE SUPPORT CORRECTE, MÉTODO DE SOPORTE CORRECTO) 30 0 30 45 TEST A B C DE A - Spindle (broche, husillo) B - Inner flange bushing (douille à collerette intérieure, buje de brida interior) C - Wheel ( - Ryobi RTS21G | User Manual - Page 43
(L COUPE, CORTE L) Fig. 16 B A A B A - Brush cap (couvercle de balai, tapa de escobilla) B - Brush assembly (balai, conj. de la escobilla) Fig. 13 MITER CUT (COUPE D'ONGLET, CORTE A INGLETE) Fig. 15 BEVEL CUT (COUPE EN BISEAU, CORTE EN BISEL) 01 A 45 B C A - Base (base, base) B - Bevel - Ryobi RTS21G | User Manual - Page 44
SAW MANUEL D'UTILISATION / TC401 SCIE À CARREAUX À SEC/SOUS EAU DE 105 mm (4 po) MANUAL DEL OPERADOR / TC401 SIERRA DE LOSAS PARA TRABAJOS EN HÚMEDO/ SECO DE 105 mm (4 pulg.) To request service, purchase replacement parts, locate an Authorized Service Center and obtain Customer or Technical Support
-
 1
1 -
 2
2 -
 3
3 -
 4
4 -
 5
5 -
 6
6 -
 7
7 -
8
-
9
-
10
-
11
-
12
-
13
-
14
-
15
-
16
-
17
-
18
-
19
-
20
-
21
-
22
-
23
-
24
-
25
-
26
-
27
-
28
-
29
-
30
-
31
-
32
-
33
-
34
-
35
-
36
-
37
-
38
-
39
-
40
-
41
-
42
-
43
-
44
 |
 |
OPERATOR’S MANUAL
MANUEL D’UTILISATION
MANUAL DEL OPERADOR
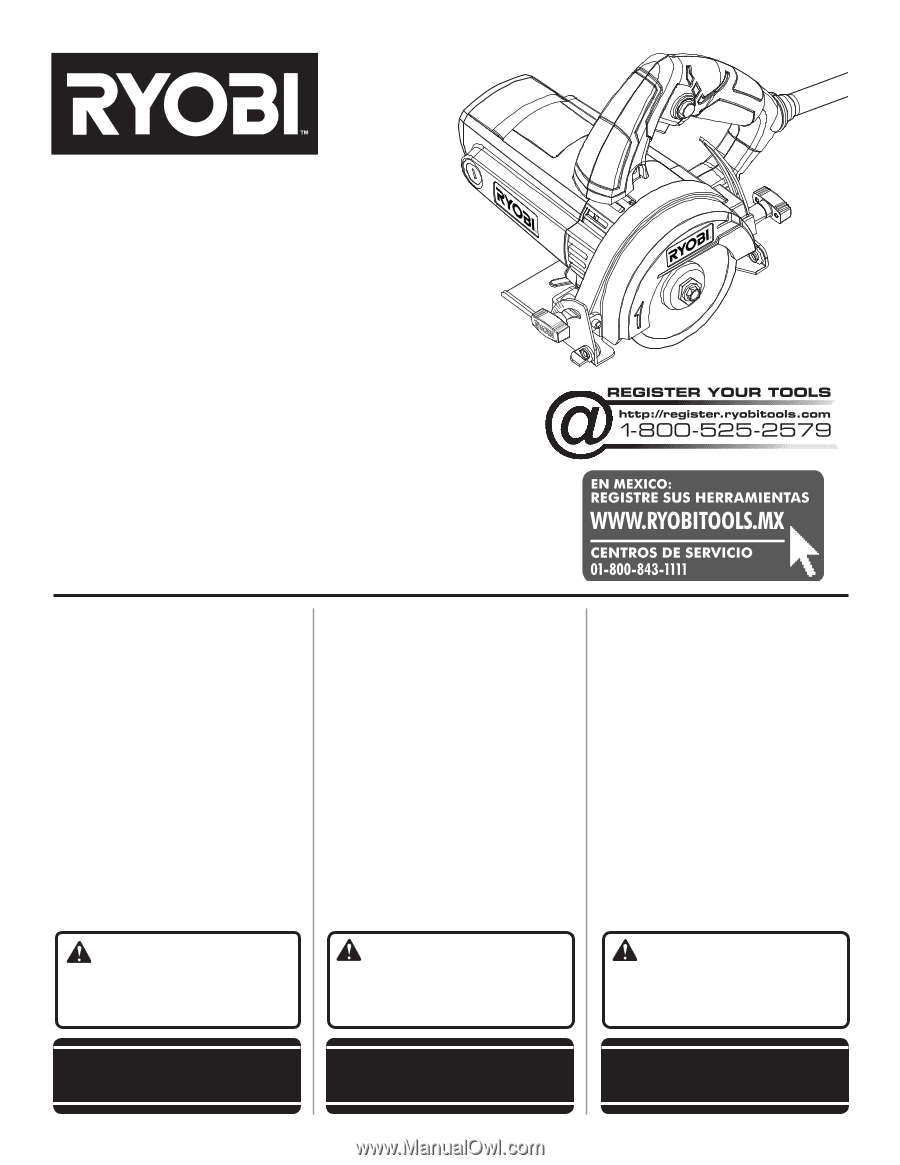
4 in. WET/DRY TILE SAW
SCIE À CARREAUX À SEC/SOUS
EAU DE 105 mm (4 po)
SIERRA DE LOSAS PARA TRABAJOS
EN HÚMEDO/SECO de 105 mm (4 pulg.)
TC401
WARNING:
To reduce the
risk of injury, the user must read and
understand the operator’s manual
before using this product.
SAVE THIS MANUAL FOR
FUTURE REFERENCE
ADVERTENCIA:
Para reducir
el riesgo de lesiones, el usuario debe leer
y comprender el manual del operador
antes de usar este producto.
AVERTISSEMENT :
Pour
réduire les risques de blessures,
l’utilisateur doit lire et veiller à bien
comprendre le manuel d’utilisation avant
d’employer ce produit.
GUARDE ESTE MANUAL
PARA FUTURAS CONSULTAS
INCLUDES:
Wet/Dry Tile Saw, Diamond
Cutting Wheel, Arbor Wrenches (2), Water
Supply Hose, Faucet Adaptor, Operator’s
Manual
TABLE OF CONTENTS
****************
General Power Tool Safety
Warnings
.........................................
2-3
Tile Saw Safety Warnings
................
3-5
Symbols
..............................................
6
Electrical
..........................................
7-8
Features
..............................................
8
Assembly
.......................................
9-10
Operation
.....................................
10-12
Maintenance
.....................................
13
Illustrations
..................................
15-17
Parts Ordering / Service
.....
Back Page
INCLUT :
Wet/Dry Tile Saw, Diamond
Cutting Wheel, Arbor Wrenches (2), Water
Supply Hose, Faucet Adaptor, Operator’s
Manual
TABLE DES MATIÈRES
****************
Avertissements généraux de sécurité en
ce qui a trait aux outils électriques
......
2-3
Avertissements de sécurité en ce qui a
trait à la scie à carreaux
..................
3-5
Symboles
............................................
6
Caractéristiques électriques
............
7-8
Caractéristiques
.................................
8
Assemblage
...................................
9-10
Utilisation
.....................................
10-12
Entretien
...........................................
13
Illustrations
..................................
15-17
Commande de pièces /
réparation
..........................
Page arrière
INCLUYE:
Wet/Dry Tile Saw, Diamond
Cutting Wheel, Arbor Wrenches (2), Water
Supply Hose, Faucet Adaptor, Operator’s
Manual
ÍNDICE DE CONTENIDO
****************
Advertencias de seguridad generales para
el uso de herramientas eléctricas
.........
2-3
Advertencias de seguridad para el uso
de la sierra de losas
........................
3-5
Símbolos
............................................
6
Aspectos eléctricos
.........................
7-8
Características
...................................
8
Armado
..........................................
9-10
Funcionamiento
...........................
10-12
Mantenimiento
..................................
13
Ilustraciones
................................
15-17
Pedidos de piezas /
servicio
..........................
Pág. posterior
CONSERVER CE MANUEL
POUR FUTURE RÉFÉRENCE
45
30