Samsung 180T User Manual (user Manual) (ver.1.0) (English) - Page 9
Getting Help, Plug and Play, Auto Adjustment
 |
View all Samsung 180T manuals
Add to My Manuals
Save this manual to your list of manuals |
Page 9 highlights
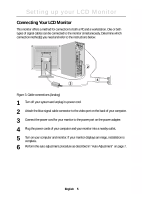
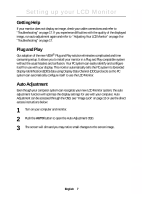
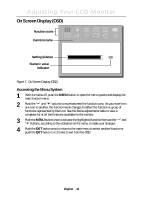
Italiano Portuguese Deutsch Español Français English Setting up your LCD Monitor Getting Help If your monitor does not display an image, check your cable connections and refer to "Troubleshooting" on page 17. If you experience difficulties with the quality of the displayed image, run auto adjustment again and refer to "Adjusting Your LCD Monitor" on page 9 or "Troubleshooting" on page 17. Plug and Play Our adoption of the new VESA® Plug and Play solution eliminates complicated and time consuming setup. It allows you to install your monitor in a Plug and Play compatible system without the usual hassles and confusion. Your PC system can easily identify and configure itself for use with your display. This monitor automatically tells the PC system its Extended Display Identification (EDID) data using Display Data Channel (DDC) protocols so the PC system can automatically configure itself to use the LCD Monitor. Auto Adjustment Even though your computer system can recognize your new LCD Monitor system, the auto adjustment function will optimize the display settings for use with your computer. Auto Adjustment can be accessed through the OSD, see "Image Lock" on page 13 or use the direct access instructions below: 1 Turn on your computer and monitor. 2 Push the AUTO button to open the Auto Adjustment OSD. 3 The screen will dim and you may notice small changes to the screen image. English 7
-
 1
1 -
2
-
3
-
 4
4 -
 5
5 -
 6
6 -
 7
7 -
 8
8 -
 9
9 -
 10
10 -
 11
11 -
 12
12 -
 13
13 -
 14
14 -
15
-
16
-
17
-
18
-
19
-
20
-
21
-
22
-
23
-
24
-
25
-
26
-
27
-
28
 |
 |