Samsung 460UT User Manual (ENGLISH) - Page 20
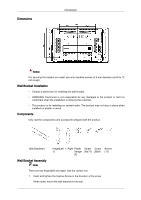
Assembling the bracket panel, Mechanical Layout (460UT, 460UTn), LCD Display Head - video wall
 |
View all Samsung 460UT manuals
Add to My Manuals
Save this manual to your list of manuals |
Page 20 highlights
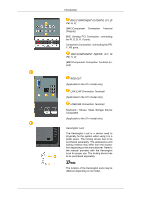
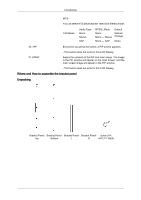
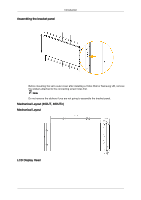
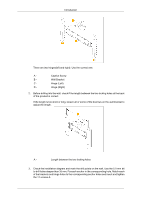
Assembling the bracket panel Introduction Before mounting the set's outer cover after installing a Video Wall or Samsung UD, remove the stickers attached to the connecting screw holes first. Note Do not remove the stickers if you are not going to assemble the bracket panel. Mechanical Layout (460UT, 460UTn) Mechanical Layout LCD Display Head
-
 1
1 -
2
-
3
-
4
-
5
-
6
-
7
-
8
-
9
-
10
-
11
-
12
-
13
-
14
-
 15
15 -
 16
16 -
 17
17 -
 18
18 -
 19
19 -
 20
20 -
 21
21 -
 22
22 -
 23
23 -
 24
24 -
 25
25 -
26
-
27
-
28
-
29
-
30
-
31
-
32
-
33
-
34
-
35
-
36
-
37
-
38
-
39
-
40
-
41
-
42
-
43
-
44
-
45
-
46
-
47
-
48
-
49
-
50
-
51
-
52
-
53
-
54
-
55
-
56
-
57
-
58
-
59
-
60
-
61
-
62
-
63
-
64
-
65
-
66
-
67
-
68
-
69
-
70
-
71
-
72
-
73
-
74
-
75
-
76
-
77
-
78
-
79
-
80
-
81
-
82
-
83
-
84
-
85
-
86
-
87
-
88
-
89
-
90
-
91
-
92
-
93
-
94
-
95
-
96
-
97
-
98
-
99
-
100
-
101
-
102
-
103
-
104
-
105
-
106
-
107
-
108
-
109
-
110
-
111
-
112
-
113
-
114
-
115
-
116
 |
 |
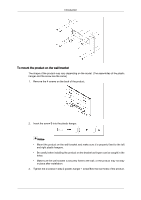
Assembling the bracket panel
Before mounting the set’s outer cover after installing a Video Wall or Samsung UD, remove
the stickers attached to the connecting screw holes first.
Note
Do not remove the stickers if you are not going to assemble the bracket panel.
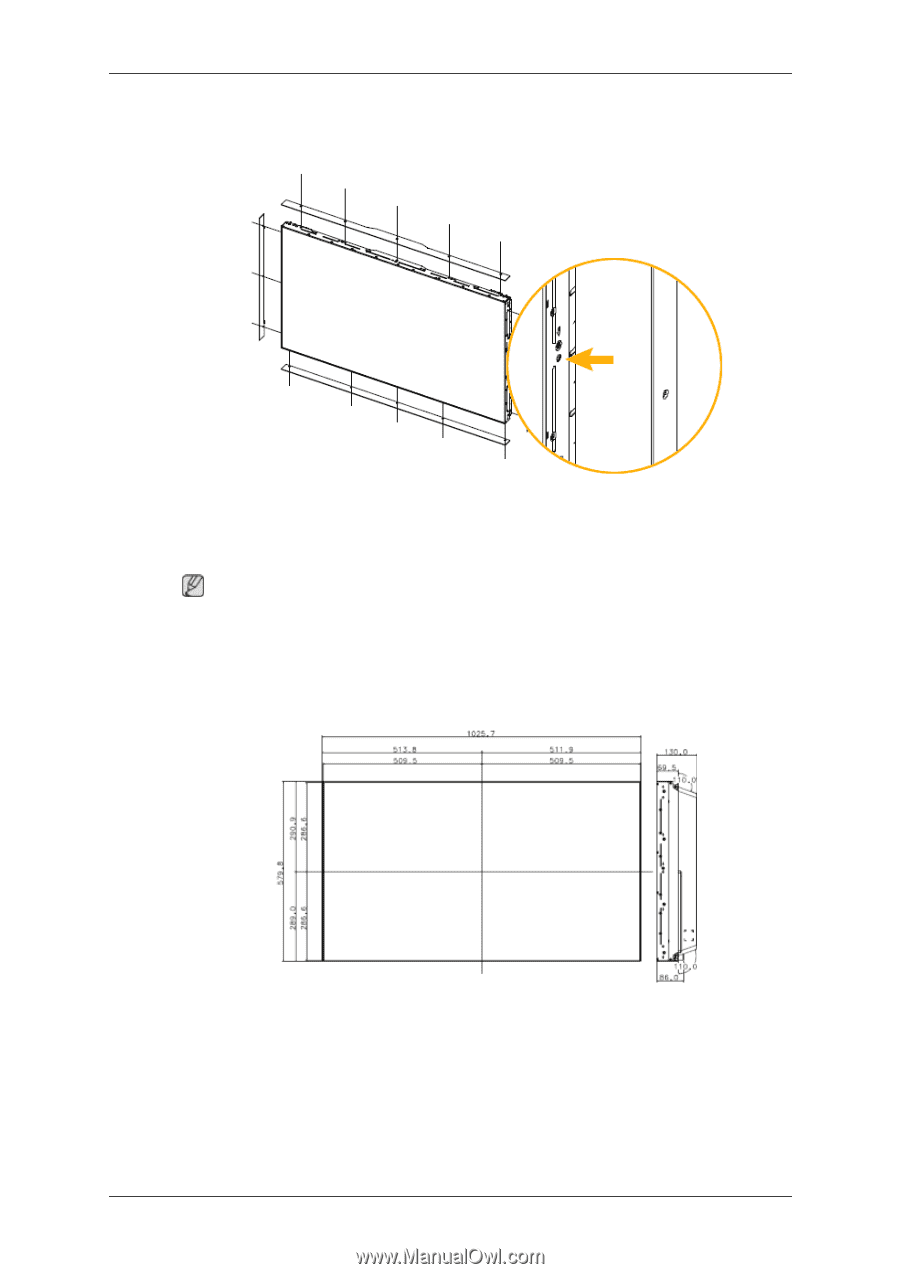
Mechanical Layout (460UT, 460UTn)
Mechanical Layout
LCD Display Head
Introduction