Sharp VC-A410U Operation Manual
Sharp VC-A410U Manual
 |
View all Sharp VC-A410U manuals
Add to My Manuals
Save this manual to your list of manuals |
Sharp VC-A410U manual content summary:
- Sharp VC-A410U | Operation Manual - Page 1
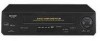
SHARP 3m.3 MODEL VIDEO CASSETTE RECORDER OPERATION MANUAL Please read this operation manual carefully before using the VCR. VC-A410U VC-A411U VC-A420U VC-H810U VC-H811U VC-H820U SHARP N C (VC-H820U) MID-DRIVE VHS HInkHIGH QUALITY [ - Sharp VC-A410U | Operation Manual - Page 2
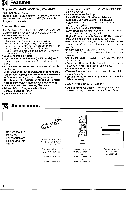
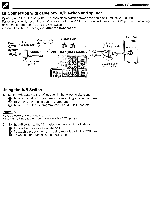
- production • Multi-Language (English/Spanish/French) OSD (On Screen Display) with Menu Screen Guidance - On-screen setting and recording instructions. • 181-channel PLL Quartz Synthesized Random Access Tuner with Automatic Channel Setting • Quick Start with Full Loading Mechanism • 1-Year, 8-Event - Sharp VC-A410U | Operation Manual - Page 3
controls (see Playback/Recording) NOTE > • The design may be slightly different depending on the model. LED Indicator (explained throughout the operation instruction) 0 0 POWER LED indicator This indicator lights up whenever the VCR is turned on. TIMER LED indicator This indicator lights up when - Sharp VC-A410U | Operation Manual - Page 4
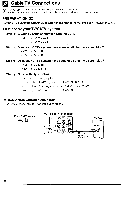
Cable TV Connections Your VCR is capable of receiving the following non-scrambled channels. • Scrambled channels can be received with the cable box supplied by your cable TV company. PREPARATION DX Set the 3 4 OUTPUT CHANNEL selector on the rear of the VCR to 3 or 4. (Factory preset: 3) - Sharp VC-A410U | Operation Manual - Page 5
Cable TV Connections B Connection with cable box 1 •Connect as shown. With this connection, it is possible to record descrambled CATV signals. Then go to "After the Connection". Cable Box IN OUT 0101-353 From CATV system Coaxial cable VCR Rear (Hi-Fi model) (Not supplied) OUT TV Rear AUDIO - Sharp VC-A410U | Operation Manual - Page 6
Cable TV Connections ra Connection with cable box, NB switch and splitter By using an A/B switch or splitter, it is possible to switch between the cable box and the VCR output. For example, while recording a TV program with the VCR, it is possible to watch a CATV program (including descrambled - Sharp VC-A410U | Operation Manual - Page 7
, you cannot record or view a CATV program. • If you have questions regarding any connection procedure, please contact your cable company or the nearest Sharp Authorized Service. After the Connection Plug in the power cords of the TV and cable box. Then go to EZ Set Up. - Sharp VC-A410U | Operation Manual - Page 8
Menu Screen MENU screen is a home screen used to select various screen functions. A submenu will appear once you select an item for the menu. • Turn on the TV and select the video channel. (See Setting the 3 4 Output Channel Selector on page 9.) (i) Press POWER (POWER LED indicator will light - Sharp VC-A410U | Operation Manual - Page 9
the Auto Clock Setting is not completed within 30 minutes, there may be no channels with EDS signals. In this case, set the clock manually. (See Manual Clock Setting.) • If the antenna signal is weak, the Auto Clock Setting function may not operate. • During initial channel setting, the channels are - Sharp VC-A410U | Operation Manual - Page 10
. MENU 0 KENO TIMER A SET UP CHANNEL PRESET • LANGUAGE BELECT :A V ENTER :SET EXIT :MENU • Press MENU. Select "CLOCK" with A/ V and then press SET. SET 0 • CLOCK V MANUAL ®EDS CH SET AUTO MMMMMM EDS CH 02 ► 16 @ Select "AUTO" with A/• and then press SET. SET @ Set EDS CH SET mode to - Sharp VC-A410U | Operation Manual - Page 11
set the clock. NOTE • If the EDS CH SET mode is set to MANUAL mode in Step (0 and a channel that does not carry EDS signal is minutes during the setting procedure, the screen will return to the normal screen. Manual Clock Setting PREPARATION DI) •Turn on your TV and select the video channel - Sharp VC-A410U | Operation Manual - Page 12
Setting the Clock CLOCK TIME 10:28H DATE YEAR DST mg 7/04WED 01 / 0. and SELECT :4 ► ENTER :SET CHANGE:A V EXIT :MENU A/V SET A 0 ar Normal Screen 6) Select "TIME" with 41/I - and set time by holding A/V. Ex.: 10:28 AM Numbered buttons can be used instead of A/V to set time and date. - Sharp VC-A410U | Operation Manual - Page 13
Setting the Channels Your VCR can receive a maximum of 181 channels as shown below by presetting the channels into memory. (VHF: 2 to 13, UHF: 14 to 69, CATV: 1 to 125) PREPARATION • Make sure that the cable (antenna or CATV) is connected to the IN terminal on the rear of the VCR. MENU 0 ...o LA - Sharp VC-A410U | Operation Manual - Page 14
Channel Memory/Erasing Channel Memory Use this function to manually add or erase channels to/from the memory. AIR/CATV MECICATV ll 1F UCH SET AUTO EOM OP' @ Select "CH SET" with A/V and then select "MANUAL" OSET with 1/1.. Then press SET. [ADD] ADD 03 0 Select "ADD" if you want to add the - Sharp VC-A410U | Operation Manual - Page 15
Mode Selection You can use the SET UP-selection screen to select the mode for basic features. PREPARATION IN • Turn on the TV and select the video channel. Press POWER (POWER LED indicator will light up) and then TVNCR to select "VCR" (VCR LED indicator will light up). MENU OII A TIMER MENU - Sharp VC-A410U | Operation Manual - Page 16
using CH A/V until the noise is minimized or eliminated. • For tapes recorded in EP on another VCR that still have vertical jitter even after manual adjustment, hold down PLAY for about 2 seconds. (On screen display may be blurred.) Ejecting the tape or turning off the power will return playback
-
 1
1 -
 2
2 -
 3
3 -
 4
4 -
 5
5 -
 6
6 -
 7
7 -
8
-
9
-
10
-
11
-
12
-
13
-
14
-
15
-
16
 |
 |
SHARP
VIDEO
CASSETTE
RECORDER
OPERATION
MANUAL
Please
read
this
operation
manual
carefully
before
using
the
VCR.
MODEL
VC-A410U
VC-A411U
VC-A420U
VC-H810U
VC-H811U
VC-H820U
SHARP
N
(VC-H820U)
MID
-DRIVE
VHS
H
Ink
HIGH
QUALITY
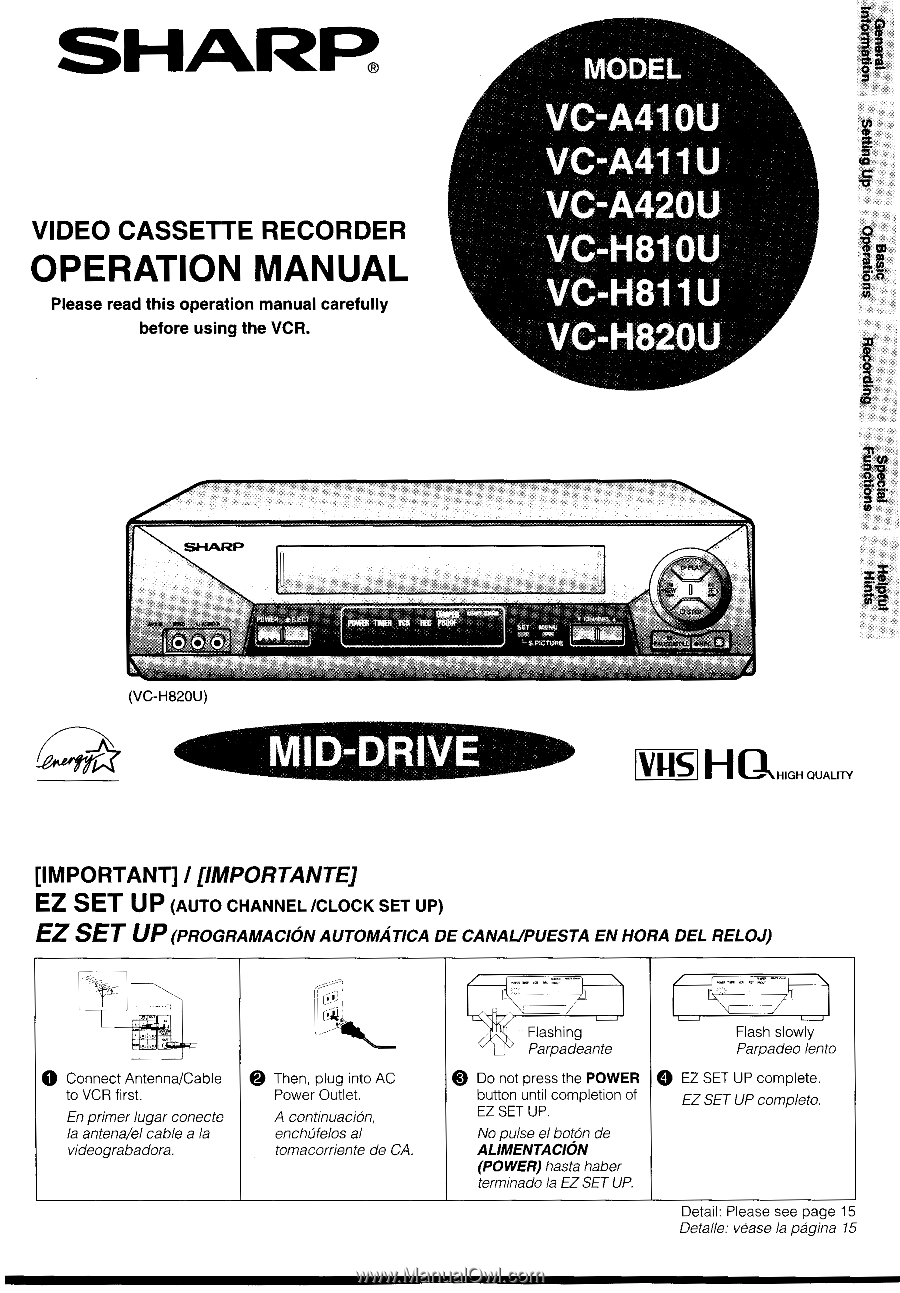
[IMPORTANT]
/
[IMPORTANTE]
EZ
SET
UP
(AUTO
CHANNEL
/CLOCK
SET
UP)
EZ
SET
UP
(PROGRAMACION
AUTOMATICA
DE
CANAL/PUESTA
EN
HORA
DEL
RELOJ)
0
Connect
to
En
la
videograbadora.
@
Then,
Power
A
continuaci6n,
enchbfelos
tomacorriente
_--
---
illho
N
_
plug
into
AC
Outlet.
al
de
CA.
'
\
,
VCR
first.
primer
antena/el
Flashing
Parpadeante
@
Do
not
press
the
POWER
button
until
completion
of
EZ
SET
UP.
No
pulse
el
bot6n
de
ALIMENTACION
(POWER)
hasta
haber
terminado
la
EZ
SET
UP.
Flash
slowly
Parpadeo
lento
0
EZ
SET
UP
complete.
EZ
SET
UP
completo.
Antenna/Cable
lugar
conecte
cable
a
la
33
m
.
C
Detail:
Please
see
page
15
Detalle:
vease
la
pagina
15