Sharp XE-A202 Quick Installation Guide - Page 2
Install the Paper Roll, Changing The Printing Style, Basic Programming - parts
 |
UPC - 074000048270
View all Sharp XE-A202 manuals
Add to My Manuals
Save this manual to your list of manuals |
Page 2 highlights
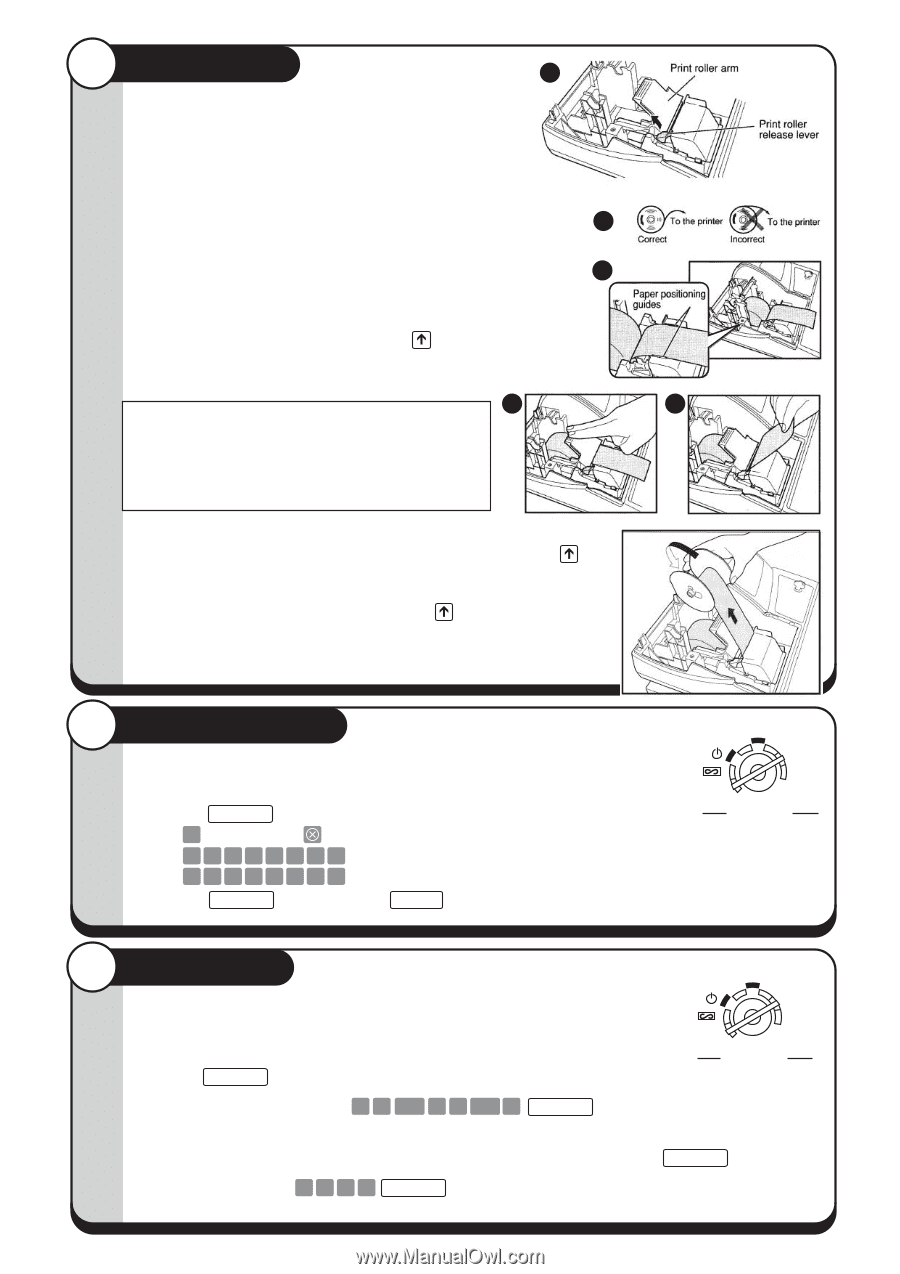
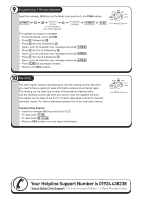
3 Install the Paper Roll 1. Receipt • Lift up the print roller release lever to unlock and open the print roller arm. • Set a paper roll in the paper roll cradle as per the diagram. • Feed the end of the paper along with the paper positioning guides as per the diagram. • While holding down the paper, slowly close the print roller arm, and push down the arm until you hear a click locking the arm. Make sure you securely push down the center of the wing part of the arm as per the diagram. The paper will be fed automatically. • Cut off the excess paper using the edge of the inner cover, and replace the printer cover. Press the key to make sure the paper end comes out of the printer cover and clean paper appears. 4. NOTE: If the print roller arm is not securely locked, the printer will not work correctly. If this problem occurs, open the arm, and close the arm as instructed above. 2. 3. 5. Journal • Insert the end of the paper into the slit of the spool. (Press the key to feed more paper if required). • Wind the paper two or three turns around the spool shaft. • Set the spool on the bearing and press the key to take up excess slack in the paper. • Replace the printer cover. 4 Changing The Printing Style The printer can either issue a customer receipt or provide a journal. • Insert the manager (MA) key into the Mode Lock and turn to the PGM position. • Press the #/TM/ST key. • Enter 6 and press the key. 1 1 0 0 0 1 1 1 for receipt or 0 1 0 0 0 1 1 1 for journal • Press the #/TM/ST key followed by TL/NS to finalise operation. REG OPX/Z MGR X1/Z1 X2/Z2 PGM Mode Lock 5 Basic Programming Set the mode switch to the PGM position. Setting the Date Enter the date in 8 digits using the day month-year (DD-MM-YYYY) format. Then press #/TM/ST . Example: Date (26 August, 2003) 2 6 0 8 2 00 3 #/TM/ST REG OPX/Z MGR X1/Z1 X2/Z2 PGM Mode Lock Setting the Time Enter the time in 4 digits ("hhmm" format) using the 24 hour system. Then press #/TM/ST . Example: Time (2:30pm) 1 4 2 0 #/TM/ST .
-
 1
1 -
 2
2 -
 3
3 -
 4
4
 |
 |