Singer CG-590 Commercial Grade Instruction Manual - Page 35
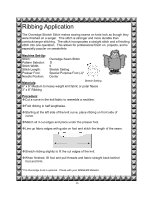
Ribbing Application
 |
View all Singer CG-590 Commercial Grade manuals
Add to My Manuals
Save this manual to your list of manuals |
Page 35 highlights
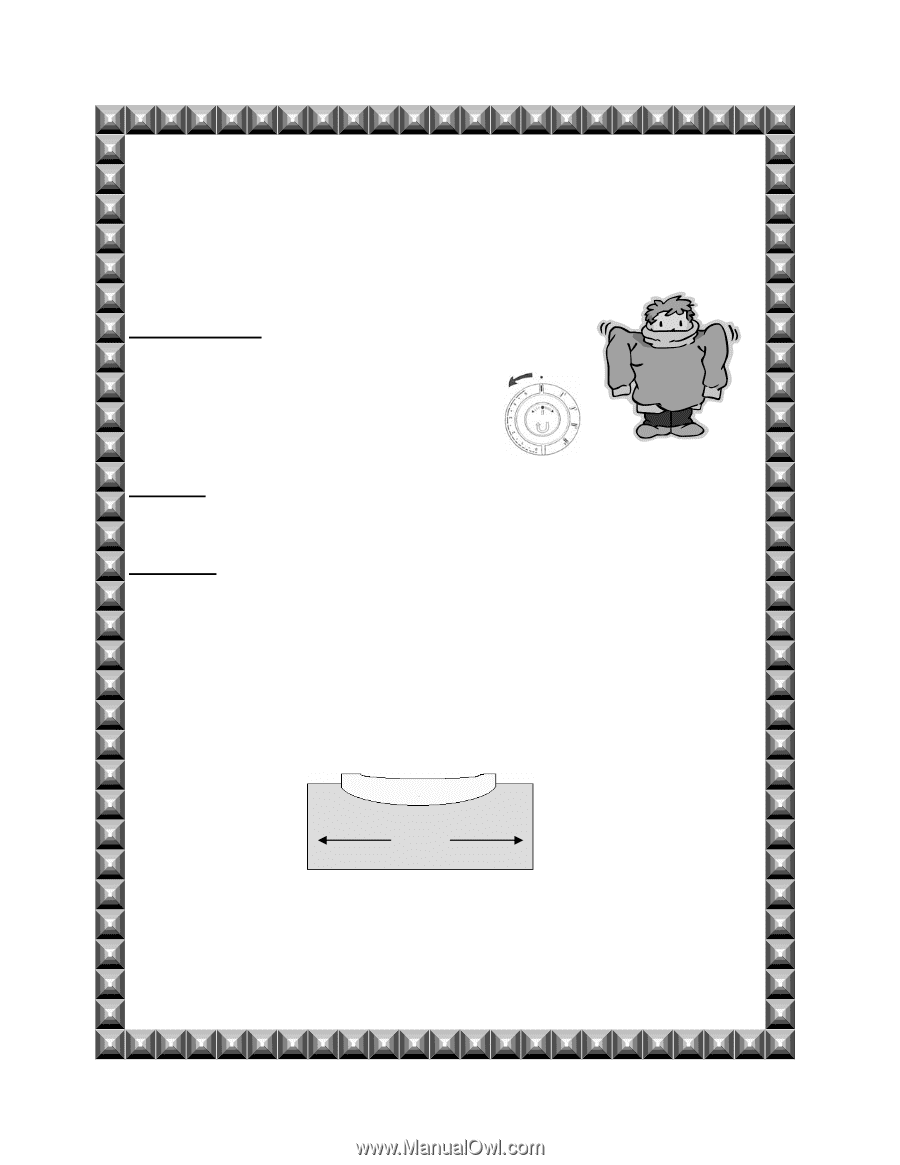
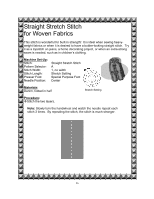
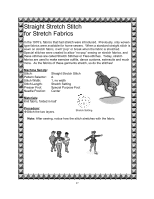
Ribbing Application The Overedge Stretch Stitch makes sewing seams on knits look as though they were finished on a serger. This stitch is stronger and more durable than overlock/serger stitching. The stitch incorporates a straight stitch and a finishing stitch into one operation. This allows for professional finish on projects, and is especially popular on sweatshirts. Machine Set-Up: Stitch: Pattern Selector: Stitch Width: Stitch Length: Presser Foot: Needle Position: Overedge Seam Stitch D 5 Stretch Setting Special Purpose Foot (J)* Center Materials: Stretch Setting 6" x 6" Medium to heavy weight knit fabric or polar fleece 3" x 6" Ribbing Procedure: Cut a curve in the knit fabric to resemble a neckline. Fold ribbing in half lengthwise. Starting at the left side of the knit curve, place ribbing on front side of curve. Match all 3 cut edges and place under the presser foot. Line up fabric edges with guide on foot and stitch the length of the seam. Stretch ribbing slightly to fit the cut edges of the knit. When finished, lift foot and pull threads and fabric straight back behind foot and trim. *The Overedge Foot is optional. Check with your SINGER® Retailer. 28
-
 1
1 -
2
-
3
-
4
-
5
-
6
-
7
-
8
-
9
-
10
-
11
-
12
-
13
-
14
-
15
-
16
-
17
-
18
-
19
-
20
-
21
-
22
-
23
-
24
-
25
-
26
-
27
-
28
-
29
-
 30
30 -
 31
31 -
 32
32 -
 33
33 -
 34
34 -
 35
35 -
 36
36 -
 37
37 -
 38
38 -
 39
39 -
 40
40 -
41
-
42
-
43
-
44
-
45
-
46
-
47
-
48
-
49
-
50
-
51
-
52
-
53
-
54
-
55
-
56
-
57
-
58
 |
 |