Singer The SINGER 160 Instruction Manual 2 - Page 4
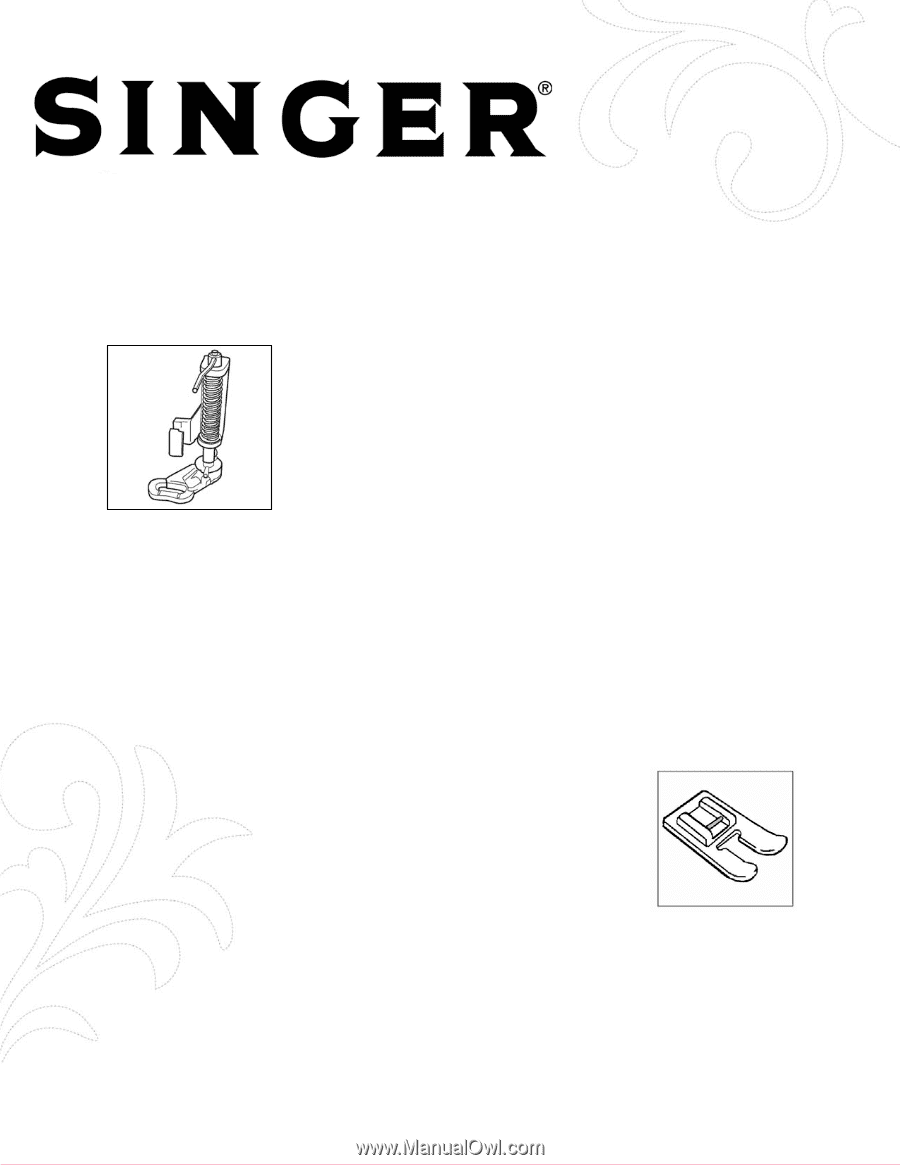
Darning / Freehand Embroidery Foot
 |
View all Singer The SINGER 160 manuals
Add to My Manuals
Save this manual to your list of manuals |
Page 4 highlights
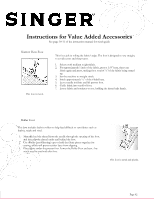
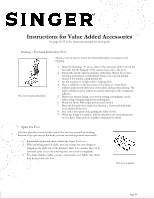
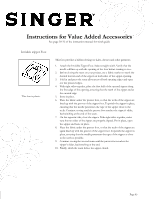
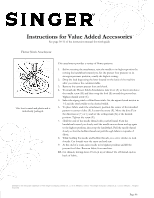
Instructions for Value Added Accessories See page 30-31 of the instruction manual for stitch guide Darning / Freehand Embroidery Foot This foot can be used to create free hand embroidery, monograms and stippling. This foot is metal and plastic. 1. Drop the feed dogs. To do so, remove the extension table to reveal the free arm. On the backside of the exposed area, move the lever. 2. Thread the needle with the machine embroidery thread. If you have chosen a rayon sheen as embroidery thread, use a special bobbin thread in the bobbin, called bobbin fill. 3. Set the machine to straight stitch or zigzag stitch. 4. Place a stabilizer on the back layer of the fabric to create fabric stiffness and prevent distortion of the fabric during embroidering. The fabric stabilizer can be further secured by spraying it with a temporary adhesive. 5. Draw your chosen design, or letter for sewing a monogram, on the fabric using a disappearing fabric-marking pen. 6. Hoop the fabric. Pull it tight with an even tension. 7. Place the hooped fabric under the Darning / Freehand Embroidery Foot and lower the foot. 8. Sew with a fast speed while guiding the fabric slowly. 9. When the design is complete, pull the threads to the back and neaten or tie a knot. Trim away the stabilizer and press the fabric. Open Toe Foot This foot provides a more visible view of the area that you will be stitching. Because of its open area at the front, you can see markings much more easily. 1. Set machine to desired stitch. Attach the Open Toe Foot. 2. With a marking pencil or chalk, trace the outline for your design or pattern on the right side of the garment. Hint: Use a marker that can be removed easily in case the stitching does not cover it completely. 3. Sew, following the outline you have traced onto your fabric. Any stitch may be used with this foot. This foot is plastic. Page 04
-
 1
1 -
 2
2 -
 3
3 -
 4
4 -
 5
5 -
 6
6
 |
 |