Singer The SINGER 160 Instruction Manual 2 - Page 5
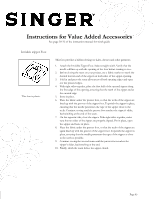
Invisible Zipper Foot
 |
View all Singer The SINGER 160 manuals
Add to My Manuals
Save this manual to your list of manuals |
Page 5 highlights
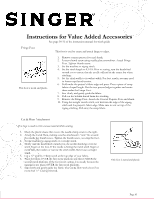
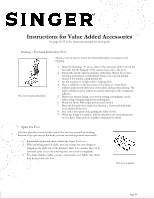
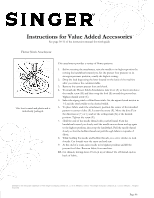
Instructions for Value Added Accessories See page 30-31 of the instruction manual for stitch guide Invisible Zipper Foot This foot is plastic. This foot provides a hidden closing on skirts, dresses and other garments. 1. Attach the Invisible Zipper Foot. Select straight stitch. Verify that the needle will line up with the opening of the foot before starting to sew. 2. Before closing the seam on your project, use a fabric marker to mark the desired bottom end of the zipper on both sides of the zipper opening. 3. Fold in and press the seam allowances of both opening edges and open out the pressed edges. 4. With right sides together, place the first half of the opened zipper along the first edge of the opening, ensuring that the teeth of the zipper end at the creased edge. 5. Baste in place. 6. Place the fabric under the presser foot, so that the teeth of the zipper are lined up with the groove of the zipper foot. Topstitch the zipper in place, ensuring that the needle penetrates the tape of the zipper close to the teeth. Continue sewing until the presser foot reaches the zipper's slider, backstitching at the end of the seam. 7. On the opposite side, close the zipper. With right sides together, make sure the two sides of the zipper are properly aligned. Pin in place, open the zipper and baste in place. 8. Place the fabric under the presser foot, so that the teeth of the zipper are again lined up with the groove of the zipper foot. Topstitch the zipper in place, ensuring that the needle penetrates the tape of the zipper as close to the teeth as possible. 9. Continue sewing the second seam until the presser foot reaches the zipper's slider, backstitching at the end. 10. Finally, stitch the seam below the zipper closed. Page 05
-
 1
1 -
 2
2 -
 3
3 -
 4
4 -
 5
5 -
 6
6
 |
 |