Sony RDR-GX7 Operating Instructions - Page 38
Recording TV programs, To free up disc space using the Disc Map, display DVD-RWs in Video mode
 |
View all Sony RDR-GX7 manuals
Add to My Manuals
Save this manual to your list of manuals |
Page 38 highlights
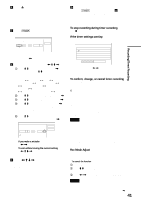
To free up disc space using the Disc Map display (DVD-RWs in Video mode, DVD+RWs only) The Disc Map display in the TOOLS menu allows you to check the disc status and erase titles on the disc. 1 Press TITLE LIST while the disc is in the recorder. 2 Press TOOLS. 3 Press M/m to select "Disc Map" from the TOOLS menu, then press ENTER. The Disc Map display appears. ◆ To check free disc space Press
-
 1
1 -
2
-
3
-
4
-
5
-
6
-
7
-
8
-
9
-
10
-
11
-
12
-
13
-
14
-
15
-
16
-
17
-
18
-
19
-
20
-
21
-
22
-
23
-
24
-
25
-
26
-
27
-
28
-
29
-
30
-
31
-
32
-
 33
33 -
 34
34 -
 35
35 -
 36
36 -
 37
37 -
 38
38 -
 39
39 -
 40
40 -
 41
41 -
 42
42 -
 43
43 -
44
-
45
-
46
-
47
-
48
-
49
-
50
-
51
-
52
-
53
-
54
-
55
-
56
-
57
-
58
-
59
-
60
-
61
-
62
-
63
-
64
-
65
-
66
-
67
-
68
-
69
-
70
-
71
-
72
-
73
-
74
-
75
-
76
-
77
-
78
-
79
-
80
-
81
-
82
-
83
-
84
-
85
-
86
-
87
-
88
-
89
-
90
-
91
-
92
-
93
-
94
-
95
-
96
-
97
-
98
-
99
-
100
-
101
-
102
-
103
-
104
-
105
-
106
-
107
-
108
-
109
-
110
-
111
-
112
 |
 |
38
Recording TV programs
To free up disc space using the Disc Map
display (DVD-RWs in Video mode, DVD+RWs
only)
The Disc Map display in the TOOLS menu allows you to check
the disc status and erase titles on the disc.
1
Press TITLE LIST while the disc is in the
recorder.
2
Press TOOLS.
3
Press
M
/
m
to select “Disc Map” from the TOOLS
menu, then press ENTER.
The Disc Map display appears.
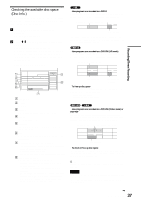
◆
To check free disc space
Press
<
/
,
to select an open space.
The remaining space and the longest recording time
in each of the recording modes appears.
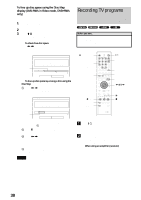
◆
To free up disc space by erasing a title using the
Disc Map
A
Press
<
/
,
to select the title you want to
erase, then press ENTER.
The title is selected.
To cancel the selection, press ENTER again.
Repeat step
1
to erase multiple titles.
B
Press
m
to select “Erase,” then press ENTER.
The display asks for confirmation.
C
Press
<
/
,
to select “OK.”
All of the selected titles are erased, freeing up
disc space. If you want to change your selection,
select “Change.”
D
Press RETURN repeatedly to turn off the Title
List menu.
Note
You cannot erase a title during playback or recording.
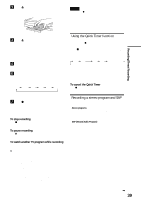
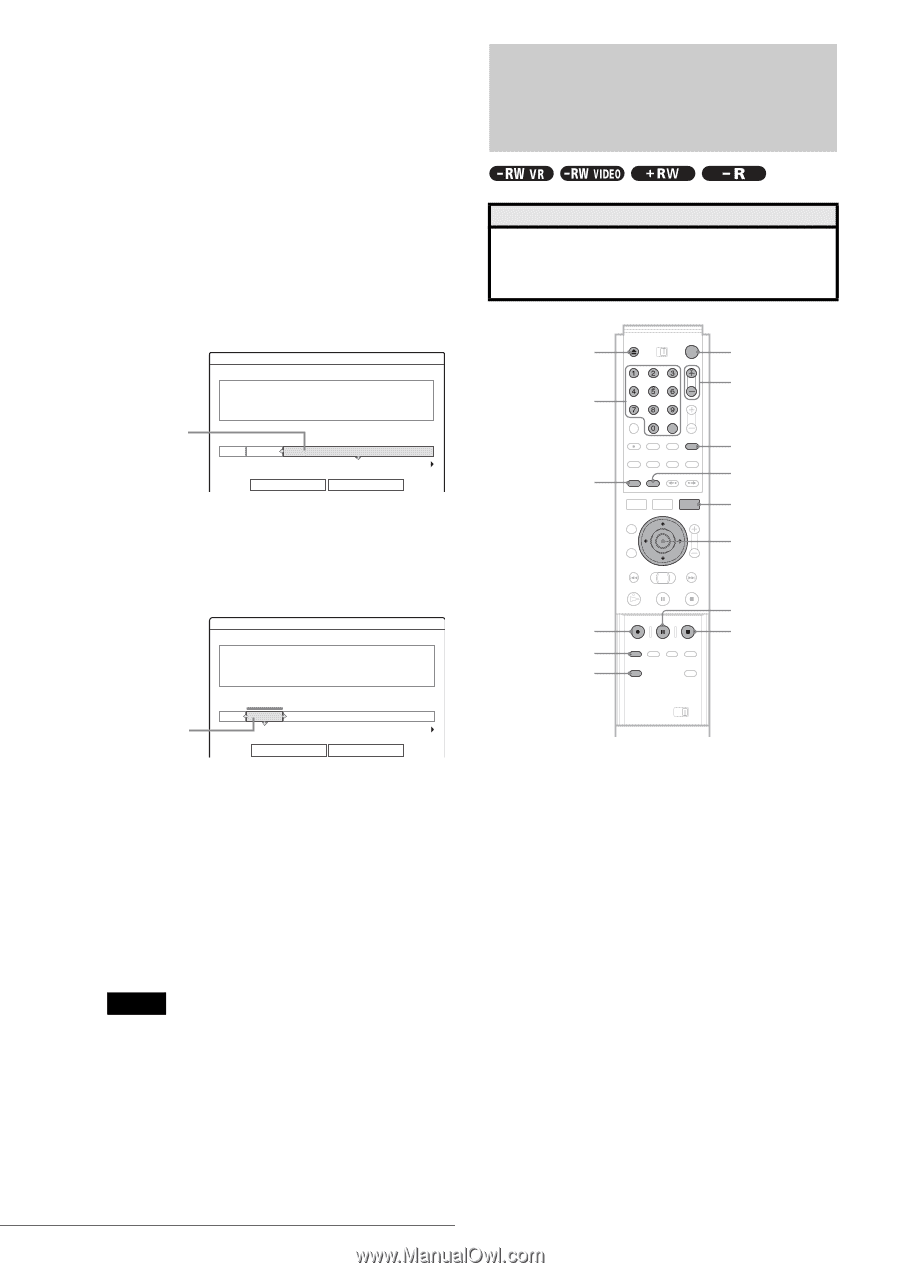
Recording TV programs
a
Press
}
/
1
.
The recorder turns on and the power indicator on the
front panel lights up in green.
b
Turn on the TV, and switch the input selector
on your TV so that the signal from the
recorder appears on the TV screen.
◆
When using an amplifier (receiver)
Turn on the amplifier (receiver) and select the
appropriate channel so that you can hear sound from
the recorder.
Disc Map
Empty
Erase
Cancel
2.3GB
HQ[
0H30M]
LP [
1H30M]
HSP[
0H45M]
EP[
2H00M]
SP[
1H00M]
SLP[
3H00M]
Selected open
space
Disc Map
Erase
Cancel
2
5ch
8:00PM -
9:00PM
Wed
9/17
8:00PM(
1H00M)
SP
0.6GB
Selected title
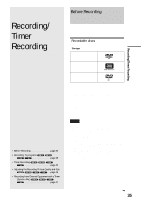
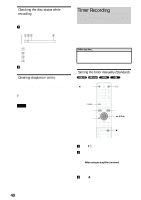
Before you start…
• Check that the disc has enough available space for the
recording
(page 37)
.
• Adjust the recording picture quality and picture size if
necessary
(page 46)
.
DISPLAY
Number
buttons,
SET
z
REC
REC MODE
INPUT SELECT
x
REC STOP
X
REC PAUSE
<
/
M
/
m
/
,
,
ENTER
TIME/TEXT
CH +/–
}
/
1
Z
OPEN/CLOSE
TV/VIDEO
TOOLS