Sony XR-CA600X Primary User Manual - Page 8
Setting the clock - front panel
 |
View all Sony XR-CA600X manuals
Add to My Manuals
Save this manual to your list of manuals |
Page 8 highlights
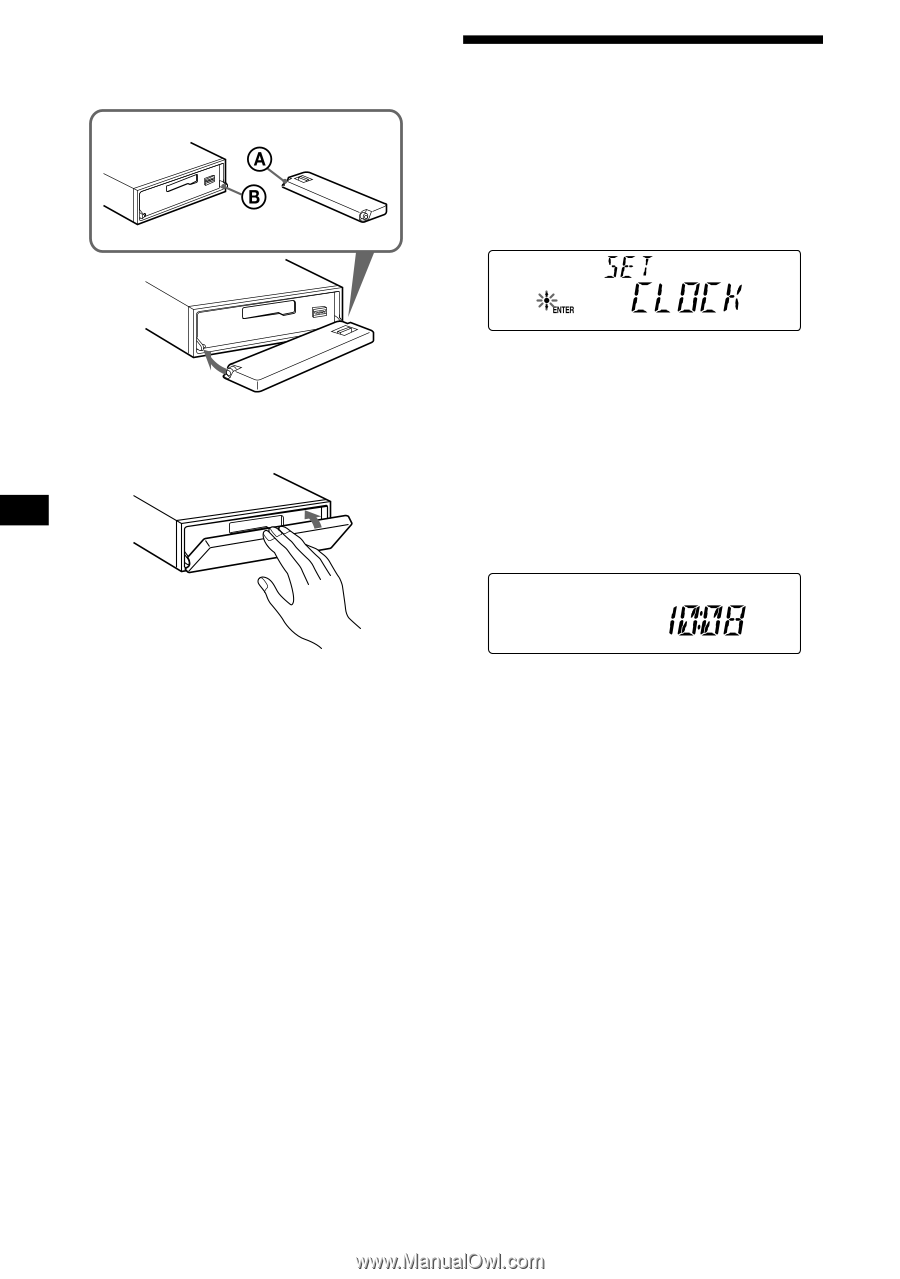
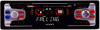
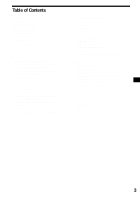
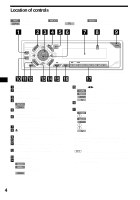
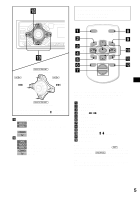
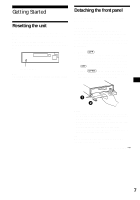
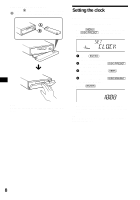
Attaching the front panel Place hole A of the front panel onto the spindle B on the unit, then lightly push the left side in. Setting the clock The clock uses a 12-hour digital indication. Example: To set the clock to 10:08 1 Press (MENU), then press either side of (DISC/PRESET) repeatedly until "CLOCK" appears. x 1 Press (ENTER). The hour indication flashes. 2 Press either side of (DISC/PRESET) to set the hour. 3 Press the (+) side of (SEEK). The minute indication flashes. 4 Press either side of (DISC/PRESET) to set the minute. 2 Press (ENTER). Note Do not put anything on the inner surface of the front panel. The clock starts. After the clock setting is completed, the display returns to normal play mode. Tip When D.INFO mode is set to ON, the time is always displayed (page 15). 8
-
 1
1 -
2
-
 3
3 -
 4
4 -
 5
5 -
 6
6 -
 7
7 -
 8
8 -
 9
9 -
 10
10 -
 11
11 -
 12
12 -
 13
13 -
14
-
15
-
16
-
17
-
18
-
19
-
20
-
21
-
22
-
23
-
24
-
25
-
26
-
27
-
28
 |
 |