TEAC SR-L250I-W Owners Manual - Page 32
Timer 1
 |
View all TEAC SR-L250I-W manuals
Add to My Manuals
Save this manual to your list of manuals |
Page 32 highlights
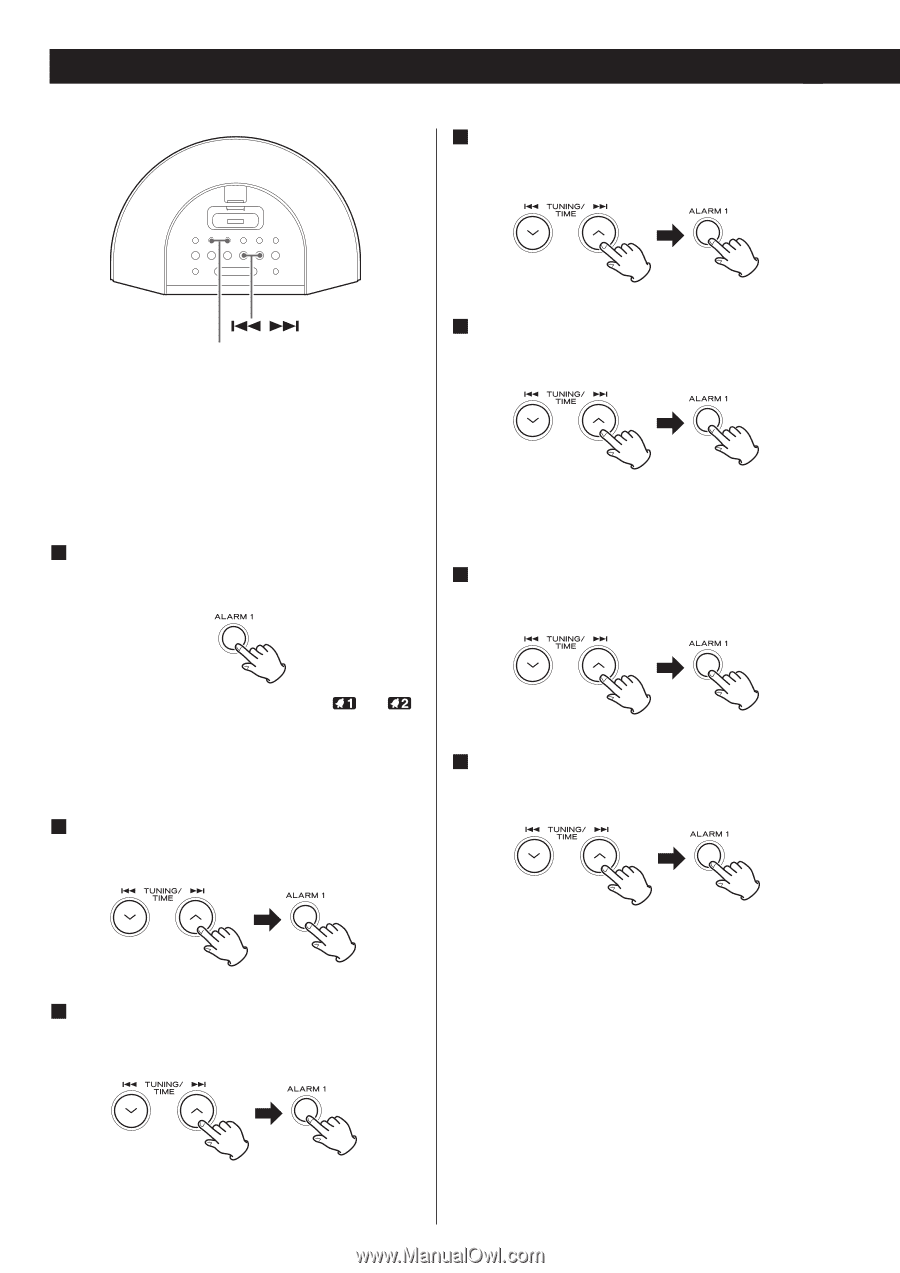
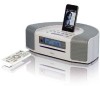
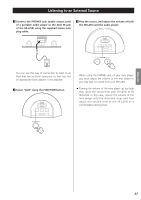
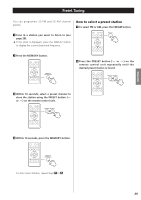
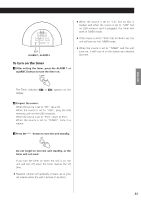
Timer 1 4 Press the SKIP button (. or /) to set the hour, and then press the ALARM 1 or ALARM 2 button. / ALARM 1, ALARM 2 < The unit can be set two different timer setting separately. < Adjust the clock before setting the timer (see page 15). 5 Press the SKIP button (. or /) to set the minute, and then press the ALARM 1 or ALARM 2 button. Setting the timer 1 Press and hold the ALARM 1 or ALARM 2 button for more than 2 seconds to display "ON". Now the off time is set. The source blinks. 6 Select a source (CD, USB, TUNER or iPod) using the SKIP button (. or /), and then press the ALARM 1 or ALARM 2 button. The clock and the Timer indicator ( or ) blinks on the display. < If no button is pressed for about 8 seconds, the timer setting mode will be cancelled. 2 Press the SKIP button (. or /) to set the hour, and then press the ALARM 1 or ALARM 2 button. 7 Set the volume using the SKIP button (. or /), and then press the ALARM 1 or ALARM 2 button. 3 Press the SKIP button (. or /) to set the minute, and then press the ALARM 1 or ALARM 2 button. The volume for timer operation is adjustable from 10 to max. Setting the timer is now completed. Now the on time is set. "OFF" and the off time value blink. 32
-
 1
1 -
2
-
3
-
4
-
5
-
6
-
7
-
8
-
9
-
10
-
11
-
12
-
13
-
14
-
15
-
16
-
17
-
18
-
19
-
20
-
21
-
22
-
23
-
24
-
25
-
26
-
 27
27 -
 28
28 -
 29
29 -
 30
30 -
 31
31 -
 32
32 -
 33
33 -
 34
34 -
 35
35 -
 36
36 -
 37
37 -
38
-
39
-
40
-
41
-
42
-
43
-
44
-
45
-
46
-
47
-
48
-
49
-
50
-
51
-
52
-
53
-
54
-
55
-
56
-
57
-
58
-
59
-
60
-
61
-
62
-
63
-
64
-
65
-
66
-
67
-
68
-
69
-
70
-
71
-
72
-
73
-
74
-
75
-
76
-
77
-
78
-
79
-
80
-
81
-
82
-
83
-
84
-
85
-
86
-
87
-
88
-
89
-
90
-
91
-
92
-
93
-
94
-
95
-
96
-
97
-
98
-
99
-
100
-
101
-
102
-
103
-
104
-
105
-
106
-
107
-
108
-
109
-
110
-
111
-
112
-
113
-
114
-
115
-
116
-
117
-
118
-
119
-
120
-
121
-
122
-
123
-
124
-
125
-
126
-
127
-
128
-
129
-
130
-
131
-
132
-
133
-
134
-
135
-
136
-
137
-
138
-
139
-
140
-
141
-
142
-
143
-
144
-
145
-
146
-
147
-
148
-
149
-
150
-
151
-
152
-
153
-
154
-
155
-
156
-
157
-
158
-
159
-
160
-
161
-
162
-
163
-
164
-
165
-
166
-
167
-
168
-
169
-
170
-
171
-
172
-
173
-
174
-
175
-
176
-
177
-
178
-
179
-
180
-
181
-
182
-
183
-
184
-
185
-
186
-
187
-
188
-
189
-
190
-
191
-
192
-
193
-
194
-
195
-
196
 |
 |