Toshiba Satellite L515-SP4943C User Manual - Page 141
Inserting memory media, Show hidden, icons, Safely Remove Hardware
 |
View all Toshiba Satellite L515-SP4943C manuals
Add to My Manuals
Save this manual to your list of manuals |
Page 141 highlights
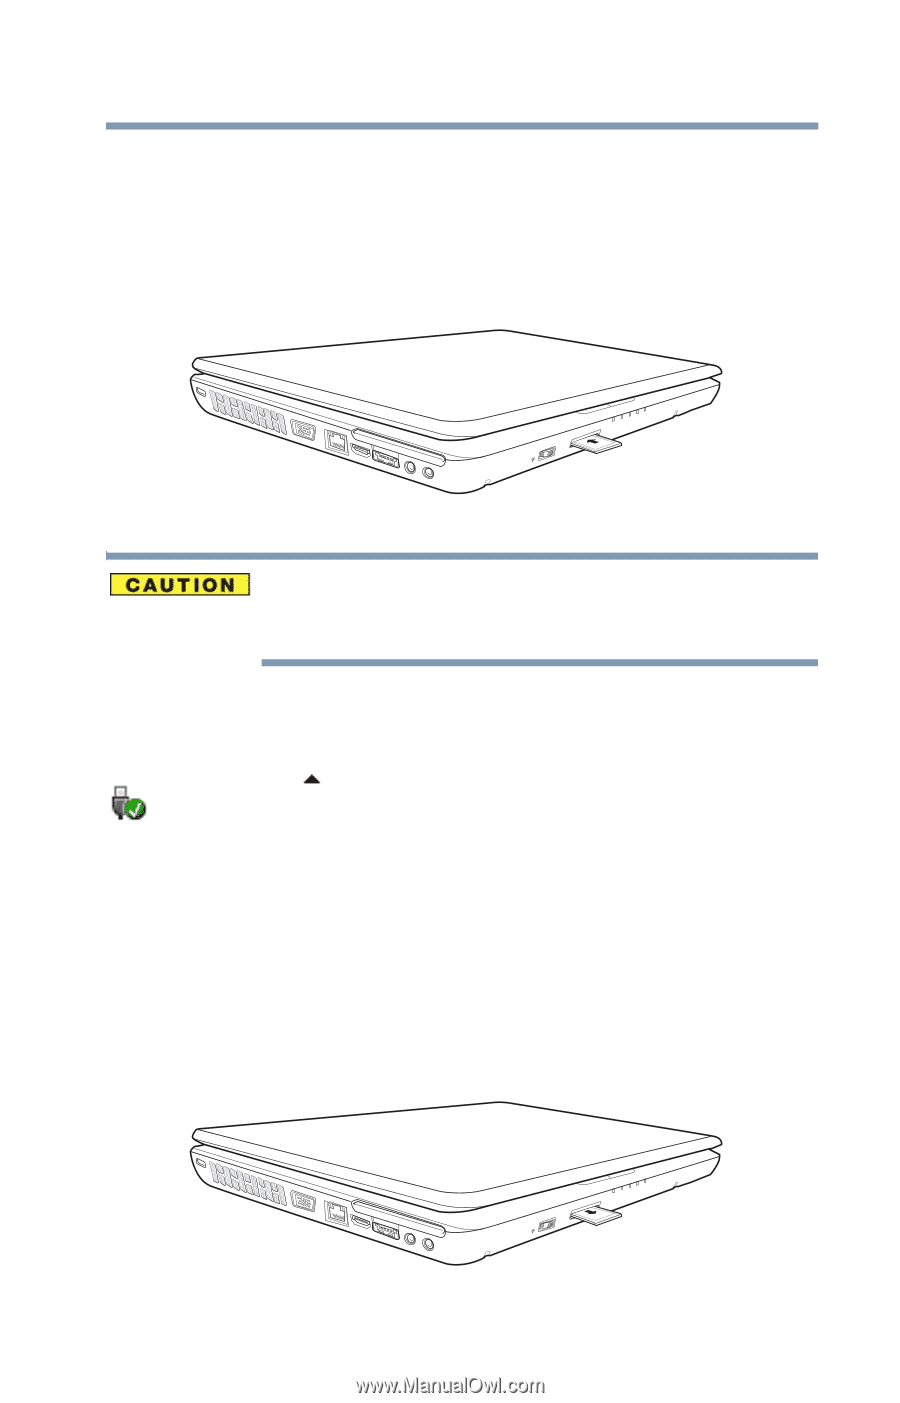
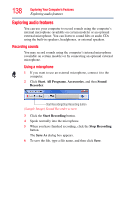
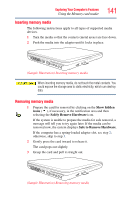
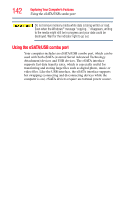
Exploring Your Computer's Features Using the Memory card reader 141 Inserting memory media The following instructions apply to all types of supported media devices. 1 Turn the media so that the contacts (metal areas) are face down. 2 Push the media into the adapter until it locks in place. (Sample Illustration) Inserting memory media When inserting memory media, do not touch the metal contacts. You could expose the storage area to static electricity, which can destroy data. Removing memory media 1 Prepare the card for removal by clicking on the Show hidden icons ( ), if necessary, in the notification area and then selecting the Safely Remove Hardware icon. If the system is unable to prepare the media for safe removal, a message will tell you to try again later. If the media can be removed now, the system displays Safe to Remove Hardware. If the computer has a spring-loaded adapter slot, see step 2; otherwise, skip to step 3. 2 Gently press the card inward to release it. The card pops out slightly. 3 Grasp the card and pull it straight out. (Sample Illustration) Removing memory media
-
 1
1 -
2
-
3
-
4
-
5
-
6
-
7
-
8
-
9
-
10
-
11
-
12
-
13
-
14
-
15
-
16
-
17
-
18
-
19
-
20
-
21
-
22
-
23
-
24
-
25
-
26
-
27
-
28
-
29
-
30
-
31
-
32
-
33
-
34
-
35
-
36
-
37
-
38
-
39
-
40
-
41
-
42
-
43
-
44
-
45
-
46
-
47
-
48
-
49
-
50
-
51
-
52
-
53
-
54
-
55
-
56
-
57
-
58
-
59
-
60
-
61
-
62
-
63
-
64
-
65
-
66
-
67
-
68
-
69
-
70
-
71
-
72
-
73
-
74
-
75
-
76
-
77
-
78
-
79
-
80
-
81
-
82
-
83
-
84
-
85
-
86
-
87
-
88
-
89
-
90
-
91
-
92
-
93
-
94
-
95
-
96
-
97
-
98
-
99
-
100
-
101
-
102
-
103
-
104
-
105
-
106
-
107
-
108
-
109
-
110
-
111
-
112
-
113
-
114
-
115
-
116
-
117
-
118
-
119
-
120
-
121
-
122
-
123
-
124
-
125
-
126
-
127
-
128
-
129
-
130
-
131
-
132
-
133
-
134
-
135
-
 136
136 -
 137
137 -
 138
138 -
 139
139 -
 140
140 -
 141
141 -
 142
142 -
 143
143 -
 144
144 -
 145
145 -
 146
146 -
147
-
148
-
149
-
150
-
151
-
152
-
153
-
154
-
155
-
156
-
157
-
158
-
159
-
160
-
161
-
162
-
163
-
164
-
165
-
166
-
167
-
168
-
169
-
170
-
171
-
172
-
173
-
174
-
175
-
176
-
177
-
178
-
179
-
180
-
181
-
182
-
183
-
184
-
185
-
186
-
187
-
188
-
189
-
190
-
191
-
192
-
193
-
194
-
195
-
196
-
197
-
198
-
199
-
200
-
201
-
202
-
203
-
204
-
205
-
206
-
207
-
208
-
209
-
210
-
211
-
212
-
213
-
214
-
215
-
216
-
217
-
218
-
219
-
220
-
221
-
222
-
223
-
224
-
225
-
226
-
227
-
228
-
229
-
230
-
231
-
232
 |
 |