Vtech Twinkle & Soothe Owl Projector User Manual - Page 5
Assembly Instructions
 |
View all Vtech Twinkle & Soothe Owl Projector manuals
Add to My Manuals
Save this manual to your list of manuals |
Page 5 highlights
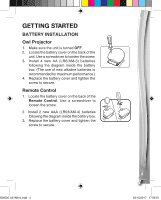
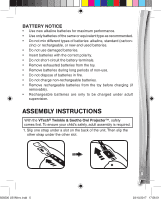
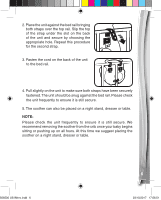
BATTERY NOTICE • Use new alkaline batteries for maximum performance. • Use only batteries of the same or equivalent type as recommended. • Do not mix different types of batteries: alkaline, standard (carbon- zinc) or rechargeable, or new and used batteries. • Do not use damaged batteries. • Insert batteries with the correct polarity. • Do not short-circuit the battery terminals. • Remove exhausted batteries from the toy. • Remove batteries during long periods of non-use. • Do not dispose of batteries in fire. • Do not charge non-rechargeable batteries. • Remove rechargeable batteries from the toy before charging (if removable). • Rechargeable batteries are only to be charged under adult supervision. ASSEMBLY INSTRUCTIONS With the VTech® Twinkle & Soothe Owl Projector™, safety comes first. To ensure your child's safety, adult assembly is required. 1. Slip one strap under a slot on the back of the unit. Then slip the other strap under the other slot. 506500 US IMrev.indd 5 5 03/10/2017 17:56:51
-
 1
1 -
 2
2 -
 3
3 -
 4
4 -
 5
5 -
 6
6 -
 7
7 -
 8
8 -
 9
9 -
 10
10 -
 11
11 -
12
-
13
-
14
-
15
-
16
 |
 |
