Weber Genesis 2000 LP Owner Manual
Weber Genesis 2000 LP Manual
 |
View all Weber Genesis 2000 LP manuals
Add to My Manuals
Save this manual to your list of manuals |
Weber Genesis 2000 LP manual content summary:
- Weber Genesis 2000 LP | Owner Manual - Page 1
and liquids in the vicinity of this or any other appliance. gama WARNING: Do not try to light this appliance without reading "Lighting" instructions section of this manual. THIS GAS APPLIANCE IS DESIGNED FOR OUTDOOR USE ONLY. FOR YOUR SAFETY If you smell gas: 1. Shut off gas to the appliance - Weber Genesis 2000 LP | Owner Manual - Page 2
, the Weber Gas Barbecue should be checked for gas leaks and burner obstructions before using. See instructions in this manual for correct procedures. s Do not operate the Weber Gas Barbecue if there is a gas leak . 2. Do not attempt to correct the problem yourself. 3. Call your fire department. 2 - Weber Genesis 2000 LP | Owner Manual - Page 3
assembled and operated in accordance with the printed instructions accompanying it. Weber may require reasonable proof of parts, contact WeberStephen Products Co. Customer Service Center. If Weber confirms the defect and as set out in this owner's manual. Deterioration or damage due to severe - Weber Genesis 2000 LP | Owner Manual - Page 4
PATENTS AND TRADEMARKS © 1992 Weber. Weber, , Genesis, Flavorizer and Crossover are registered U.S. trademarks; Spirit, Perma-Mount, Gas Catcher, FlameCheck, Steam-N-Chips, Spider Stopper, and Warm-Up are U.S. trademarks of Weber-Stephen Products Co., 200 East Daniels Road, Palatine, IL 60067-6266. - Weber Genesis 2000 LP | Owner Manual - Page 5
Contents WARNINGS 2 Warranty & Patents 3-4 General Instructions 6 Assembly 7-21 Operating Instructions Lighting 22-23 Cooking 24 Storage and/or Nonuse 24 Cleaning 24 Troubleshooting & Maintenance Annual Maintenance 28 General Maintenance 29-31 Troubleshooting 32 Parts Listing 35 e a b - Weber Genesis 2000 LP | Owner Manual - Page 6
(piped in city) gas. The valves and orifices are for LP gas only. s Do not use with charcoal fuel. For Installation in Canada These instructions, while generally acceptable, do not necessarily comply with the Canadian Installation codes, particularly with piping above and below ground. In Canada the - Weber Genesis 2000 LP | Owner Manual - Page 7
an occasional error may occur. If a part is missing, do not go back to the store. Call the Weber Customer Service Center toll free 1-800-446-1071 to receive immediate assistance. Have your owner's manual available for reference. Hose Bottom tray Two work tables Two accessory trays Swing table 7 - Weber Genesis 2000 LP | Owner Manual - Page 8
Caster frame Two casters Two cooking grates Warming rack Warm-Up Basket Thermometer Left hand slide bar assembly Assembly consists of: Left hand slide bar Support rod Slide 8 - Weber Genesis 2000 LP | Owner Manual - Page 9
Catch pan holder Manifold bracket Check contents of hardware packs Three burner control knobs Three tool holders Five tubing plugs (two are spares) Two wheel hubcaps (actual size) Two hinge pins (hardware size: 1/4 x 1 1/2 inch clevis pin) (actual size) Five 1/4-20 x 2 inch bolts (actual size) Six - Weber Genesis 2000 LP | Owner Manual - Page 10
Step 2 Assemble wheels You will need: axle, two wheel hubcaps, two wheels, wheel frame, hammer and a block of wood. Place one end of the axle on the block of wood (or other protected surface). Tap on one hubcap. Put one wheel on the axle, WEBER side toward the hubcap. Slide the axle through the - Weber Genesis 2000 LP | Owner Manual - Page 11
Step 4 Continue frame assembly You will need: frame assembly, wheel frame assembly, front panel, caster frame, four 1/4-20 x 1/2 inch bolts, four nylon washers and a 7/16 inch wrench. Place the caster frame onto the tabs of the left frame with the dimple to the inside. Figure 3. Place the wheel - Weber Genesis 2000 LP | Owner Manual - Page 12
Figure 8 (a). b) Are the ends of the burners under the washers at the left rear and left front of the cooking box? The screws are only guides. Do not tighten. Figure 8 (b). c) Are the thumb screws under the burner assembly hand tight? Do not tighten with pliers. Figure 8 (c). If you answered YES to - Weber Genesis 2000 LP | Owner Manual - Page 13
latest edition for complete specifications. NOTE: The LP gas supply at the barbecue must be regulated to 10.5 inches of water column pressure. s A manual shut-off valve must be installed outdoors, immediately ahead of the quick disconnect. CAUTION: If young children are in the area, a locking valve - Weber Genesis 2000 LP | Owner Manual - Page 14
Step 10 Check that all burner valves are off You will need: one burner control knob. (Valves are shipped in the OFF position, but you should check to be sure.) Put the knob on each valve. Check by pushing down and turning clockwise. Figure 11. Step 12 Install igniter Note - The igniter wires are - Weber Genesis 2000 LP | Owner Manual - Page 15
Step 13 Check for gas leaks DANGER Do not use an open flame to check for gas leaks. Be sure there are no sparks or open flames in the area while you check for leaks. This will result in a fire or explosion which can cause serious bodily injury or death and damage to property. WARNING: You should - Weber Genesis 2000 LP | Owner Manual - Page 16
Step 14 Install Flavorizer Bars and Cooking Grates You will need: five long Flavorizer Bars, eight short Flavorizer Bars and two cooking grates. Set the long Flavorizer Bars side to side in the lower position, then set the short Flavorizer Bars front to back in the upper position in the cooking box. - Weber Genesis 2000 LP | Owner Manual - Page 17
Step 16 Install the lid You will need: lid, two hinge pins and two hair pin cotters. Set the lid in place from the rear of the barbecue. Close and align the hinge at the rear. Insert hinge pins from the outside through the hinge. Insert hair pin cotters into the small holes in the hinge pins. Figure - Weber Genesis 2000 LP | Owner Manual - Page 18
bracket is in any way cracked or damaged, do not use swing table. Call our Customer Service Center to order a new part. WARNING: The load limit for the swing table is 30 pounds. Hinge rod (a) (b) Support rod (a) Figure 23 View from rear of barbecue Figure 24 Slot in frame (view from below - Weber Genesis 2000 LP | Owner Manual - Page 19
the ends of the frame. To fully seat the plugs, you may have to tap them lightly with a hammer. Figure 27 (f). To lower table: Pull support rod up to disengage slide lock, and lower table. To raise table, lift table up and engage slide in locked position. Figure 26. (a) (d) (b) (e) (b) Slide - Weber Genesis 2000 LP | Owner Manual - Page 20
Lighting Summary lighting instructions are on the control panel. DANGER Failure to barbecue. Replace using only Weber authorized replacement hose. Order from Weber-Stephen Products Co., Customer Service Center or authorized dealer. Crossover Ignition System 1 1) Open the lid. Figure 1. 2) Make - Weber Genesis 2000 LP | Owner Manual - Page 21
Manual Lighting DANGER Failure to open lid while igniting the barbecue, or not valve on. 4) Strike a match and put the flame into the matchlight hole in the front of the cooking box. Manual Lighting 1 WARNING: If the burner does not light, turn the Front burner control knob to OFF and wait 5 minutes - Weber Genesis 2000 LP | Owner Manual - Page 22
CENTER off, and BACK at medium). See your Weber cookbook for detailed cooking instructions. Note - The temperatures inside your cooking box, for the first few uses, are available through your retailer or the Weber-Stephen Customer Service Center. Outside surfaces - Use a warm soapy water solution - Weber Genesis 2000 LP | Owner Manual - Page 23
replacement hose. Order from Weber-Stephen Products Co., Customer Service Center or authorized dealer. s Inspect the burners for correct necessary, following the procedures outlined in the "General Maintenance" section of this manual. s Check all gas fittings for leaks. DANGER Do not use an open - Weber Genesis 2000 LP | Owner Manual - Page 24
General Maintenance Weber Spider Stopper Guards Your Weber Genesis Gas Barbecue, as well as any outdoor gas appliance, is a target for spiders and other insects. They can nest in the venturi section of the burner tubes. This blocks the normal gas flow, and can cause the gas to flow back out of the - Weber Genesis 2000 LP | Owner Manual - Page 25
fit around the burners and valves. Figure 11. Thumb screws Figure 8 f) Slide the burner assembly out from under the guide screw and washer in the corners of the cooking box. Figure 9. Guide screw Figure 9 Venturi fin Check fit around valve Check fit around burner Figure 11 CAUTION: If the Spider - Weber Genesis 2000 LP | Owner Manual - Page 26
loose in the frame. Tighten if necessary; see Step "Install igniter" for correct procedure. If the Crossover Ignition System still fails to light, see Section "Manual Lighting", and contact your dealer. 26 - Weber Genesis 2000 LP | Owner Manual - Page 27
TROUBLESHOOTING & MAINTENANCE Troubleshooting Problem Check Burners burn with a yellow or orange flame, in Inspect Weber Spider Stopper conjunction with the smell of gas. Guards for possible obstructions. (Blockage of - Weber Genesis 2000 LP | Owner Manual - Page 28
1 2 3 4 5 6 7 8 9 10 11 12 13 14-15 16 17-18, 15 10 19 20 21-22 23 24 25 ® ® E BE R W E BE R W 26 27 28 29 30 31 32 28 33 34 35 36 37 38 39 40 41 42 43 44 45 46 47 48 8 49 50 51-55 56 - Weber Genesis 2000 LP | Owner Manual - Page 29
Weber-Stephen Products Company by phone or mail. Note - Do not return parts to Weber-Stephen Products Co. without first contacting the Customer Service Center by phone or mail. Returning the part may not be necessary. 1 Lid (assembly) 2 Lid handle 3 Warm-Up Basket 4 Warming rack 5 Short Flavorizer - Weber Genesis 2000 LP | Owner Manual - Page 30
products, an occasional error may occur. Our knowledgeable Customer Service staff is prepared to help you with any problems with parts or assembly. Call our toll free number 1-800-446-1071. For quicker service, please have your owner's manual available for reference. We also welcome any comments or
-
 1
1 -
 2
2 -
 3
3 -
 4
4 -
 5
5 -
 6
6 -
 7
7 -
8
-
9
-
10
-
11
-
12
-
13
-
14
-
15
-
16
-
17
-
18
-
19
-
20
-
21
-
22
-
23
-
24
-
25
-
26
-
27
-
28
-
29
-
30
 |
 |
Serial Number
Please use this number in registering your warranty
and any correspondence with the factory.
®
gama
®
®
© 1992, Weber-Stephen Products Co.
62714
3/94
®
®
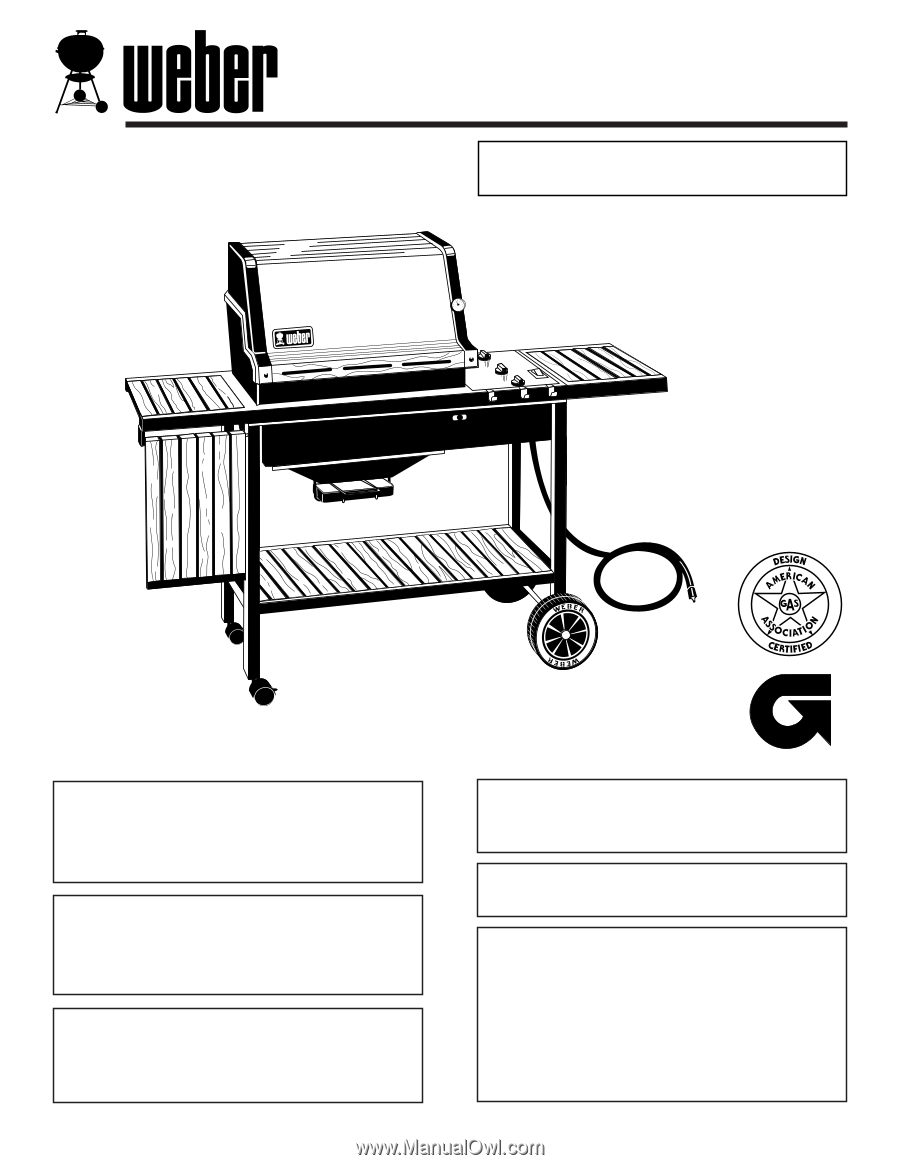
Owner's Manual
GENESIS
®
2000 Series
Propane Fixed Piping System
GAS
BARBECUE
WARNING:
Do not try to light this
appliance without reading "Lighting"
instructions section of this manual.
THIS GAS APPLIANCE IS DESIGNED FOR
OUTDOOR USE ONLY.
NOTICE TO INSTALLER:
These
instructions must be left with the owner
and the owner should keep them for
future use.
FOR YOUR SAFETY
If you smell gas:
1.
Shut off gas to the appliance.
2.
Extinguish any open flame.
3.
Open lid.
4.
If odor continues, immediately call
your gas supplier or your fire
department.
WARNING:
Follow all leak check
procedures carefully in this manual prior
to barbecue operation. Do this even if
barbecue was dealer assembled.
FOR YOUR SAFETY
Do not store or use gasoline or other
flammable vapors and liquids in the
vicinity of this or any other appliance.