Weslo Cadence 850 English Manual - Page 6
Align
 |
View all Weslo Cadence 850 manuals
Add to My Manuals
Save this manual to your list of manuals |
Page 6 highlights
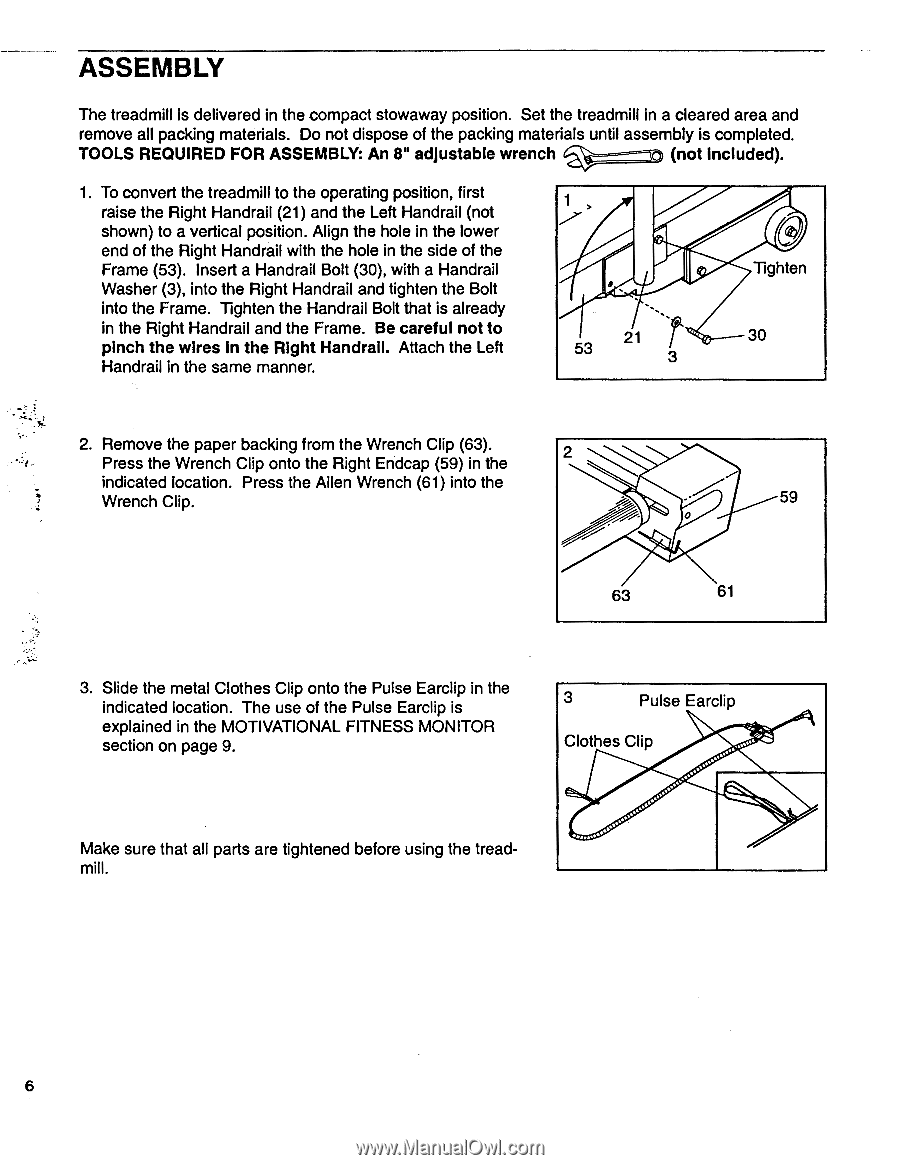
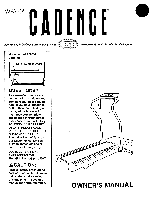
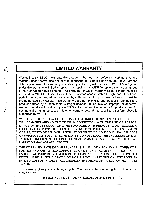
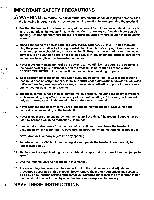
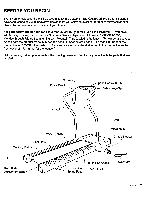
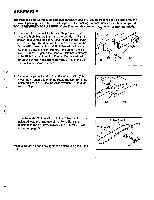
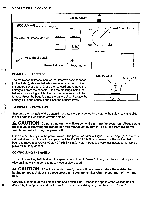
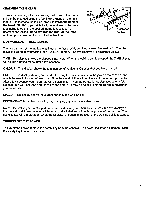
ASSEMBLY The treadmill is delivered in the compact stowaway position. Set the treadmill in a cleared area and remove all packing materials. Do not dispose of the packing materials until assembly is completed. TOOLS REQUIRED FOR ASSEMBLY: An 8" adjustable wrench € 1:0 (not Included). 1 To convert the treadmill to the operating position, first raise the Right Handrail (21) and the Left Handrail (not shown) to a vertical position. Align the hole in the lower end of the Right Handrail with the hole in the side of the Frame (53). Insert a Handrail Bolt (30), with a Handrail Washer (3), into the Right Handrail and tighten the Bolt into the Frame. Tighten the Handrail Bolt that is already in the Right Handrail and the Frame. Be careful not to pinch the wires in the Right Handrail. Attach the Left Handrail in the same manner. 53 21 3 Tighten 30 2. Remove the paper backing from the Wrench Clip (63). Press the Wrench Clip onto the Right Endcap (59) in the 2 indicated location. Press the Allen Wrench (61) into the Wrench Clip. 59 0 63 61 3. Slide the metal Clothes Clip onto the Pulse Earclip in the indicated location. The use of the Pulse Earclip is explained in the MOTIVATIONAL FITNESS MONITOR section on page 9. 3 Pulse Earclip Clothes Clip Make sure that all parts are tightened before using the treadmill. 6
-
 1
1 -
 2
2 -
 3
3 -
 4
4 -
 5
5 -
 6
6 -
 7
7 -
 8
8 -
 9
9 -
 10
10 -
 11
11 -
 12
12 -
13
-
14
-
15
-
16
 |
 |