Whirlpool WFE321LWB Installation Instructions - Page 7
Warning - instructions
 |
View all Whirlpool WFE321LWB manuals
Add to My Manuals
Save this manual to your list of manuals |
Page 7 highlights
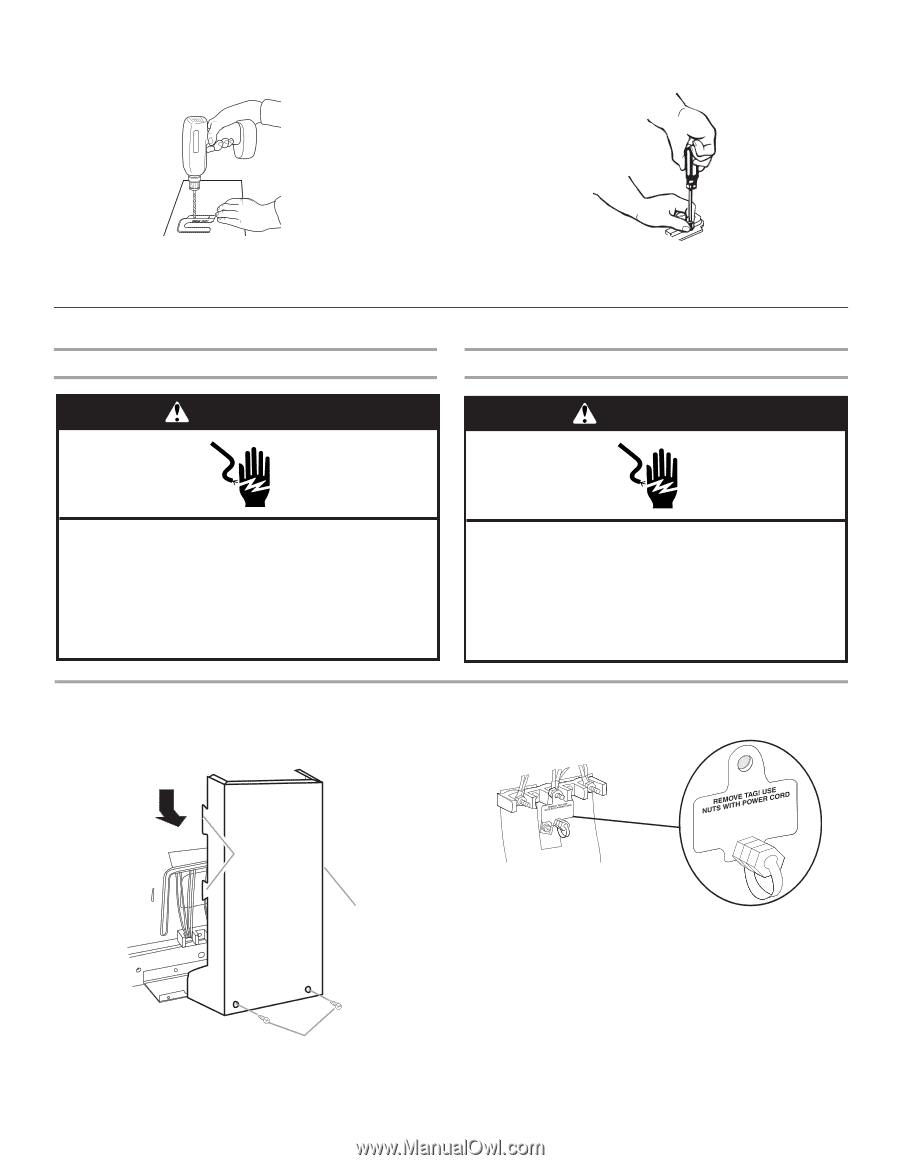
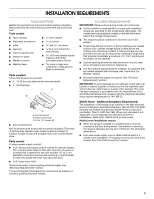
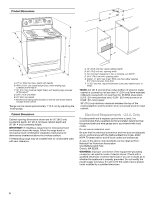
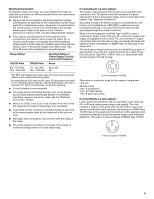
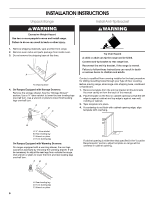
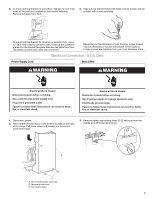
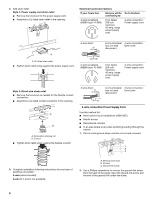
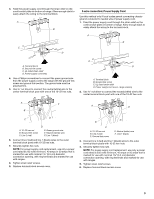
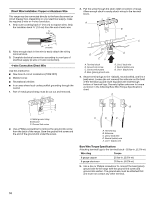
5. To mount anti-tip bracket to wood floor, drill two ¹⁄₈" (3.2 mm) holes at the positions marked on the bracket template. Remove template from floor. 6. Align anti-tip bracket holes with holes in floor. Fasten anti-tip bracket with screws provided. To mount anti-tip bracket to concrete or ceramic floor, use a 4.8 mm) masonry drill bit to drill 2 holes at the positions marked on the bracket template. Remove template from floor. Tap plastic anchors into holes with a hammer. Depending on the thickness of your flooring, longer screws may be necessary to anchor the bracket to the subfloor. Longer screws are available from your local hardware store. Electrical Connection - U.S.A. Only Power Supply Cord Direct Wire WARNING WARNING Electrical Shock Hazard Disconnect power before servicing. Use a new 40 amp power supply cord. Plug into a grounded outlet. Failure to follow these instructions can result in death, fire, or electrical shock. Electrical Shock Hazard Disconnect power before servicing. Use 8 gauge copper or 6 gauge aluminum wire. Electrically ground range. Failure to follow these instructions can result in death, fire, or electrical shock. 1. Disconnect power. 2. Remove the terminal block cover screws located on the back of the range. Pull cover down and toward you to remove cover from range. 3. Remove plastic tag holding three 10-32 hex nuts from the middle post of the terminal block. A B C A. Two mounting tabs each side B. Terminal block cover C. Hex-head screws 7
-
 1
1 -
 2
2 -
 3
3 -
 4
4 -
 5
5 -
 6
6 -
 7
7 -
 8
8 -
 9
9 -
 10
10 -
 11
11 -
 12
12 -
13
-
14
-
15
-
16
 |
 |