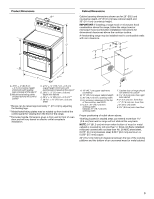
Whirlpool WGE555S0BB Installation Guide - Page 5
Installation Instructions
 |
View all Whirlpool WGE555S0BB manuals
Add to My Manuals
Save this manual to your list of manuals |
Page 5 highlights
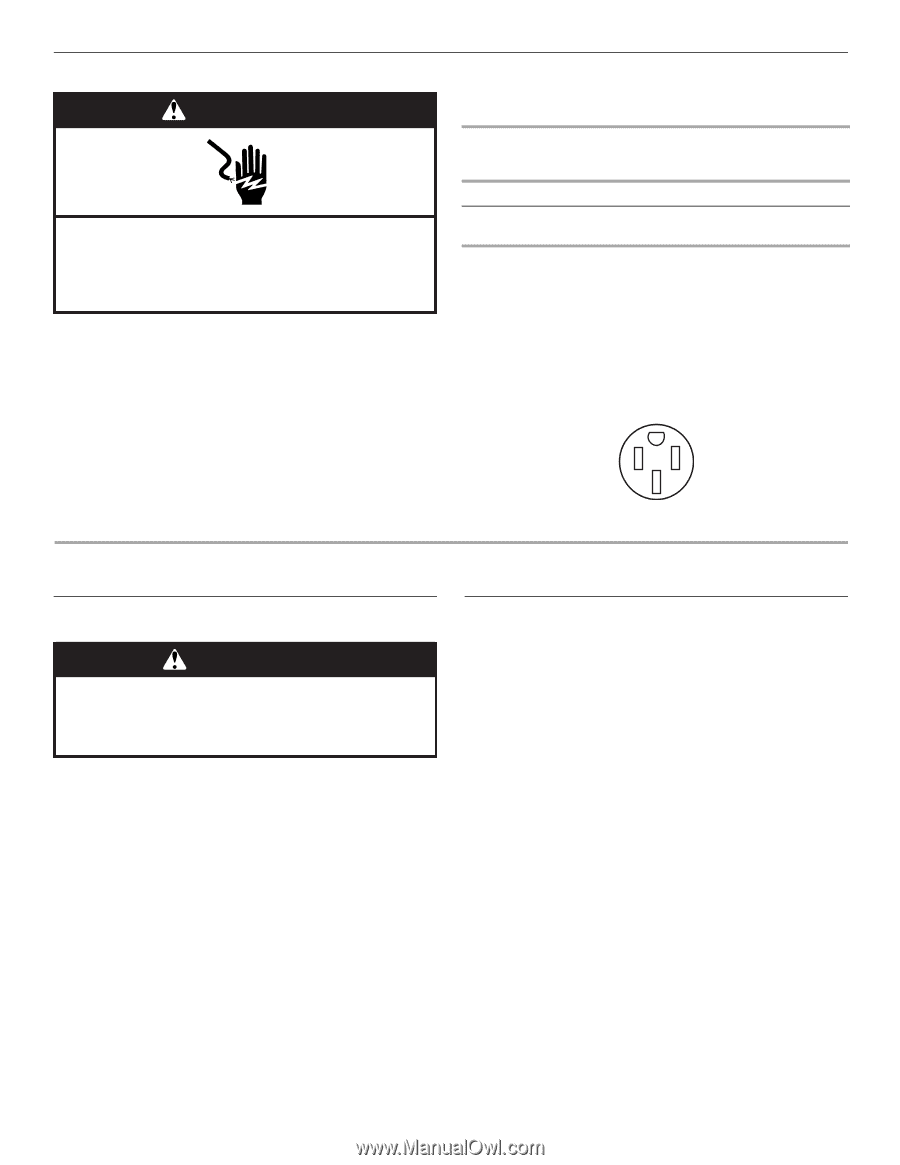
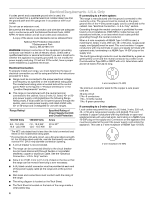
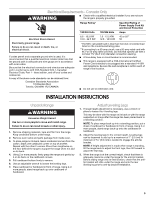
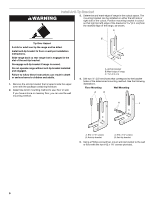
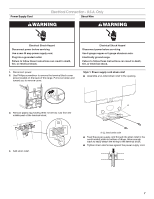
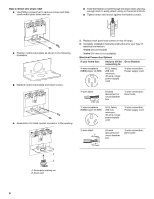
Electrical Requirements - Canada Only WARNING ■ Check with a qualified electrical installer if you are not sure the range is properly grounded. Range Rating* Specified Rating of Power Supply Cord Kit and Circuit Protection 120/240 Volts 120/208 Volts Amps Electrical Shock Hazard 8.8 - 16.5 KW 7.8 - 12.5 KW 40 or 50** 16.6 - 22.5 KW 12.6 - 18.5 KW 50 Electrically ground range. Failure to do so can result in death, fire, or electrical shock. If codes permit and a separate ground wire is used, it is recommended that a qualified electrical installer determine that the ground path is adequate and wire gauge are in accordance with local codes. Be sure that the electrical connection and wire size are adequate and in conformance with CSA Standard C22.1, Canadian Electrical Code, Part 1 - latest edition, and all local codes and ordinances. A copy of the above code standards can be obtained from: Canadian Standards Association 178 Rexdale Blvd. Toronto, ON M9W 1R3 CANADA *The NEC calculated load is less than the total connected load listed on the model/serial/rating plate. **If connecting to a 50-amp circuit, use a 50-amp rated cord with kit. For 50-amp rated cord kits, use kits that specify use with a nominal 1³⁄₈" (34.9 mm) diameter connection opening. ■ A time-delay fuse or circuit breaker is recommended. ■ This range is equipped with a CSA International Certified Power Cord intended to be plugged into a standard 14-50R wall receptacle. Be sure the wall receptacle is within reach of range's final location. ■ Do not use an extension cord. INSTALLATION INSTRUCTIONS Unpack Range WARNING Excessive Weight Hazard Use two or more people to move and install range. Failure to do so can result in back or other injury. 1. Remove shipping materials, tape and film from the range. Keep cardboard bottom under range. 2. Remove oven racks and parts package from inside oven. 3. To place range on its back, take 4 cardboard corners from the carton. Stack one cardboard corner on top of another. Repeat with the other 2 corners. Place them lengthwise on the floor behind the range to support the range when it is laid on its back. 4. Using 2 or more people, firmly grasp the range and gently lay it on its back on the cardboard corners. 5. Pull cardboard bottom firmly to remove. 6. Use an adjustable wrench to loosen the leveling legs. 7. Place cardboard or hardboard in front of range. Using 2 or more people, stand range back up onto cardboard or hardboard. Adjust Leveling Legs 1. If range height adjustment is necessary, use a wrench or pliers to loosen the 4 leveling legs. This may be done with the range on its back or with the range supported on 2 legs after the range has been placed back to a standing position. NOTE: To place range back up into a standing position, put a sheet of cardboard or hardboard in front of range. Using 2 or more people, stand range back up onto the cardboard or hardboard. 2. Adjust the leveling legs to the correct height. Leveling legs can be loosened to add up to a maximum of 1" (2.5 cm). A minimum of 5.0 mm) is needed to engage the anti-tip bracket. NOTE: If height adjustment is made when range is standing, tilt the range back to adjust the front legs, then tilt forward to adjust the rear legs. 3. When the range is at the correct height, check that there is adequate clearance under the range for the anti-tip bracket. Before sliding range into its final location, check that the antitip bracket will slide under the range and onto the rear leveling leg prior to anti-tip bracket installation. 5
-
 1
1 -
 2
2 -
 3
3 -
 4
4 -
 5
5 -
 6
6 -
 7
7 -
 8
8 -
 9
9 -
 10
10 -
 11
11 -
12
-
13
-
14
-
15
-
16
-
17
-
18
-
19
-
20
-
21
-
22
-
23
-
24
 |
 |