2008 BMW X5 Owner's Manual - Page 89
2008 BMW X5 Manual

Page 89 highlights
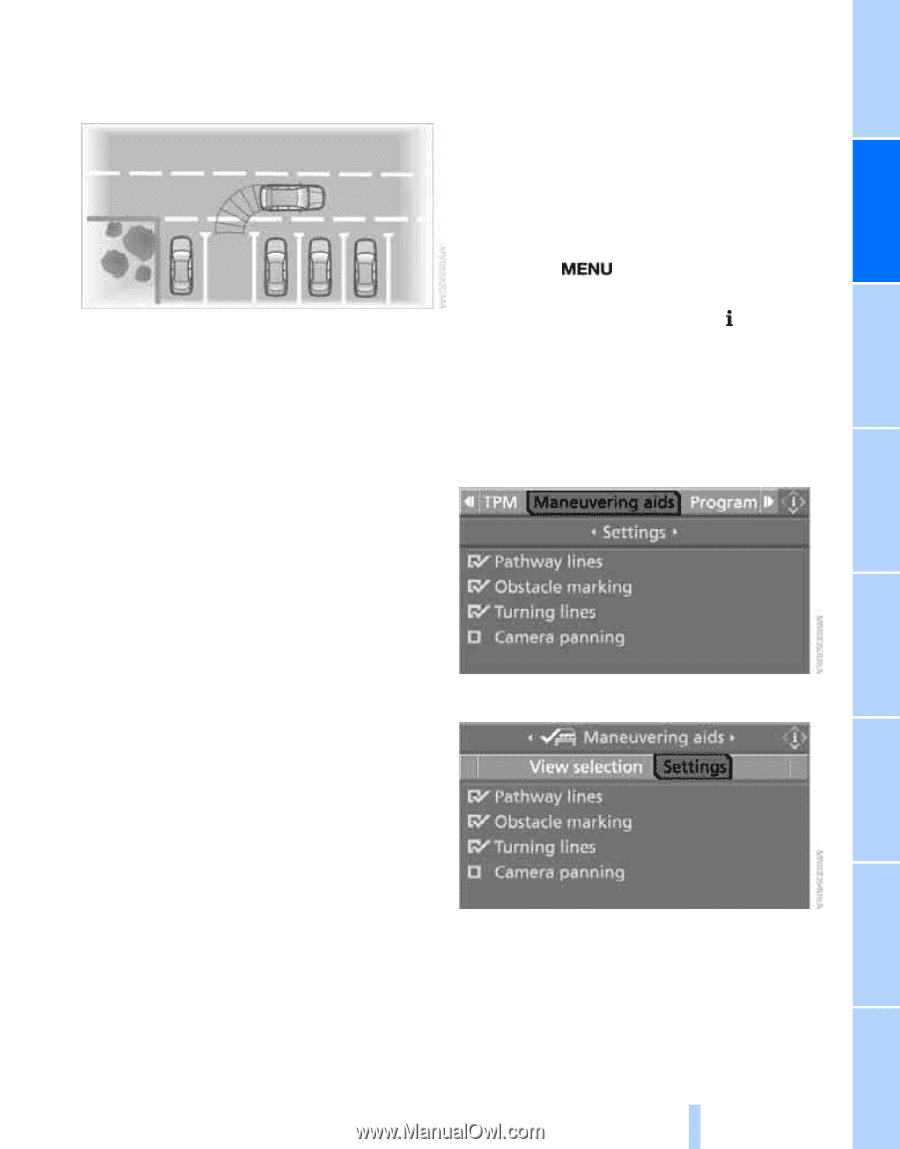
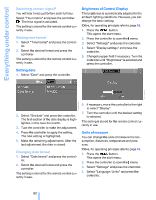
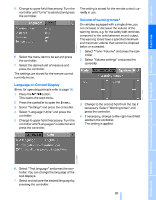
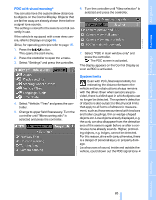
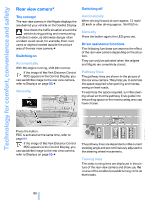
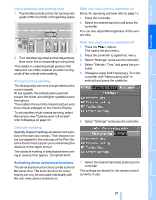
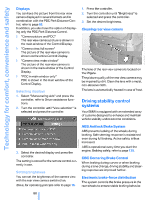
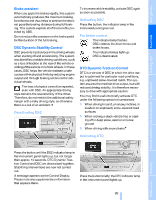
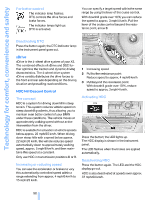
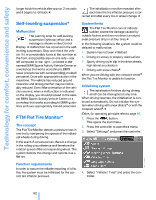
Using pathway and turning lines 1. Position the vehicle so that the turning lines guide within the limits of the parking space. With rear view camera switched on iDrive, for operating principle refer to page 16. 1. Press the controller. 2. Select the desired function and press the controller. You can also adjust the brightness of the camera view. With rear view camera switched off 1. Press the button. This opens the start menu. 2. Turn the steering wheel so that the pathway lines cover the corresponding turning lines. This results in a steering wheel position that makes full use of the smallest possible turning circle of the vehicle when parking. 2. Press the controller to open the menu. 3. Select "Settings" and press the controller. 4. Select "Vehicle / Tires" and press the controller. 5. Change to upper field if necessary. Turn the controller until "Maneuvering aids" is selected and press the controller. To activate the virtual camera panning, select the camera view "Camera view: full screen", refer to Displays on page 88. 6. Select "Settings" and press the controller. Obstacle marking Spatially shaped markings are shown in the picture of the rear view camera. Their stepped colors correspond to the markings of the Park Distance Control and support you in estimating the distance to the object shown. The obstacle marking is deactivated when driving in reverse from approx. 12 mph/20 km/h. The driver assistance functions can be active at the same time. The zoom function for trailer towing can only be activated individually with the rear view camera switched on. The settings are stored for the remote control currently in use. 87 Online Edition for Part no. 01 41 0 014 248 - © 08/07 BMW AG Reference Mobility Activating driver assistance functions 7. Select the desired functions and press the controller. Communications Entertainment The displayed picture area is dependent on the current speed: At low speeds, the camera view is panned toward the street, and at higher speeds toward the horizon. This enables the currently relevant picture area to be shown enlarged on the Control Display. Navigation Virtual camera panning Driving tips Controls At a glance
-
 1
1 -
2
-
3
-
4
-
5
-
6
-
7
-
8
-
9
-
10
-
11
-
12
-
13
-
14
-
15
-
16
-
17
-
18
-
19
-
20
-
21
-
22
-
23
-
24
-
25
-
26
-
27
-
28
-
29
-
30
-
31
-
32
-
33
-
34
-
35
-
36
-
37
-
38
-
39
-
40
-
41
-
42
-
43
-
44
-
45
-
46
-
47
-
48
-
49
-
50
-
51
-
52
-
53
-
54
-
55
-
56
-
57
-
58
-
59
-
60
-
61
-
62
-
63
-
64
-
65
-
66
-
67
-
68
-
69
-
70
-
71
-
72
-
73
-
74
-
75
-
76
-
77
-
78
-
79
-
80
-
81
-
82
-
83
-
 84
84 -
 85
85 -
 86
86 -
 87
87 -
 88
88 -
 89
89 -
 90
90 -
 91
91 -
 92
92 -
 93
93 -
 94
94 -
95
-
96
-
97
-
98
-
99
-
100
-
101
-
102
-
103
-
104
-
105
-
106
-
107
-
108
-
109
-
110
-
111
-
112
-
113
-
114
-
115
-
116
-
117
-
118
-
119
-
120
-
121
-
122
-
123
-
124
-
125
-
126
-
127
-
128
-
129
-
130
-
131
-
132
-
133
-
134
-
135
-
136
-
137
-
138
-
139
-
140
-
141
-
142
-
143
-
144
-
145
-
146
-
147
-
148
-
149
-
150
-
151
-
152
-
153
-
154
-
155
-
156
-
157
-
158
-
159
-
160
-
161
-
162
-
163
-
164
-
165
-
166
-
167
-
168
-
169
-
170
-
171
-
172
-
173
-
174
-
175
-
176
-
177
-
178
-
179
-
180
-
181
-
182
-
183
-
184
-
185
-
186
-
187
-
188
-
189
-
190
-
191
-
192
-
193
-
194
-
195
-
196
-
197
-
198
-
199
-
200
-
201
-
202
-
203
-
204
-
205
-
206
-
207
-
208
-
209
-
210
-
211
-
212
-
213
-
214
-
215
-
216
-
217
-
218
-
219
-
220
-
221
-
222
-
223
-
224
-
225
-
226
-
227
-
228
-
229
-
230
-
231
-
232
-
233
-
234
-
235
-
236
-
237
-
238
-
239
-
240
-
241
-
242
-
243
-
244
-
245
-
246
-
247
-
248
-
249
-
250
-
251
-
252
-
253
-
254
-
255
-
256
-
257
-
258
-
259
-
260
-
261
-
262
-
263
-
264
-
265
-
266
-
267
-
268
-
269
-
270
-
271
-
272
-
273
-
274
-
275
-
276
-
277
-
278
-
279
-
280
-
281
-
282
-
283
-
284
-
285
-
286
-
287
-
288
-
289
-
290
-
291
-
292
 |
 |