2015 Dodge Durango User Guide - Page 179
2015 Dodge Durango Manual

Page 179 highlights
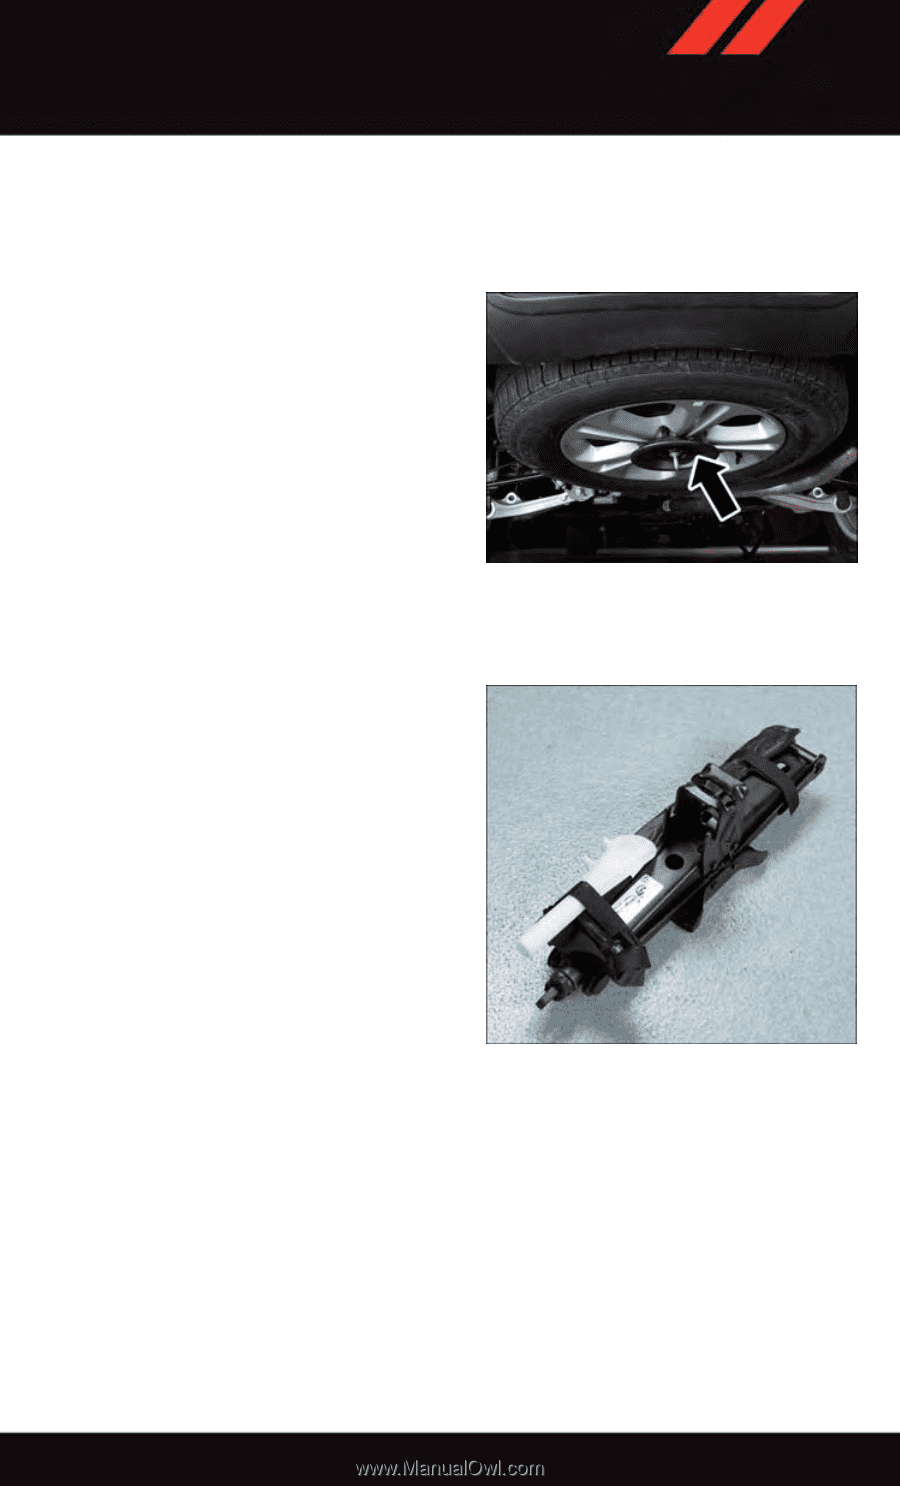
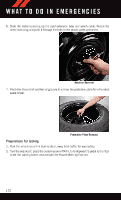
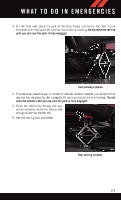
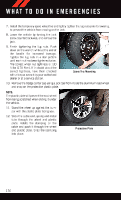
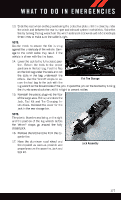
W H AT T O D O I N E M E R G E N C I E S 13. Slide the road wheel on the ground using the protective plate until it is directly under the winch and between the rear bumper and exhaust system heat shields. Raise the tire by turning the lug wrench on the winch extension clockwise until it clicks/skips three times to make sure the cable is tight. NOTE: Double check to ensure the tire is snug against the underbody of the vehicle. Damage to the winch cable may result if the vehicle is driven with the tire loose. 14. Lower the jack to the fully closed position. Return the tools to the proper positions in the tool bag. Fold the flap on the tool bag under the tools and roll the tools in the bag underneath the Flat Tire Storage others. Use the Velcro® straps to secure the tool bag to the jack with the lug wrench on the forward side of the jack. Expand the jack on the bracket by turning the thumb screw clockwise until it is tight to prevent rattles. 15. Reinstall the plastic plug into the floor of the cargo area. Roll up and store the Jack, Tool Kit and Tire Changing Instructions. Reinstall the cover for the jack in the rear storage bin. NOTE: The plastic thumb screw being on the right and the position of the lug wrench before the Velcro® straps go around the fully closed jack. 16. Remove the blocks/rocks from the opposite tire. 17. Have the aluminum road wheel and tire repaired as soon as possible and properly secure the spare tire, jack and tool kit. Jack Assembly 177
-
 1
1 -
2
-
3
-
4
-
5
-
6
-
7
-
8
-
9
-
10
-
11
-
12
-
13
-
14
-
15
-
16
-
17
-
18
-
19
-
20
-
21
-
22
-
23
-
24
-
25
-
26
-
27
-
28
-
29
-
30
-
31
-
32
-
33
-
34
-
35
-
36
-
37
-
38
-
39
-
40
-
41
-
42
-
43
-
44
-
45
-
46
-
47
-
48
-
49
-
50
-
51
-
52
-
53
-
54
-
55
-
56
-
57
-
58
-
59
-
60
-
61
-
62
-
63
-
64
-
65
-
66
-
67
-
68
-
69
-
70
-
71
-
72
-
73
-
74
-
75
-
76
-
77
-
78
-
79
-
80
-
81
-
82
-
83
-
84
-
85
-
86
-
87
-
88
-
89
-
90
-
91
-
92
-
93
-
94
-
95
-
96
-
97
-
98
-
99
-
100
-
101
-
102
-
103
-
104
-
105
-
106
-
107
-
108
-
109
-
110
-
111
-
112
-
113
-
114
-
115
-
116
-
117
-
118
-
119
-
120
-
121
-
122
-
123
-
124
-
125
-
126
-
127
-
128
-
129
-
130
-
131
-
132
-
133
-
134
-
135
-
136
-
137
-
138
-
139
-
140
-
141
-
142
-
143
-
144
-
145
-
146
-
147
-
148
-
149
-
150
-
151
-
152
-
153
-
154
-
155
-
156
-
157
-
158
-
159
-
160
-
161
-
162
-
163
-
164
-
165
-
166
-
167
-
168
-
169
-
170
-
171
-
172
-
173
-
 174
174 -
 175
175 -
 176
176 -
 177
177 -
 178
178 -
 179
179 -
 180
180 -
 181
181 -
 182
182 -
 183
183 -
 184
184 -
185
-
186
-
187
-
188
-
189
-
190
-
191
-
192
-
193
-
194
-
195
-
196
-
197
-
198
-
199
-
200
-
201
-
202
-
203
-
204
-
205
-
206
-
207
-
208
-
209
-
210
-
211
-
212
-
213
-
214
-
215
-
216
-
217
-
218
-
219
-
220
-
221
-
222
-
223
-
224
-
225
-
226
-
227
-
228
 |
 |