1997 Nissan Quest Owner's Manual - Page 48
1997 Nissan Quest Manual

Page 48 highlights
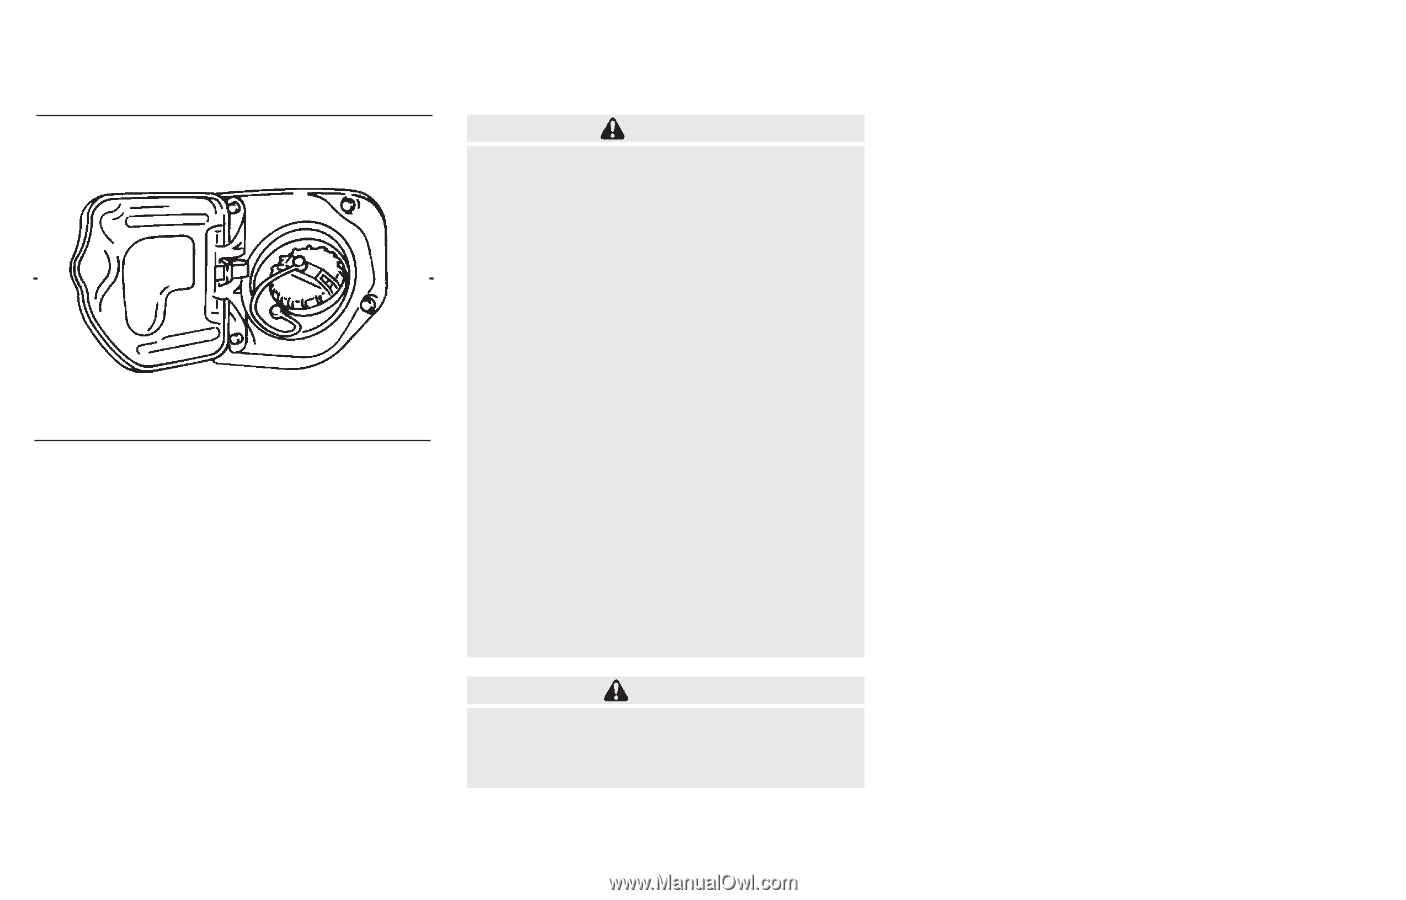
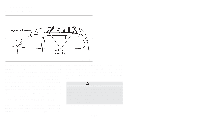
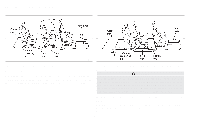
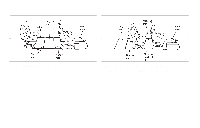
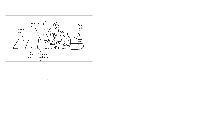
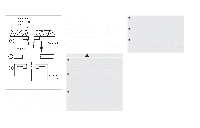
FUEL FILLER LID AND CAP WARNING ● Gasoline is extremely flammable and highly explosive under certain conditions. You could be burned or seriously injured if it is misused or mishandled. Always stop the engine and do not smoke or allow open flames or sparks near the vehicle when refueling. ● Fuel may be under pressure. Turn the cap one-half turn, and wait for any ''hissing'' sound to stop to prevent fuel from spraying out and possible personal injury. Then remove the cap. ● Use only a genuine NISSAN fuel filler cap as a replacement. It has a built-in safety valve needed for proper operation of the fuel system and emission control system. An incorrect cap can result in a serious malfunction and possible injury. CAUTION If fuel is spilled on the vehicle body, flush it away with water to avoid paint damage. 2-15 SEATS/FLOOR MATS SEATING ARRANGEMENTS Many different arrangements for passenger seating or cargo hauling are available as you will see in the following illustrations. The second row seats may be removed and the third row seat may be moved forward to the second row seating position. The second and third row seats have an optional folddown table-top feature. This offers a variety of uses for the vehicle when moving or stopped. The illustrations shown reflect the different seating positions available. Before you begin to arrange the seats in your vehicle, read all of the cautions and warnings in this chapter, including the following section on the removable floor mats. Also observe any labels that are in the vehicle. APD0803 To open the fuel filler lid, grasp the right hand edge of the lid and pull. The fuel filler cap is a screw-on ratcheting type. Tighten the cap clockwise until ratcheting clicks are heard. Ensure the plastic tether doesn't get caught between the gas cap and the fuel filler neck.
-
 1
1 -
2
-
3
-
4
-
5
-
6
-
7
-
8
-
9
-
10
-
11
-
12
-
13
-
14
-
15
-
16
-
17
-
18
-
19
-
20
-
21
-
22
-
23
-
24
-
25
-
26
-
27
-
28
-
29
-
30
-
31
-
32
-
33
-
34
-
35
-
36
-
37
-
38
-
39
-
40
-
41
-
42
-
 43
43 -
 44
44 -
 45
45 -
 46
46 -
 47
47 -
 48
48 -
 49
49 -
 50
50 -
 51
51 -
 52
52 -
 53
53 -
54
-
55
-
56
-
57
-
58
-
59
-
60
-
61
-
62
-
63
-
64
-
65
-
66
-
67
-
68
-
69
-
70
-
71
-
72
-
73
-
74
-
75
-
76
-
77
-
78
-
79
-
80
-
81
-
82
-
83
-
84
-
85
-
86
-
87
-
88
-
89
-
90
-
91
-
92
-
93
-
94
-
95
-
96
-
97
-
98
-
99
-
100
-
101
-
102
-
103
-
104
-
105
-
106
-
107
-
108
-
109
-
110
-
111
-
112
-
113
-
114
-
115
-
116
-
117
-
118
-
119
-
120
-
121
-
122
-
123
-
124
-
125
-
126
-
127
-
128
-
129
-
130
-
131
-
132
-
133
-
134
-
135
-
136
-
137
-
138
-
139
-
140
-
141
-
142
-
143
-
144
-
145
-
146
-
147
-
148
-
149
-
150
-
151
-
152
-
153
-
154
-
155
-
156
-
157
-
158
-
159
-
160
-
161
-
162
-
163
-
164
-
165
-
166
-
167
-
168
-
169
-
170
-
171
-
172
-
173
-
174
-
175
-
176
-
177
-
178
-
179
-
180
-
181
-
182
-
183
-
184
-
185
-
186
-
187
-
188
-
189
-
190
-
191
-
192
-
193
-
194
-
195
-
196
-
197
-
198
-
199
-
200
-
201
-
202
-
203
-
204
-
205
-
206
-
207
-
208
-
209
-
210
-
211
-
212
-
213
-
214
-
215
-
216
-
217
-
218
-
219
-
220
-
221
-
222
-
223
-
224
-
225
-
226
-
227
-
228
-
229
-
230
-
231
-
232
-
233
-
234
-
235
-
236
-
237
-
238
-
239
-
240
-
241
-
242
-
243
-
244
-
245
-
246
-
247
 |
 |