2000 Nissan Frontier Owner's Manual - Page 214
2000 Nissan Frontier Manual
Page 214 highlights
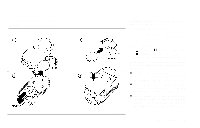
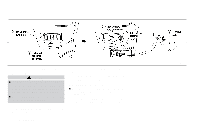
ADI1110 FRONT FOG LIGHT BULB REPLACEMENT (if so equipped) CAUTION ¼ High pressure halogen gas is sealed inside the halogen bulb. The bulb may break if the glass envelope is scratched or the bulb is dropped. ¼ When handling the bulb, do not touch the glass envelope. 1. Unclip the two metal clips on the side of the fog lamp. 2. Pull out and support the fog lamp assembly. 3. Disconnect the fog lamp bulb connector. 4. Lift the spring retainer. 5. Remove the fog lamp bulb. ¼ The fog lamp bulb can not be separated from the wire and is serviced as an assembly. 6. Install the new bulb in the reverse order of removal. DO NOT TOUCH THE BULB. 8-32 Do-it-yourself
-
 1
1 -
2
-
3
-
4
-
5
-
6
-
7
-
8
-
9
-
10
-
11
-
12
-
13
-
14
-
15
-
16
-
17
-
18
-
19
-
20
-
21
-
22
-
23
-
24
-
25
-
26
-
27
-
28
-
29
-
30
-
31
-
32
-
33
-
34
-
35
-
36
-
37
-
38
-
39
-
40
-
41
-
42
-
43
-
44
-
45
-
46
-
47
-
48
-
49
-
50
-
51
-
52
-
53
-
54
-
55
-
56
-
57
-
58
-
59
-
60
-
61
-
62
-
63
-
64
-
65
-
66
-
67
-
68
-
69
-
70
-
71
-
72
-
73
-
74
-
75
-
76
-
77
-
78
-
79
-
80
-
81
-
82
-
83
-
84
-
85
-
86
-
87
-
88
-
89
-
90
-
91
-
92
-
93
-
94
-
95
-
96
-
97
-
98
-
99
-
100
-
101
-
102
-
103
-
104
-
105
-
106
-
107
-
108
-
109
-
110
-
111
-
112
-
113
-
114
-
115
-
116
-
117
-
118
-
119
-
120
-
121
-
122
-
123
-
124
-
125
-
126
-
127
-
128
-
129
-
130
-
131
-
132
-
133
-
134
-
135
-
136
-
137
-
138
-
139
-
140
-
141
-
142
-
143
-
144
-
145
-
146
-
147
-
148
-
149
-
150
-
151
-
152
-
153
-
154
-
155
-
156
-
157
-
158
-
159
-
160
-
161
-
162
-
163
-
164
-
165
-
166
-
167
-
168
-
169
-
170
-
171
-
172
-
173
-
174
-
175
-
176
-
177
-
178
-
179
-
180
-
181
-
182
-
183
-
184
-
185
-
186
-
187
-
188
-
189
-
190
-
191
-
192
-
193
-
194
-
195
-
196
-
197
-
198
-
199
-
200
-
201
-
202
-
203
-
204
-
205
-
206
-
207
-
208
-
 209
209 -
 210
210 -
 211
211 -
 212
212 -
 213
213 -
 214
214 -
 215
215 -
 216
216 -
 217
217 -
 218
218 -
 219
219 -
220
-
221
-
222
-
223
-
224
-
225
-
226
-
227
-
228
-
229
-
230
-
231
-
232
-
233
-
234
-
235
-
236
-
237
-
238
-
239
-
240
-
241
-
242
-
243
-
244
-
245
-
246
-
247
-
248
-
249
-
250
-
251
-
252
-
253
-
254
-
255
-
256
-
257
-
258
-
259
-
260
-
261
-
262
-
263
-
264
-
265
-
266
-
267
-
268
-
269
 |
 |
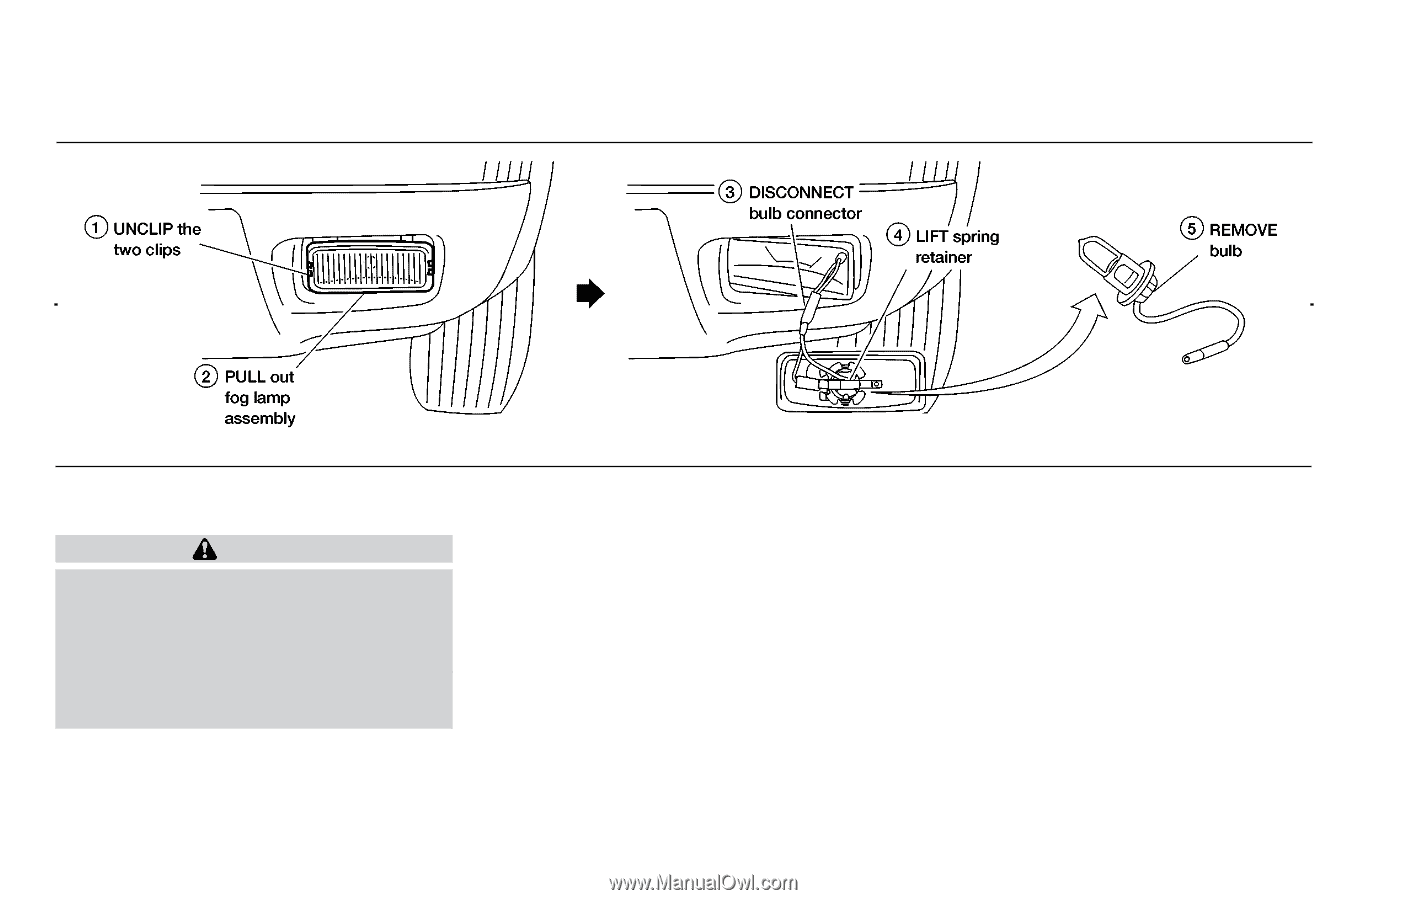
FRONT FOG LIGHT BULB RE-
PLACEMENT (if so equipped)
CAUTION
°
High pressure halogen gas is sealed
inside the halogen bulb. The bulb
may break if the glass envelope is
scratched or the bulb is dropped.
°
When
handling
the
bulb,
do
not
touch the glass envelope.
1. Unclip the two metal clips on the side of
the fog lamp.
2. Pull out and support the fog lamp assem-
bly.
3. Disconnect the fog lamp bulb connector.
4. Lift the spring retainer.
5. Remove the fog lamp bulb.
°
The fog lamp bulb can not be separated
from the wire and is serviced as an
assembly.
6. Install the new bulb in the reverse order
of removal. DO NOT TOUCH THE BULB.
ADI1110
8-32
Do-it-yourself