2010 Yamaha Motorsports FX Nytro RTX Owners Manual - Page 49
2010 Yamaha Motorsports FX Nytro RTX Manual

Page 49 highlights
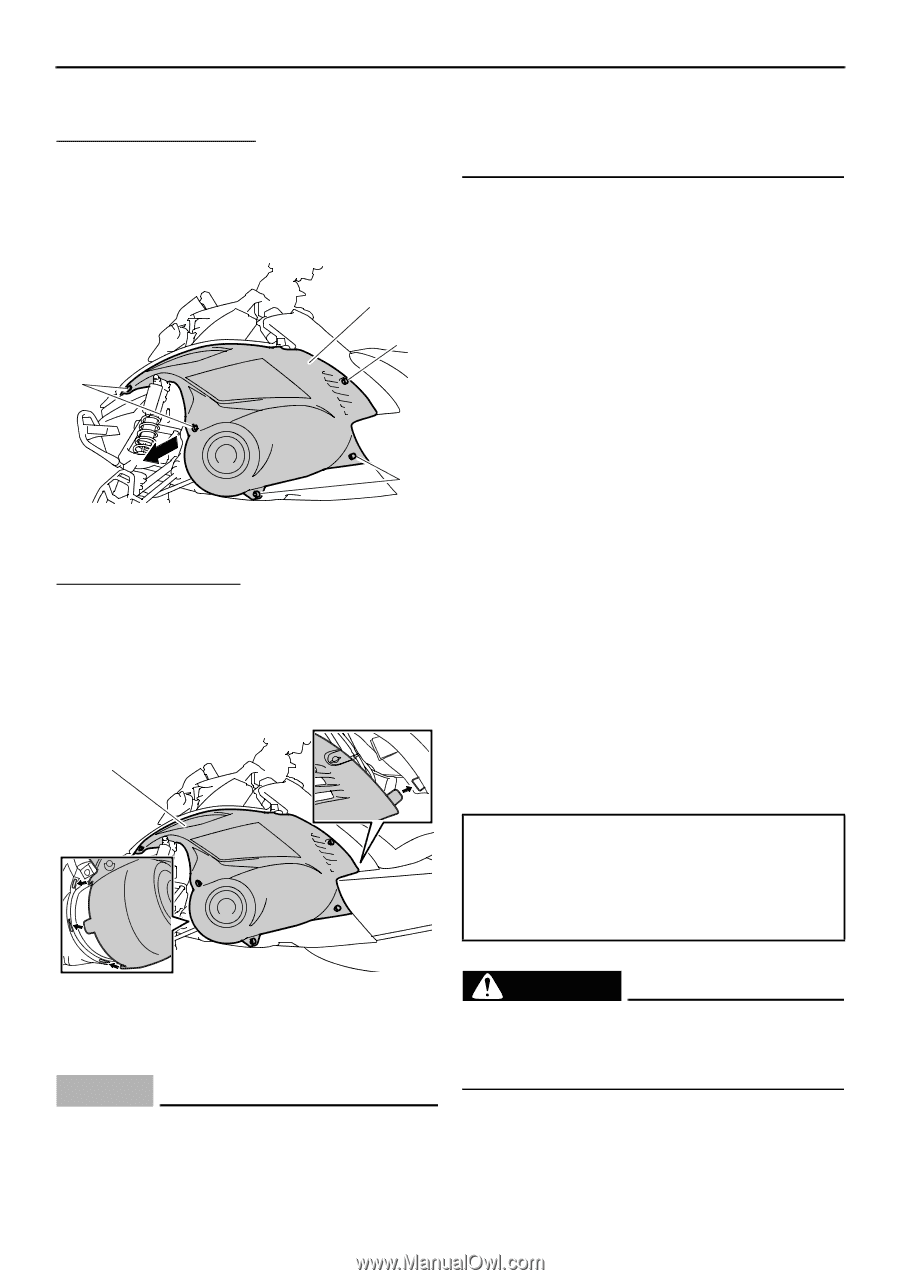
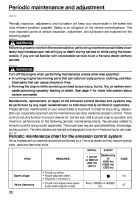
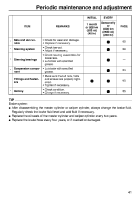
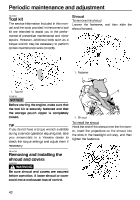
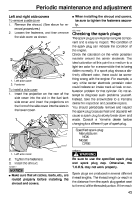
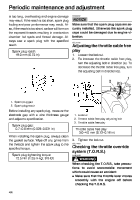
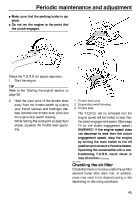
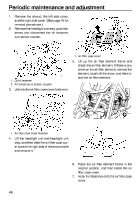
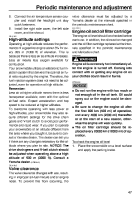
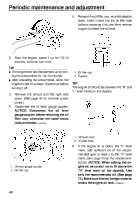
Periodic maintenance and adjustment Left and right side covers To remove a side cover 1. Remove the shroud. (See above for removal procedures.) 2. Loosen the fasteners, and then remove the side cover as shown. G When installing the shroud and covers, be sure to tighten the fasteners securely. ESU11782 Checking the spark plugs The spark plug is an important engine component and is easy to inspect. The condition of the spark plug can indicate the condition of the engine. Check the coloration on the white porcelain insulator around the center electrode. The ideal coloration at this point is a medium to a light tan color for a snowmobile that is being ridden normally. If a spark plug shows a distinctly different color, there could be something wrong with the engine. For example, a very white center electrode porcelain color could indicate an intake track air leak or carburetion problem for that cylinder. Do not attempt to diagnose such problems yourself. Instead, take the snowmobile to a Yamaha dealer for inspection and possible repairs. You should periodically remove and inspect the spark plug because heat and deposits will cause a spark plug to slowly break down and erode. Consult a Yamaha dealer before changing to a different type of spark plug. Specified spark plug: Manufacturer: NGK Model: CR9E EWS00710 1 2 2 2 1. Left side cover 2. Fastener To install a side cover 1. Insert the projection on the rear of the side cover into the slot in the fuel tank side cover and insert the projections on the front of the side cover into the slots in the lower cover. 1 1. Left side cover WARNING Be sure to use the specified spark plug and spark plug cap. Otherwise, the T.O.R.S. may not work properly. Spark plugs are produced in several different thread lengths. The thread length or reach is the distance from the spark plug gasket seat to the end of the threaded portion. If the reach 2. 3. Tighten the fasteners. Install the shroud. ECS00371 NOTICE G Make sure that all cables, leads, etc., are routed properly before installing the shroud and covers. 43
-
 1
1 -
2
-
3
-
4
-
5
-
6
-
7
-
8
-
9
-
10
-
11
-
12
-
13
-
14
-
15
-
16
-
17
-
18
-
19
-
20
-
21
-
22
-
23
-
24
-
25
-
26
-
27
-
28
-
29
-
30
-
31
-
32
-
33
-
34
-
35
-
36
-
37
-
38
-
39
-
40
-
41
-
42
-
43
-
 44
44 -
 45
45 -
 46
46 -
 47
47 -
 48
48 -
 49
49 -
 50
50 -
 51
51 -
 52
52 -
 53
53 -
 54
54 -
55
-
56
-
57
-
58
-
59
-
60
-
61
-
62
-
63
-
64
-
65
-
66
-
67
-
68
-
69
-
70
-
71
-
72
-
73
-
74
-
75
-
76
-
77
-
78
-
79
-
80
-
81
-
82
-
83
-
84
-
85
-
86
-
87
-
88
-
89
-
90
 |
 |