2012 Yamaha Motorsports VMAX Owners Manual - Page 30
2012 Yamaha Motorsports VMAX Manual

Page 30 highlights
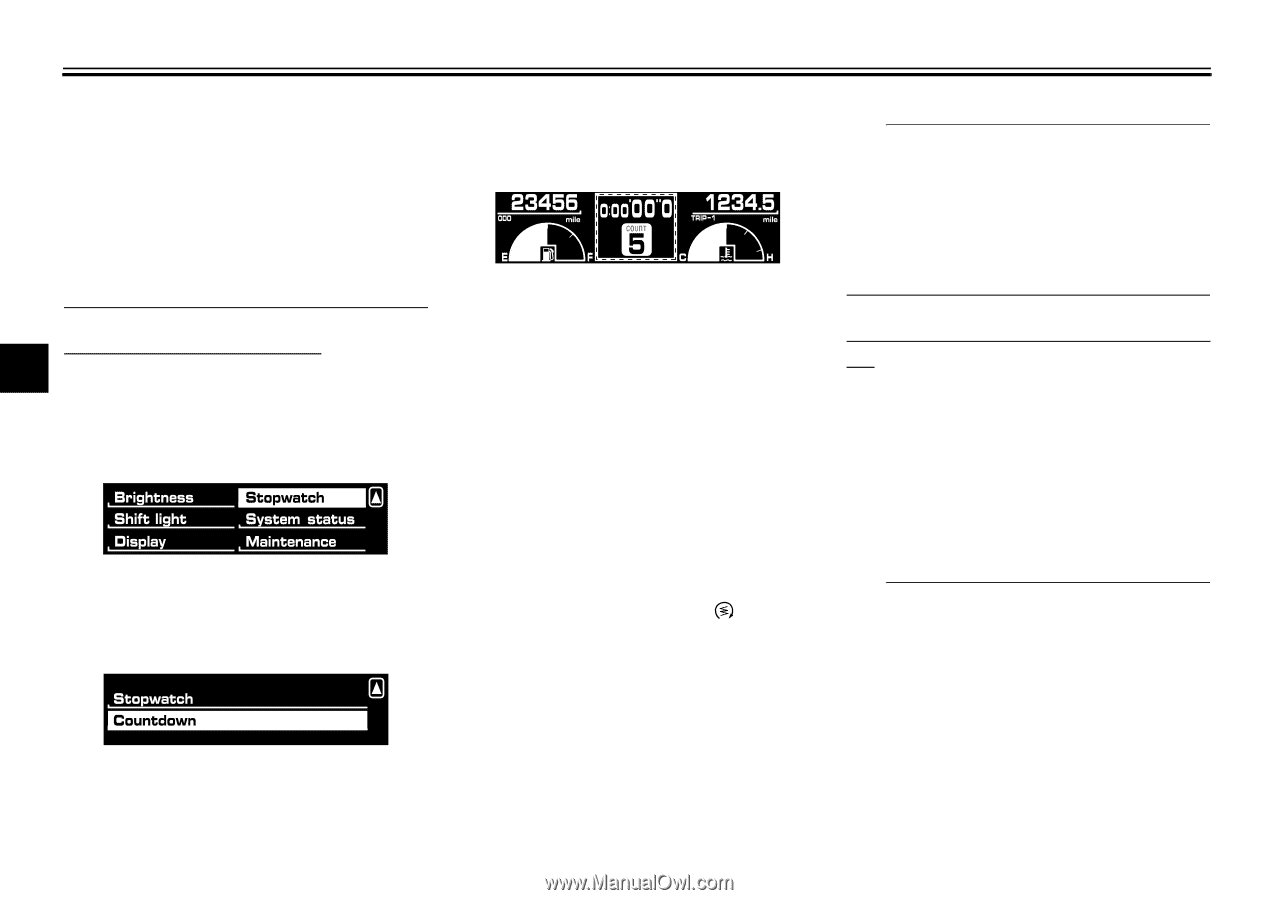
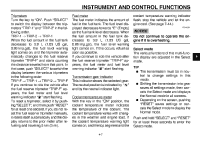
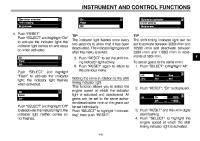
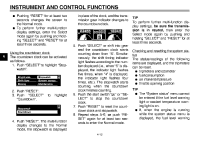
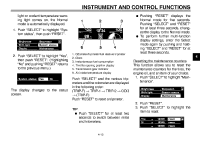
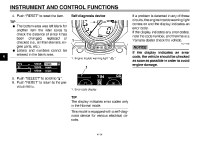
INSTRUMENT AND CONTROL FUNCTIONS ● Pushing "RESET" for at least two seconds changes the screen to the Normal mode. ● To perform further multi-function display settings, enter the Select mode again by pushing and holding "SELECT" and "RESET" for at least three seconds. Using the countdown clock: The countdown clock can be activated as follows. 1. Push "SELECT" to highlight "Stopwatch". in place of the clock, and the transmission gear indicator changes to the countdown clock. TIP To perform further multi-function display settings, be sure the transmission is in neutral, then enter the Select mode again by pushing and holding "SELECT" and "RESET" for at least three seconds. Checking and resetting the system status The status/readings of the following items are displayed, and the tripmeters can be reset. ● tripmeters and odometer ● fuel consumption ● air intake temperature ● throttle opening position TIP ● 4 2. Push "RESET". 3. Push "SELECT" "Countdown". to highlight 4. Push "RESET". The multi-function display changes to the Normal mode, the stopwatch is displayed 5. Push "SELECT" or shift into gear and the countdown clock starts counting down from "5". Simultaneously, the shift timing indicator light flashes according to the number displayed (i.e., when "5" is displayed, the indicator light flashes five times, when "4" is displayed, the indicator light flashes four times, etc.). The stopwatch starts counting when the countdown clock finishes counting. 6. Push the start switch " " or "SELECT" to stop the countdown clock. 7. Push "RESET" to reset the countdown clock and stopwatch. 8. Repeat steps 5-6, or push "RESET" again for at least two seconds to enter the Normal mode. The "System status" menu cannot be entered if the fuel level warning light or coolant temperature warning light is on. ● If, when the engine is running while the system status menu is displayed, the fuel level warning 4-12
-
 1
1 -
2
-
3
-
4
-
5
-
6
-
7
-
8
-
9
-
10
-
11
-
12
-
13
-
14
-
15
-
16
-
17
-
18
-
19
-
20
-
21
-
22
-
23
-
24
-
 25
25 -
 26
26 -
 27
27 -
 28
28 -
 29
29 -
 30
30 -
 31
31 -
 32
32 -
 33
33 -
 34
34 -
 35
35 -
36
-
37
-
38
-
39
-
40
-
41
-
42
-
43
-
44
-
45
-
46
-
47
-
48
-
49
-
50
-
51
-
52
-
53
-
54
-
55
-
56
-
57
-
58
-
59
-
60
-
61
-
62
-
63
-
64
-
65
-
66
-
67
-
68
-
69
-
70
-
71
-
72
-
73
-
74
-
75
-
76
-
77
-
78
-
79
-
80
-
81
-
82
-
83
-
84
-
85
-
86
-
87
-
88
-
89
-
90
-
91
-
92
-
93
-
94
-
95
-
96
-
97
-
98
-
99
-
100
-
101
-
102
-
103
-
104
-
105
-
106
-
107
-
108
-
109
-
110
-
111
-
112
-
113
-
114
-
115
-
116
-
117
-
118
-
119
-
120
-
121
-
122
 |
 |