ASRock 775VM8 User Manual - Page 21
Windows XP 64-bit With RAID Functions - driver
 |
View all ASRock 775VM8 manuals
Add to My Manuals
Save this manual to your list of manuals |
Page 21 highlights
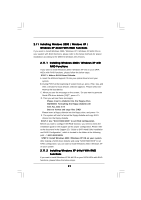
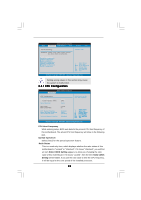
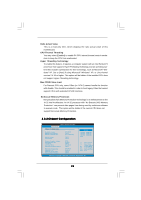
2.11 Installing Windows 2000 / Windows XP / Windows XP 64-bit With RAID Functions If you want to install Windows 2000 / Windows XP / Windows XP-64bit OS on your system with RAID functions, please refer to the below methods for proper installation according to the different Windows OS versions. 2.11.1 Installing Windows 2000 / Windows XP with RAID Functions If you want to install Windows 2000 / Windows XP OS on your SATA HDDs with RAID functions, please follow the below steps. STEP 1: Make a SATA Driver Diskette. A. Insert the ASRock Support CD into your optical drive to boot your system. B. During POST at the beginning of system boot-up, press key, and then a window for boot devices selection appears. Please select CDROM as the boot device. C. When you see the message on the screen, "Do you want to generate Serial ATA driver diskette [YN]?", press . D. Then you will see these messages, Please insert a diskette into the floppy drive. WARNING! Formatting the floppy diskette will lose ALL data in it! Start to format and copy files [YN]? Please insert a floppy diskette into the floppy drive, and press . E. The system will start to format the floppy diskette and copy SATA drivers into the floppy diskette. STEP 2: Use "SATA RAID BIOS" to set RAID configuration. Before you start to configure the RAID function, you need to check the installation guide in the Support CD for proper configuration. Please refer to the document in the Support CD, "Guide to SATA Hard Disks Installation and RAID Configuration", which is located in the folder at the following path: .. \ SATA RAID BIOS STEP 3: Install Windows 2000 / Windows XP OS on your system. After making a SATA driver diskette and using "SATA RAID BIOS" to set RAID configuration, you can start to install Windows 2000 / Windows XP on your system. 2.11.2 Installing Windows XP 64-bit With RAID Functions If you want to install Windows XP 64-bit OS on your SATA HDDs with RAID functions, please follow the below steps. 21
-
 1
1 -
2
-
3
-
4
-
5
-
6
-
7
-
8
-
9
-
10
-
11
-
12
-
13
-
14
-
15
-
 16
16 -
 17
17 -
 18
18 -
 19
19 -
 20
20 -
 21
21 -
 22
22 -
 23
23 -
 24
24 -
 25
25 -
 26
26 -
27
-
28
-
29
-
30
-
31
-
32
-
33
-
34
-
35
-
36
-
37
-
38
 |
 |