Alpine KTX-H10 Installation Manual - Page 3
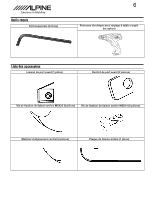
KTX-H12, KTX-H10 10 Enclosure Link Instruction
 |
View all Alpine KTX-H10 manuals
Add to My Manuals
Save this manual to your list of manuals |
Page 3 highlights
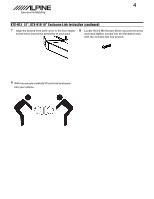
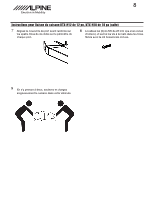
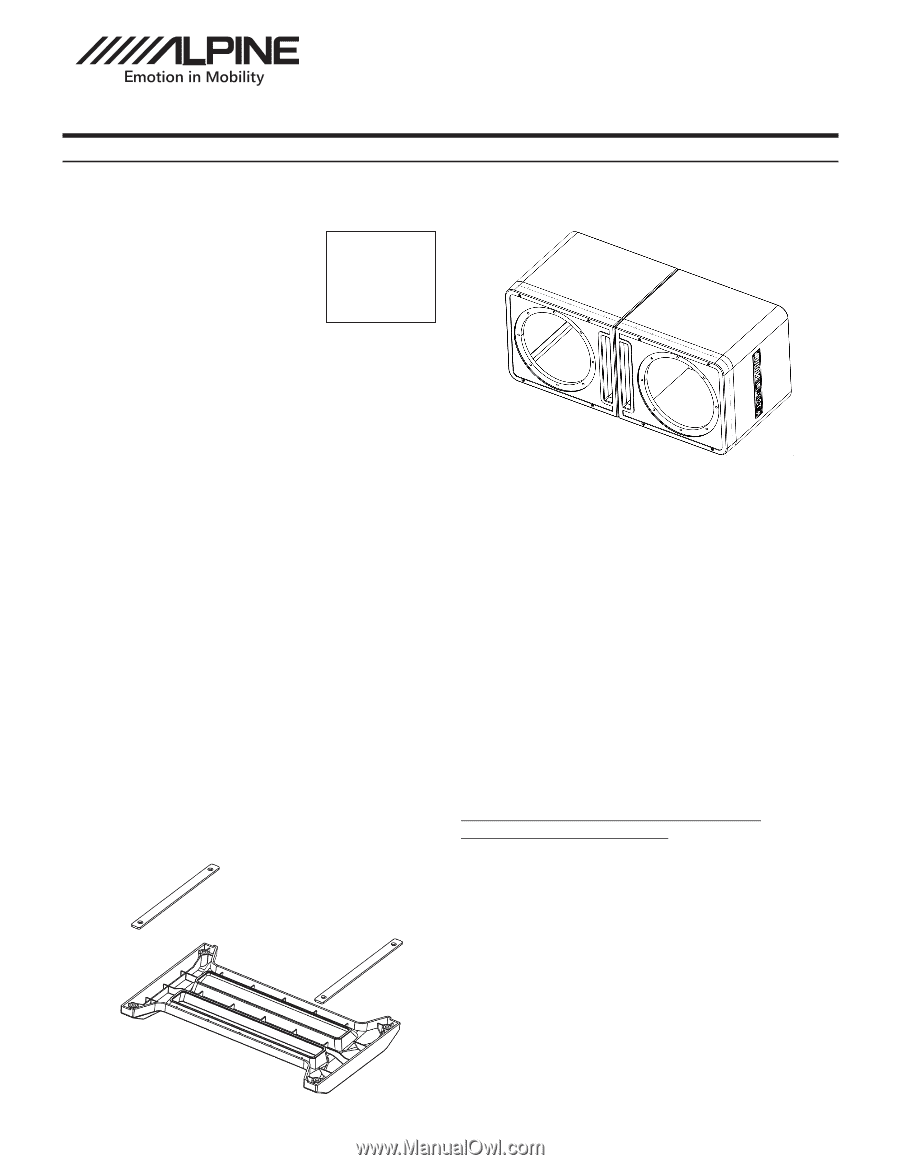
3 KTX-H12 12", KTX-H10 10" Enclosure Link Instruction 1 By hand tighten (2) threaded center alignment dowels into each enclosure. (4 Total) 2 Slide both enclosures together nesting the center alignment dowels into the opposing enclosure snugly. 3 On the rear of the combined boxes align the rear linking bracket to sit flush into the recessed area. 4 Take (8) M5 14mm screws and carefully start threads by hand tightening the steel plate into place with the included hex key wrench. 5 Place the two steel connection plates into the top and bottom channels on the rear of the front port cover. 6 Remove the (4) 20mm M5 Port Hex Screws. (Set them some place safe you will not need them unless unlinking your enclosures)
-
 1
1 -
 2
2 -
 3
3 -
 4
4 -
 5
5 -
 6
6 -
 7
7 -
 8
8
 |
 |
KTX-H12
12”, KTX-H10 10” Enclosure Link Instruction
1
By hand tighten (2) threaded center alignment
dowels into each enclosure. (4 Total)
2
Slide both enclosures together nesting the center
alignment dowels into the opposing enclosure
snugly.
3
On the rear of the combined boxes align the rear
linking bracket to sit flush into the recessed area.
4
Take (8) M5 14mm screws and carefully start
threads by hand tightening the steel plate into
place with the included hex key wrench.
5
Place the two steel connection plates into the top
and bottom channels on the rear of the front port
cover.
6
Remove the (4) 2
0
mm M5 Port Hex Screws.
(Set them some place safe you will not need them
unless unlinking your enclosures)
3